Getting Started with Stylist Mode
Stylist Mode lets you manage your clients' wardrobes directly inside GetWardrobe. This guide walks through turning on Stylist Mode, setting up your profile, adding clients, and switching between wardrobes.
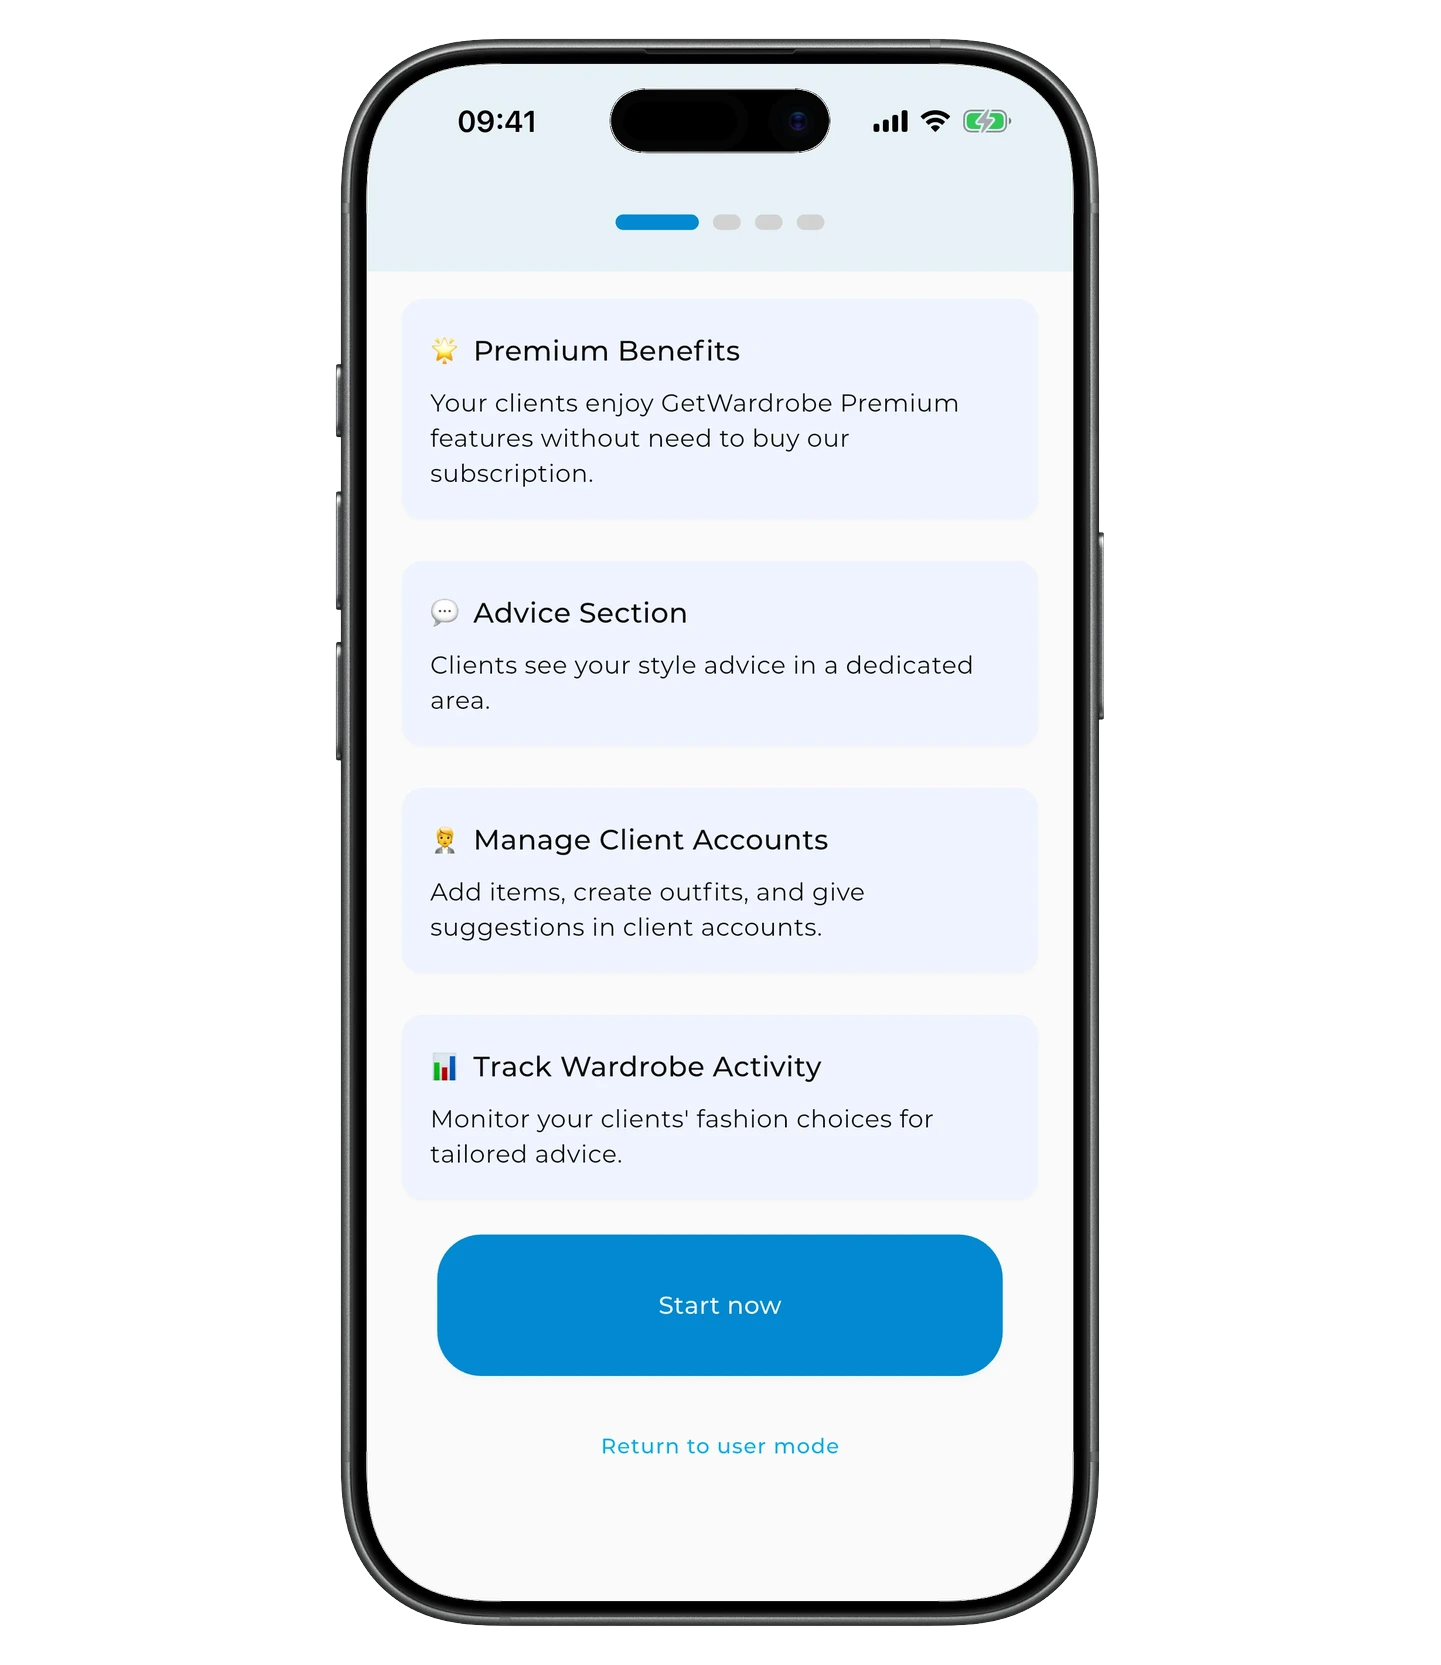
What you get with Stylist Mode
- All your clients' wardrobes, items, outfits, and notes in one place.
- Create client accounts directly from your account and start working right away.
- Send clients branded invitations with your name and photo.
- Leave advice and recommendations directly in your client's wardrobe.
- Your clients get unlimited wardrobe storage and all premium features included.
Switching to Stylist Mode
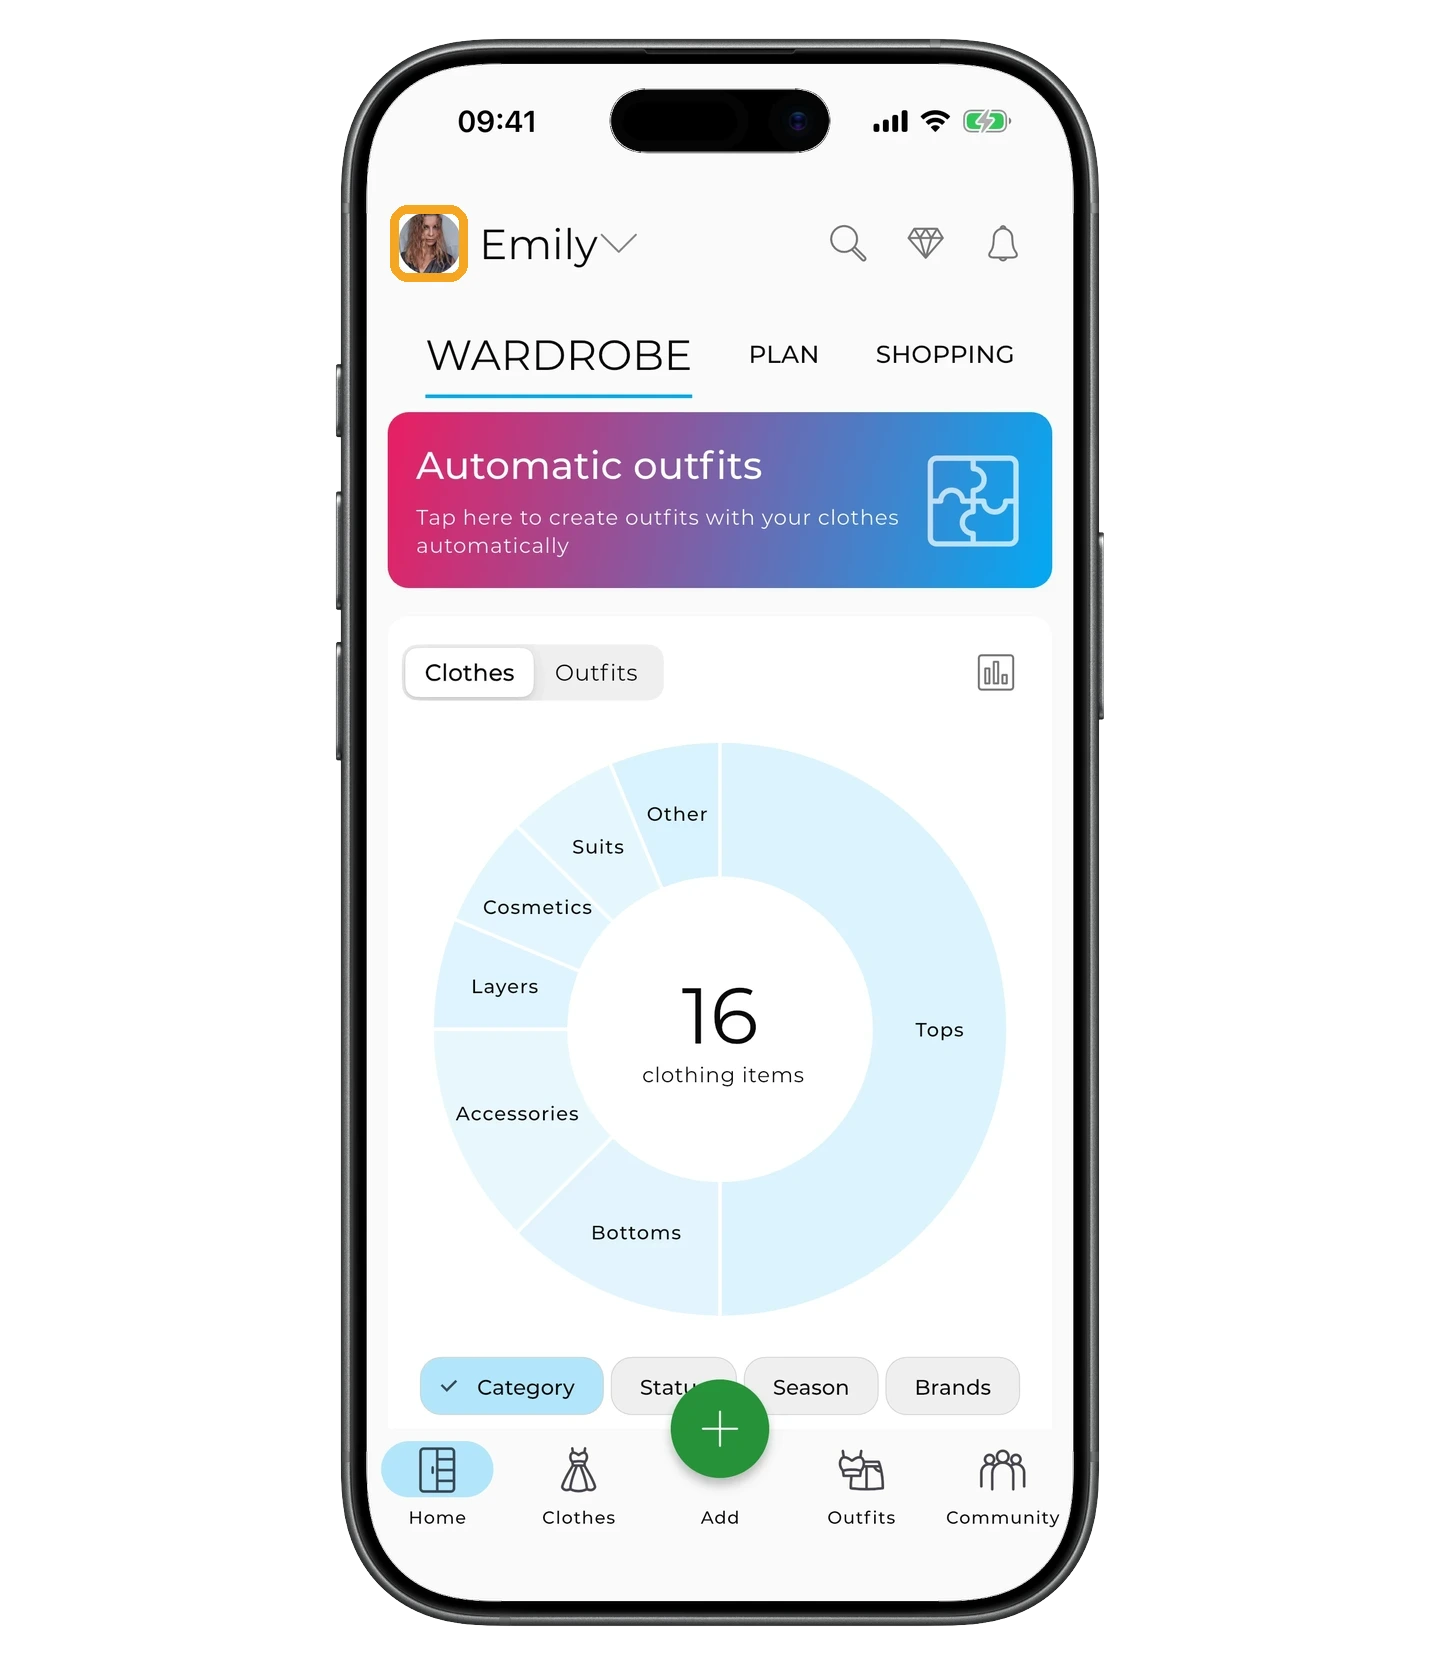
Tap your avatar in the top-left corner of the main screen.
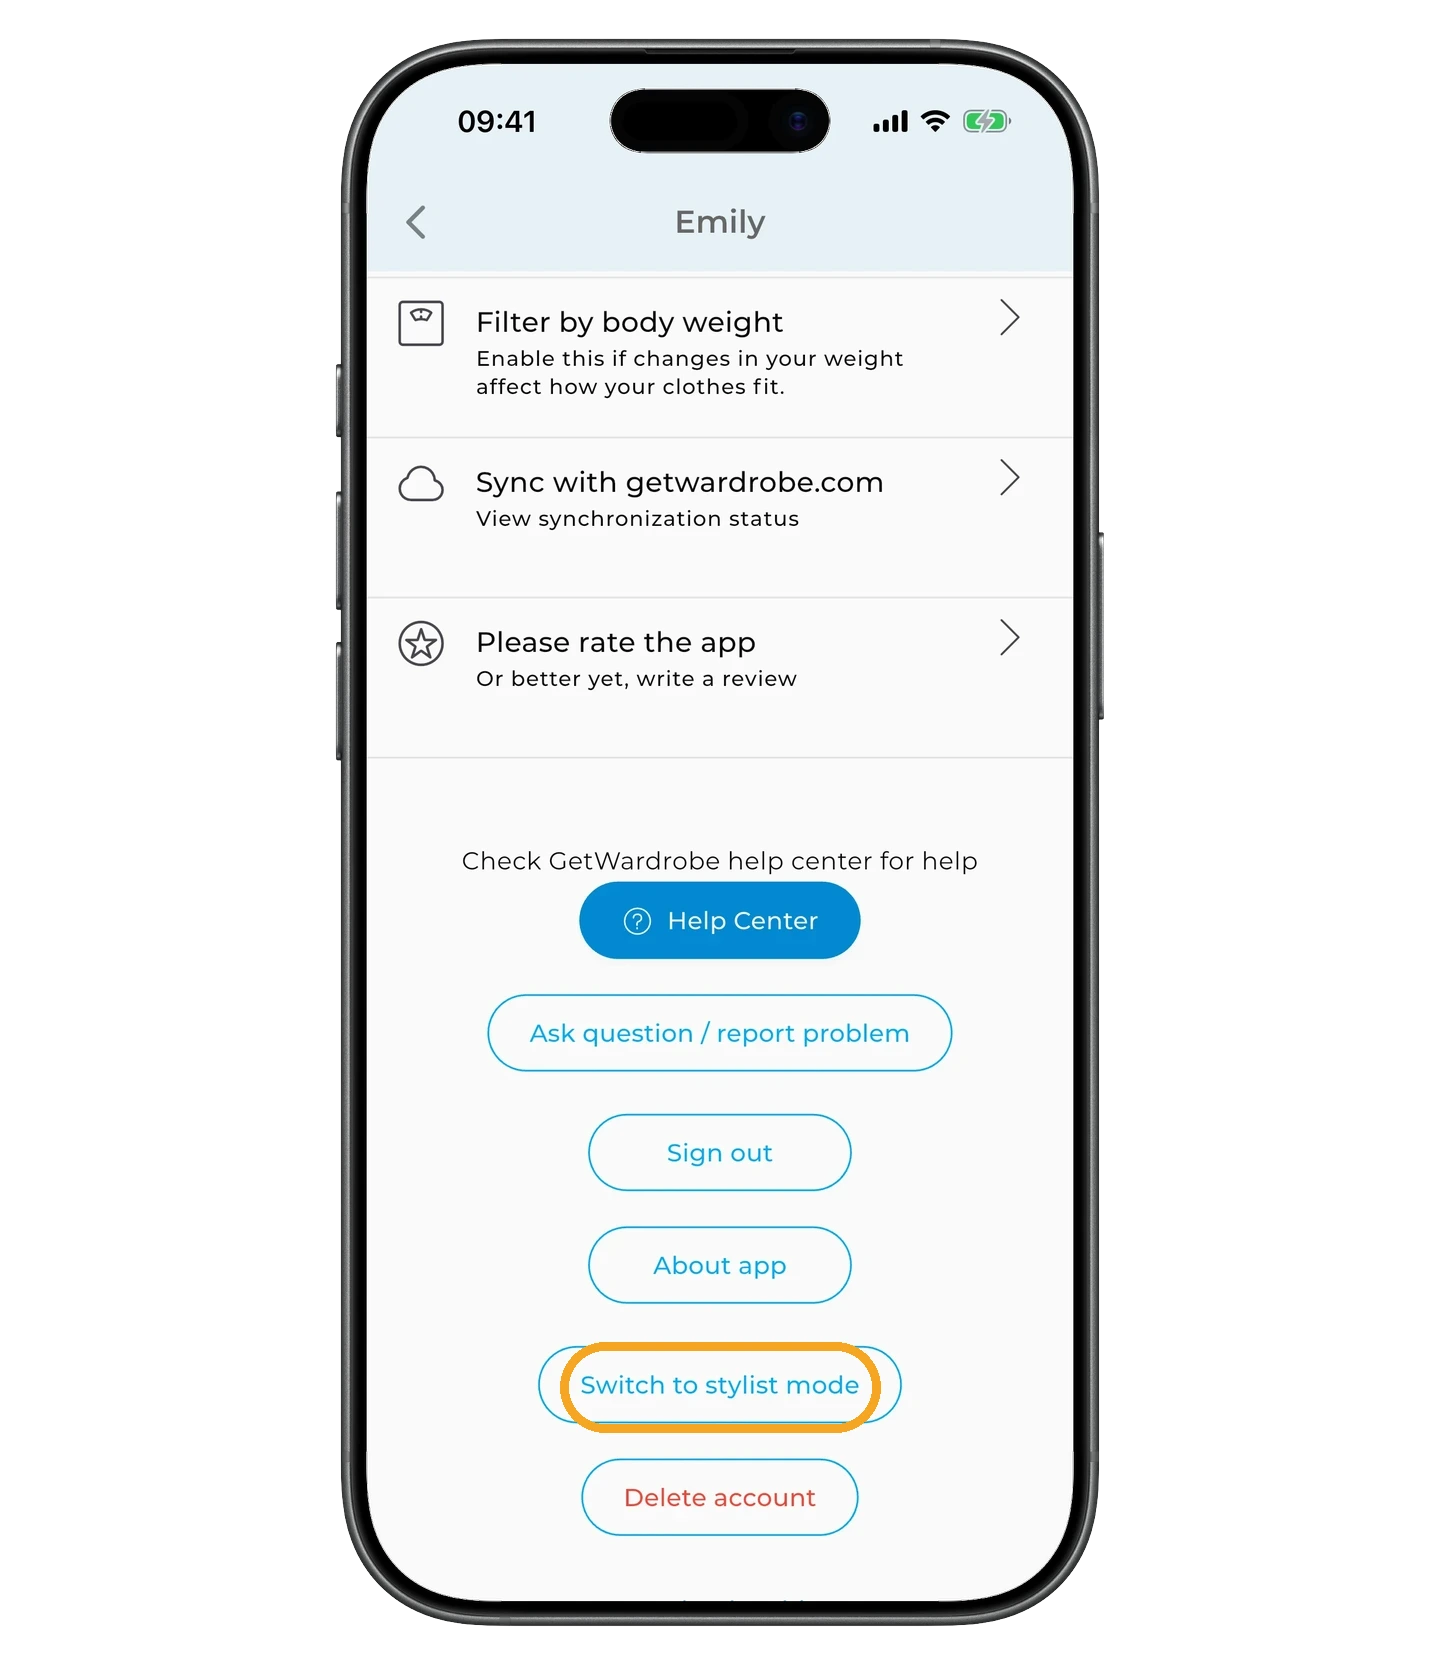
In the menu that opens, scroll down and tap "Switch to Stylist Mode".
On the Stylist Mode screen, scroll down and tap "Start Now".
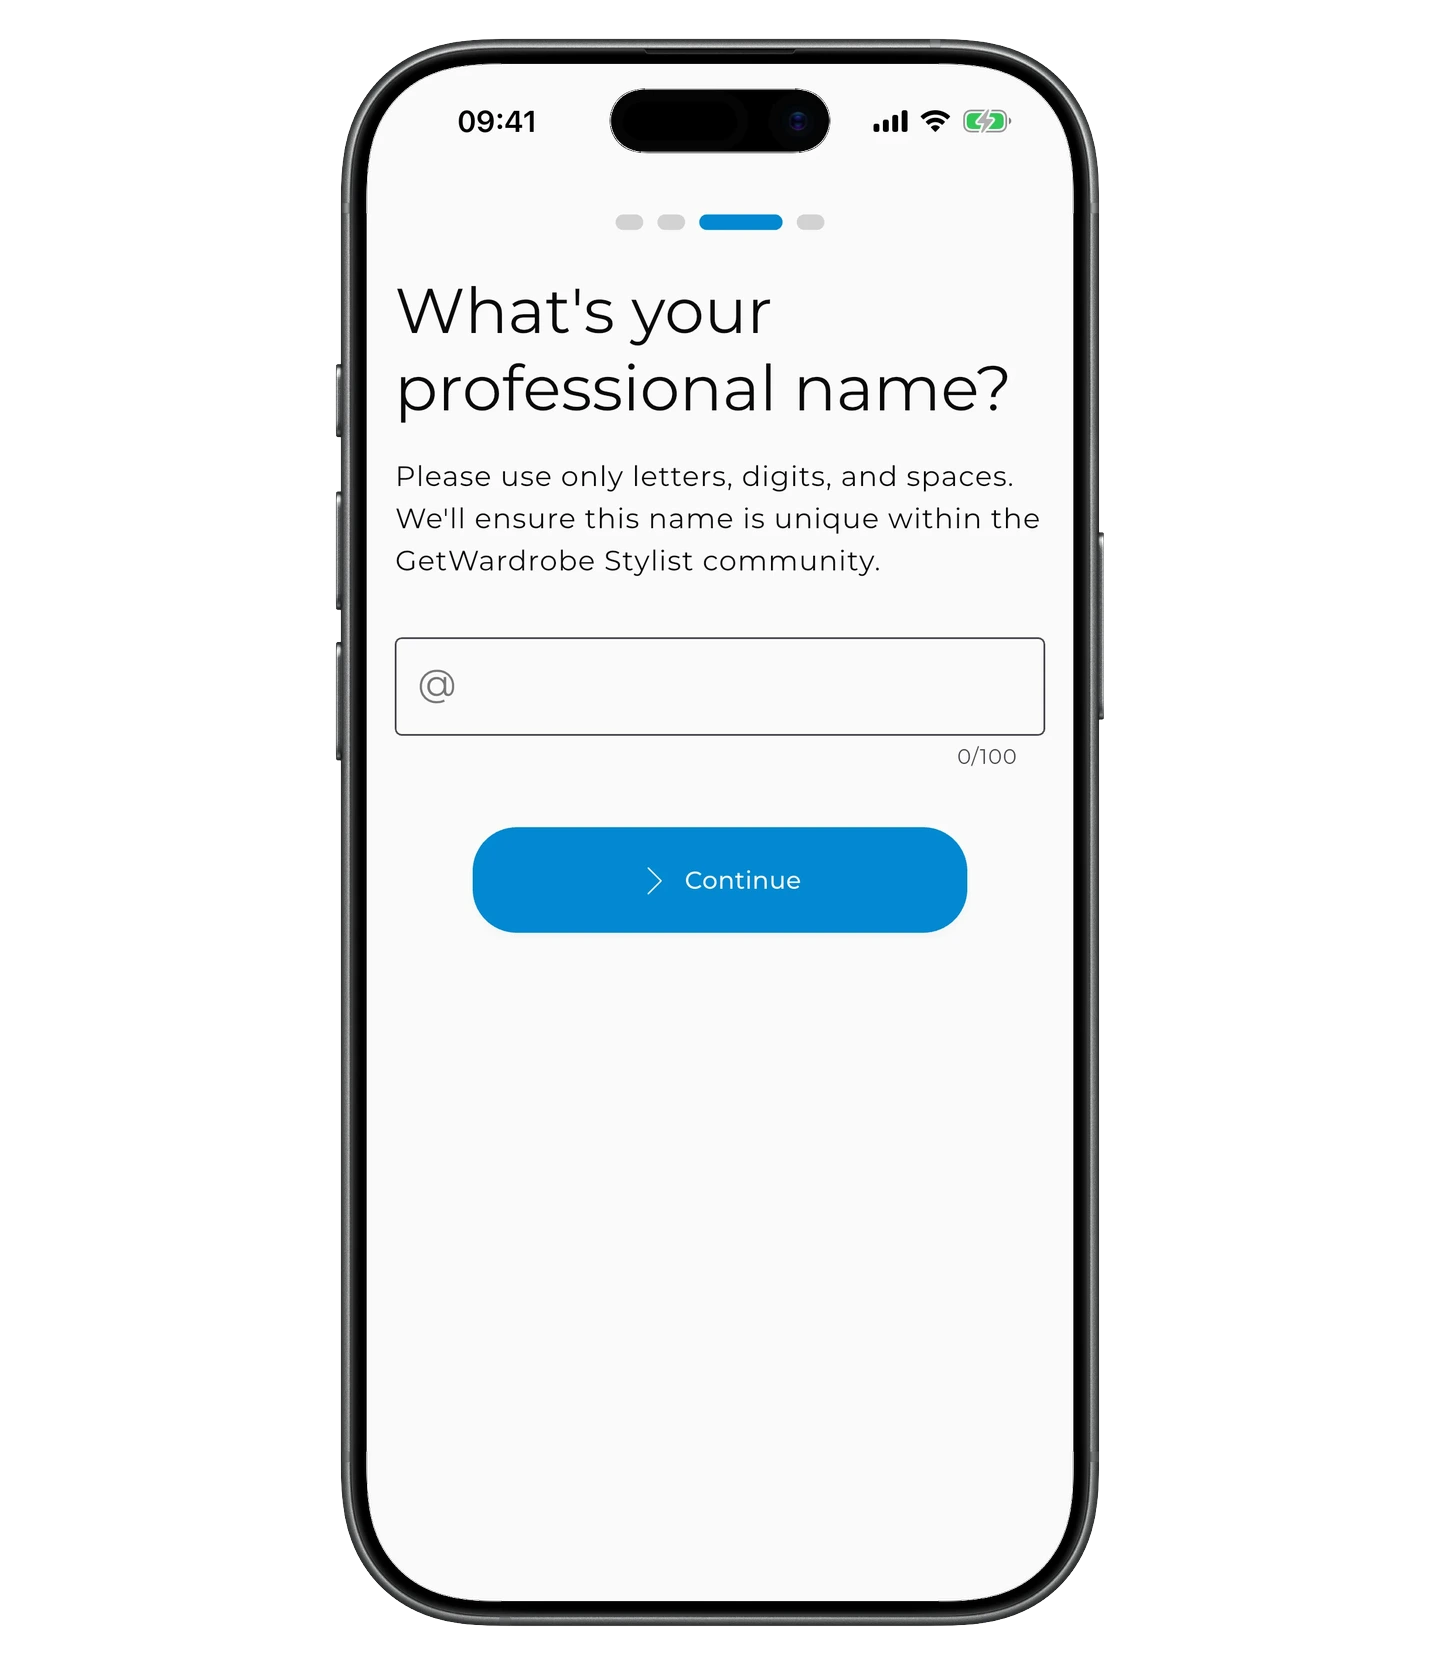
Setting up your profile
Enter the name your clients will see and tap "Continue".
Add a profile photo — your clients will see it too.
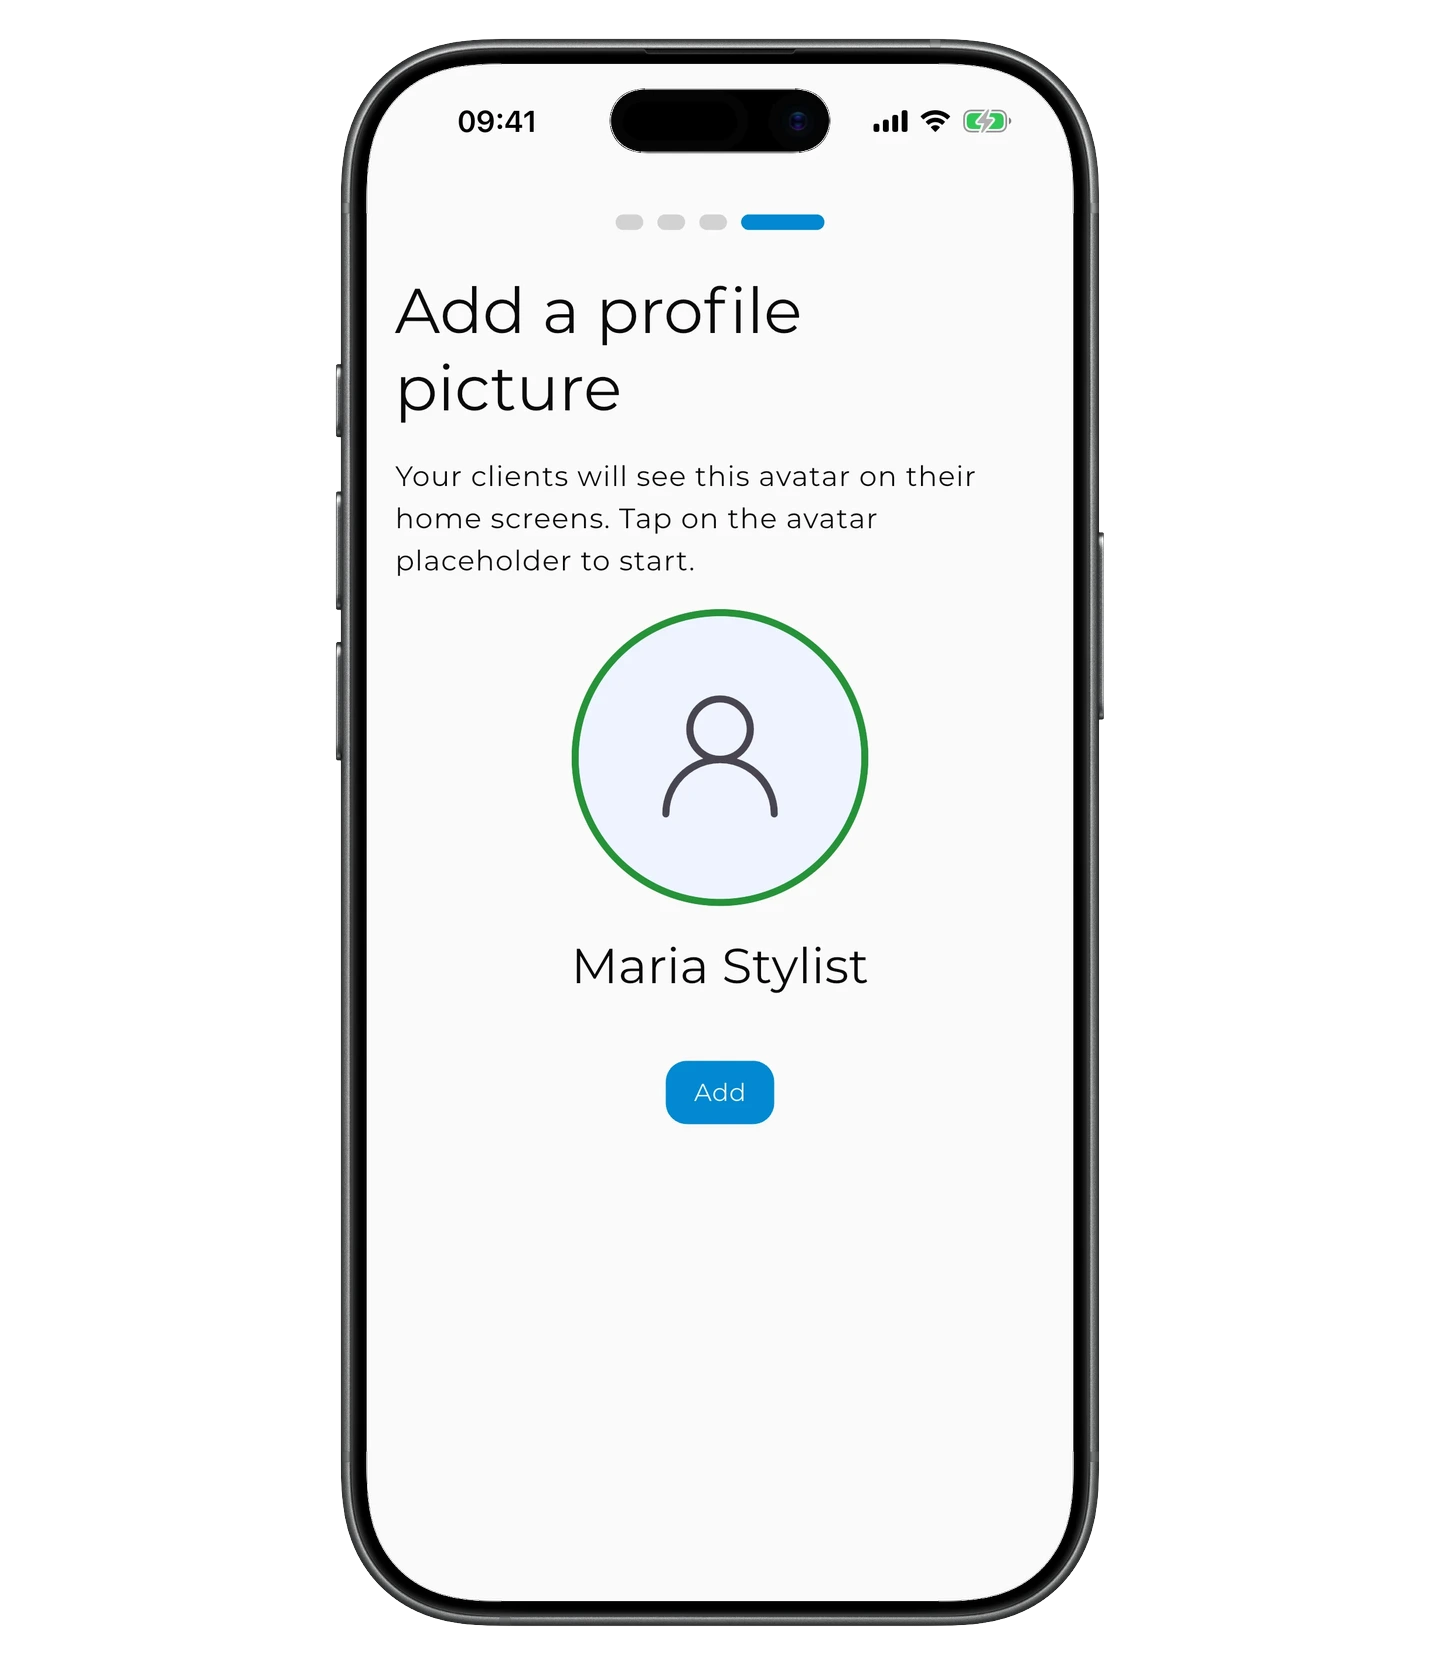
Tap "Continue" — your stylist profile is ready.
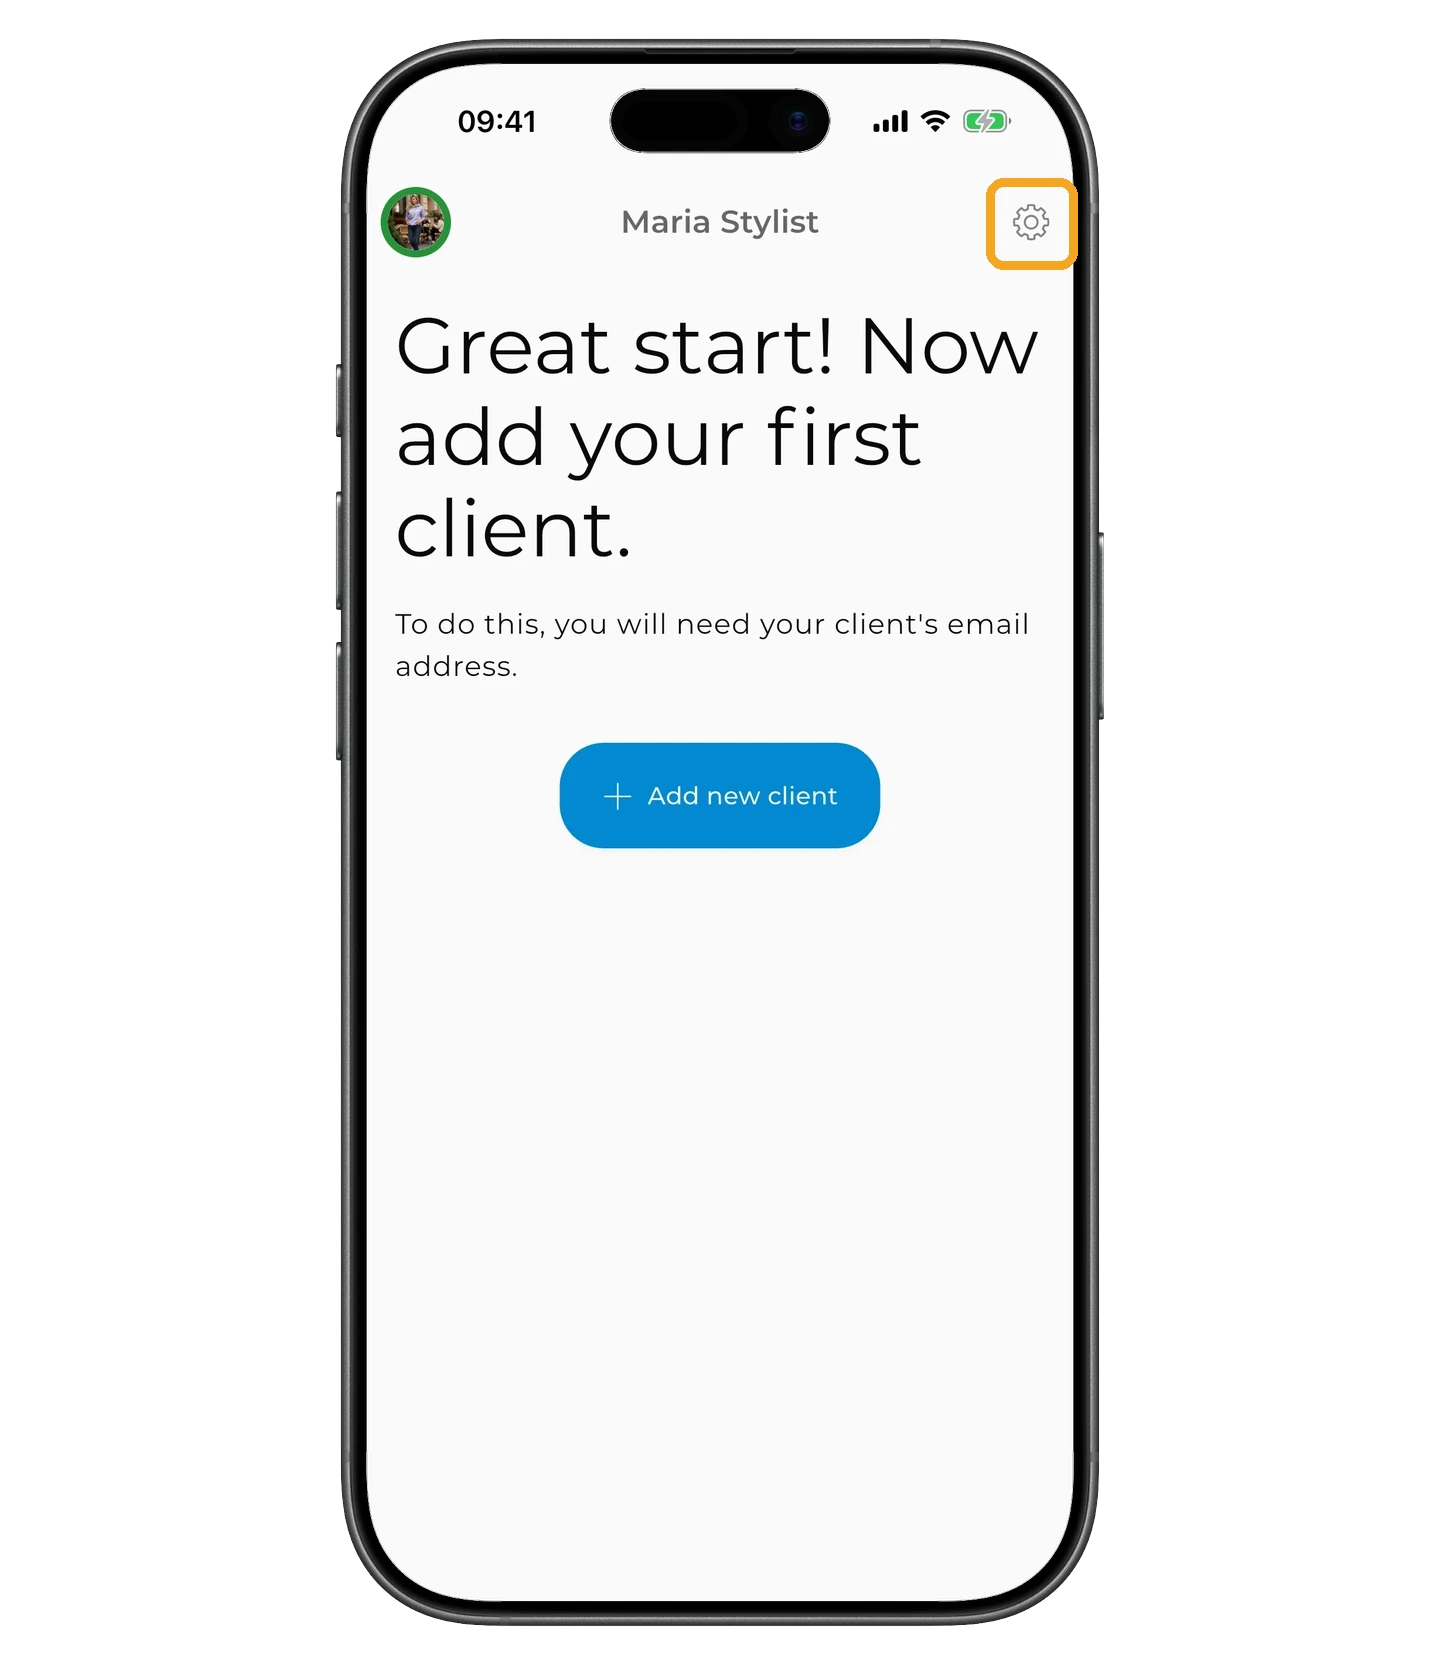
To open your stylist account settings, tap the gear icon in the top-right corner of the dashboard.
In profile settings you can:
- add your professional skills;
- add a link to your website or social media;
- upload a service agreement if you have one.
Tap "Save" to finish setting up your stylist profile.
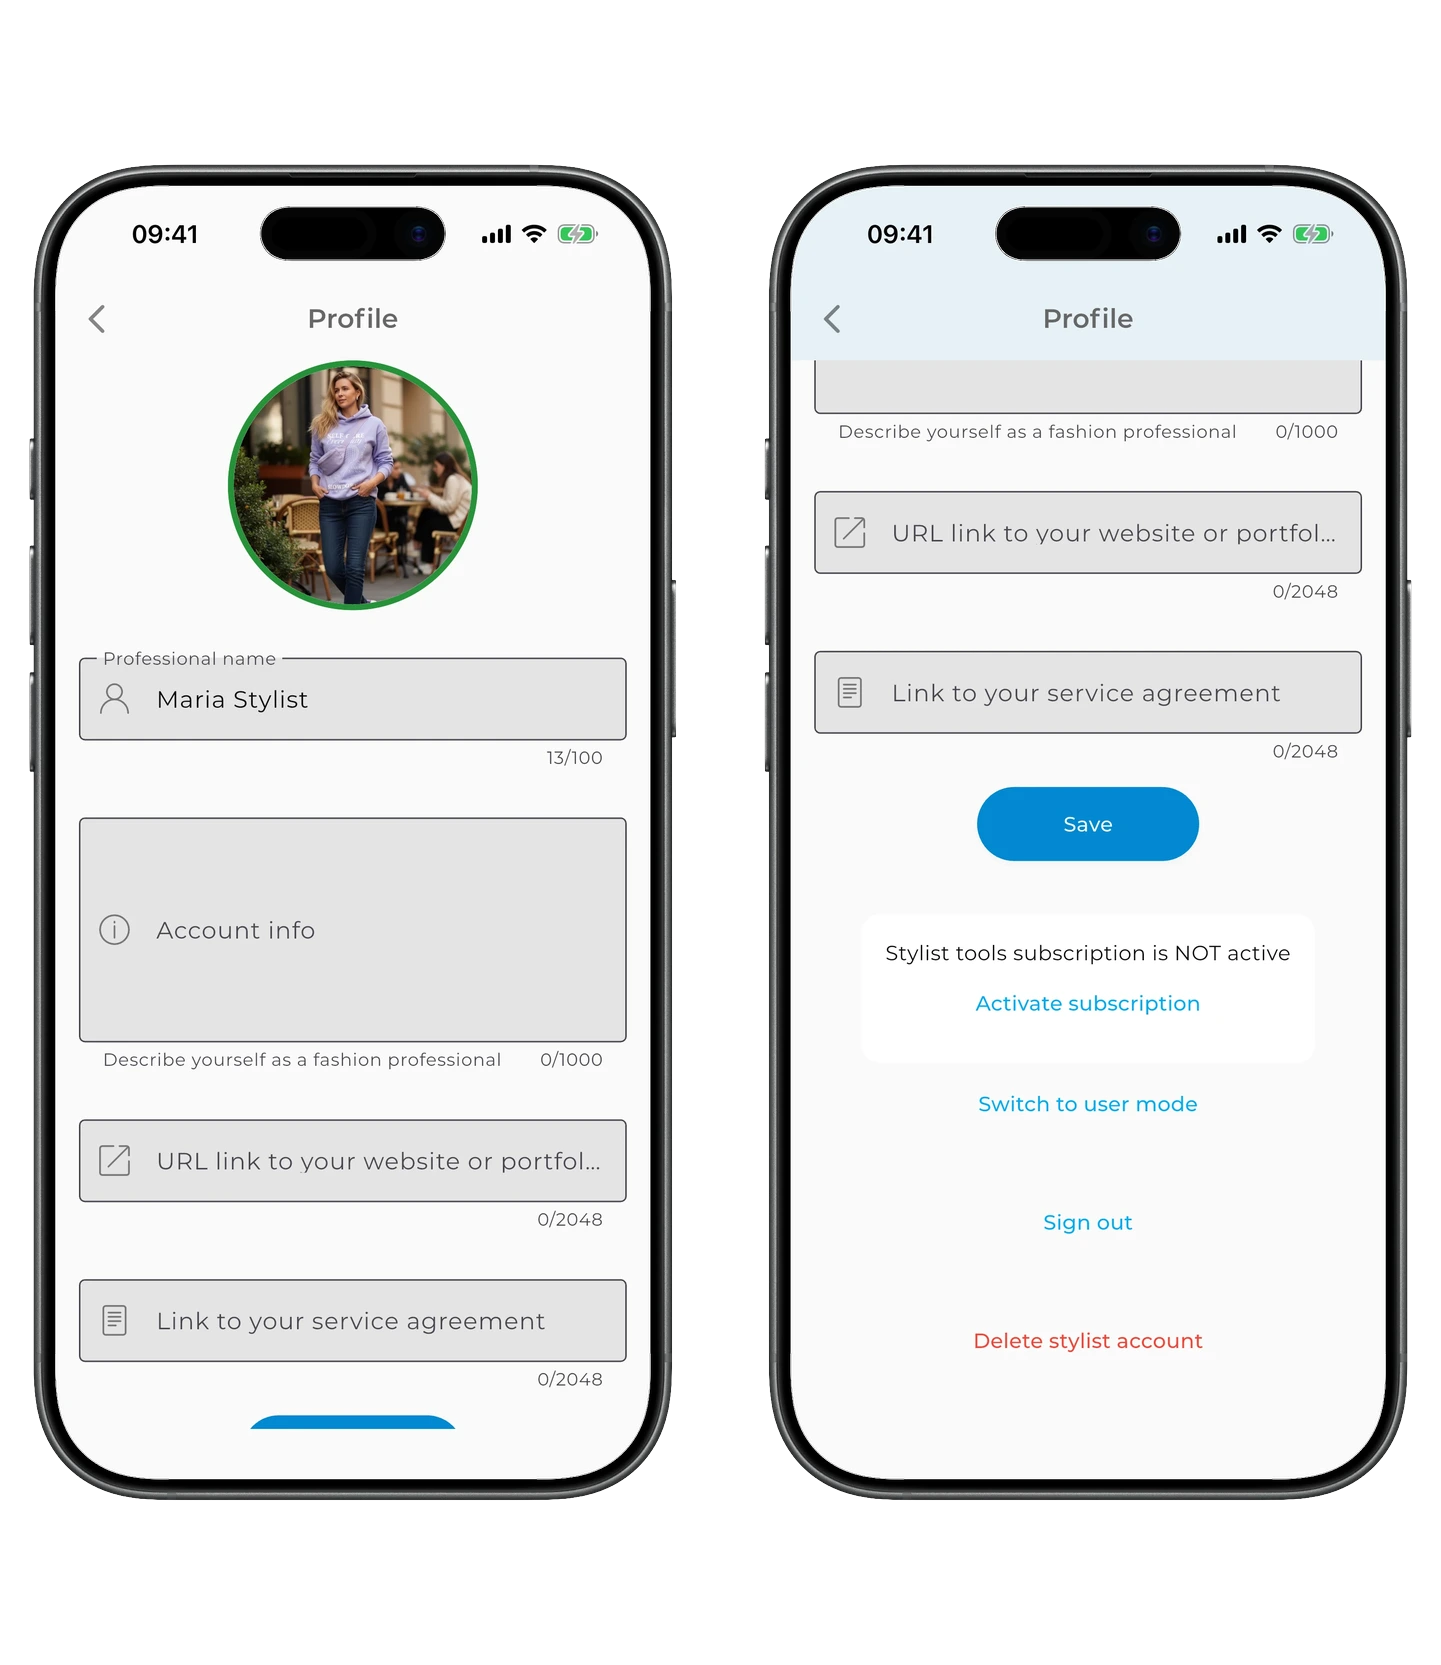
You can switch back to user mode at any time — open your stylist account settings and tap "Switch to user mode" at the bottom of the Profile screen.
Subscription
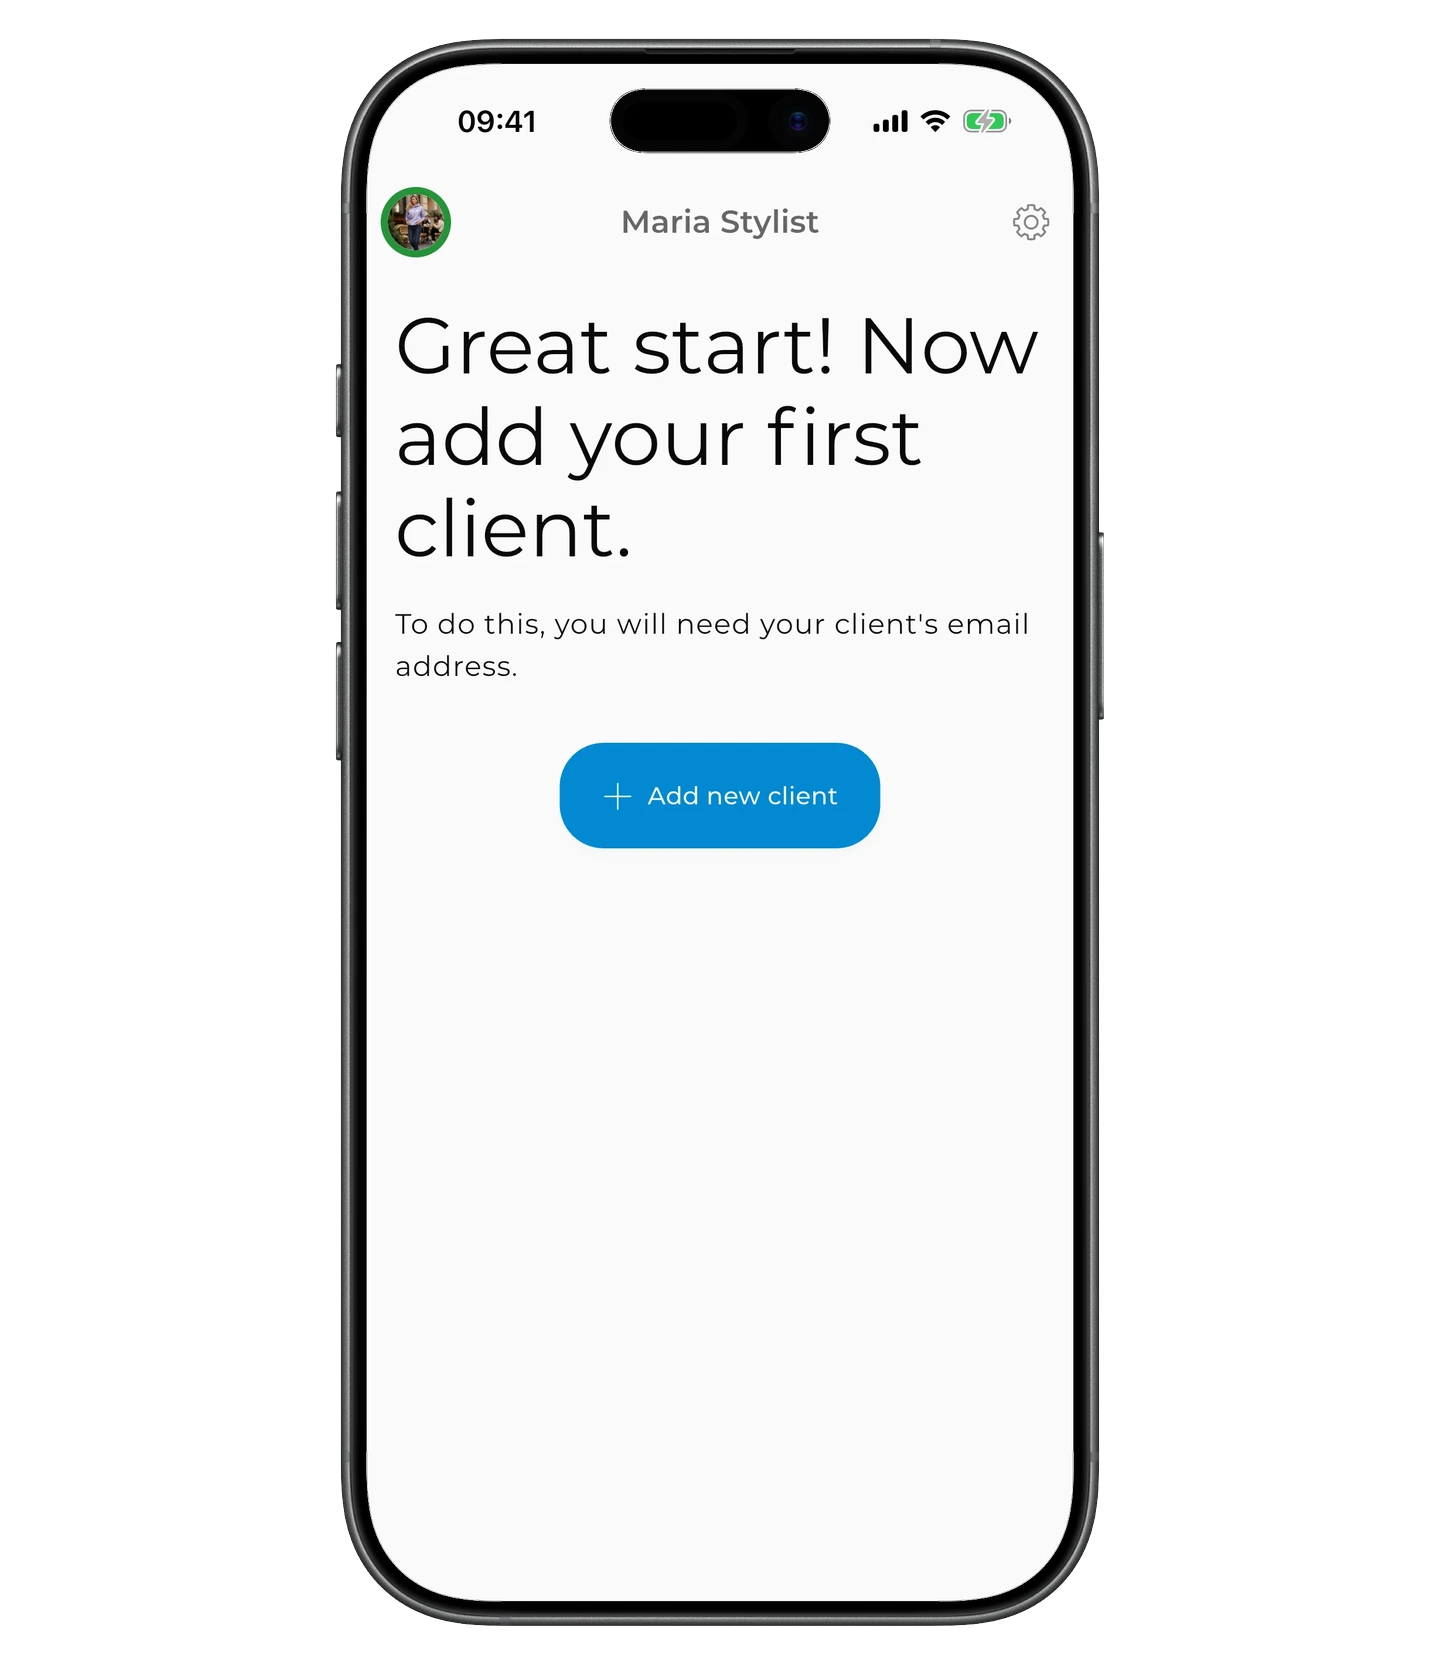
Working in Stylist Mode requires a subscription. You can set one up right in the app when you add your first client, or from your stylist account settings.
Adding clients
The client already has a GetWardrobe account
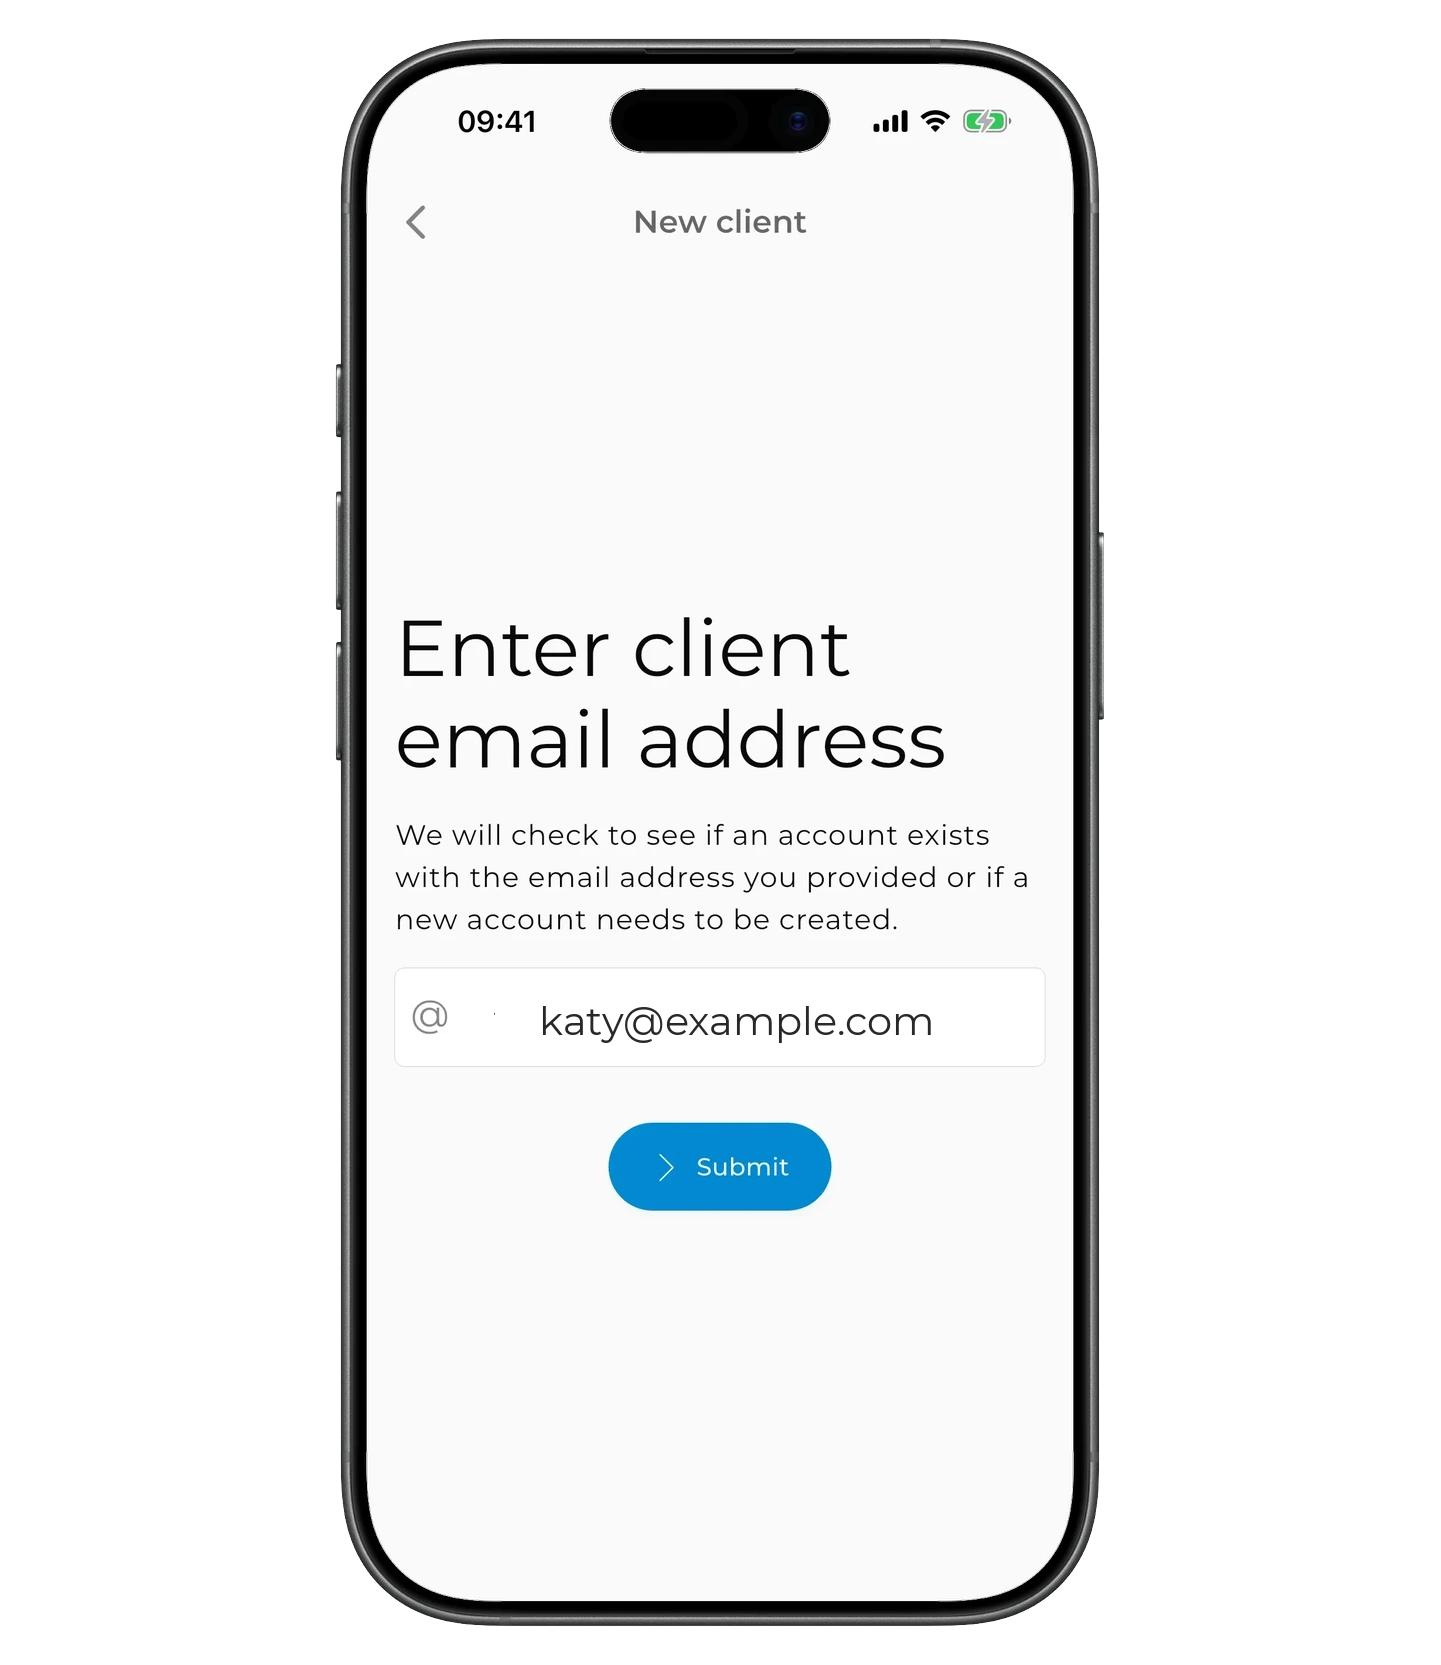
Tap "+ Add New Client", enter the client's email, and tap "Submit".
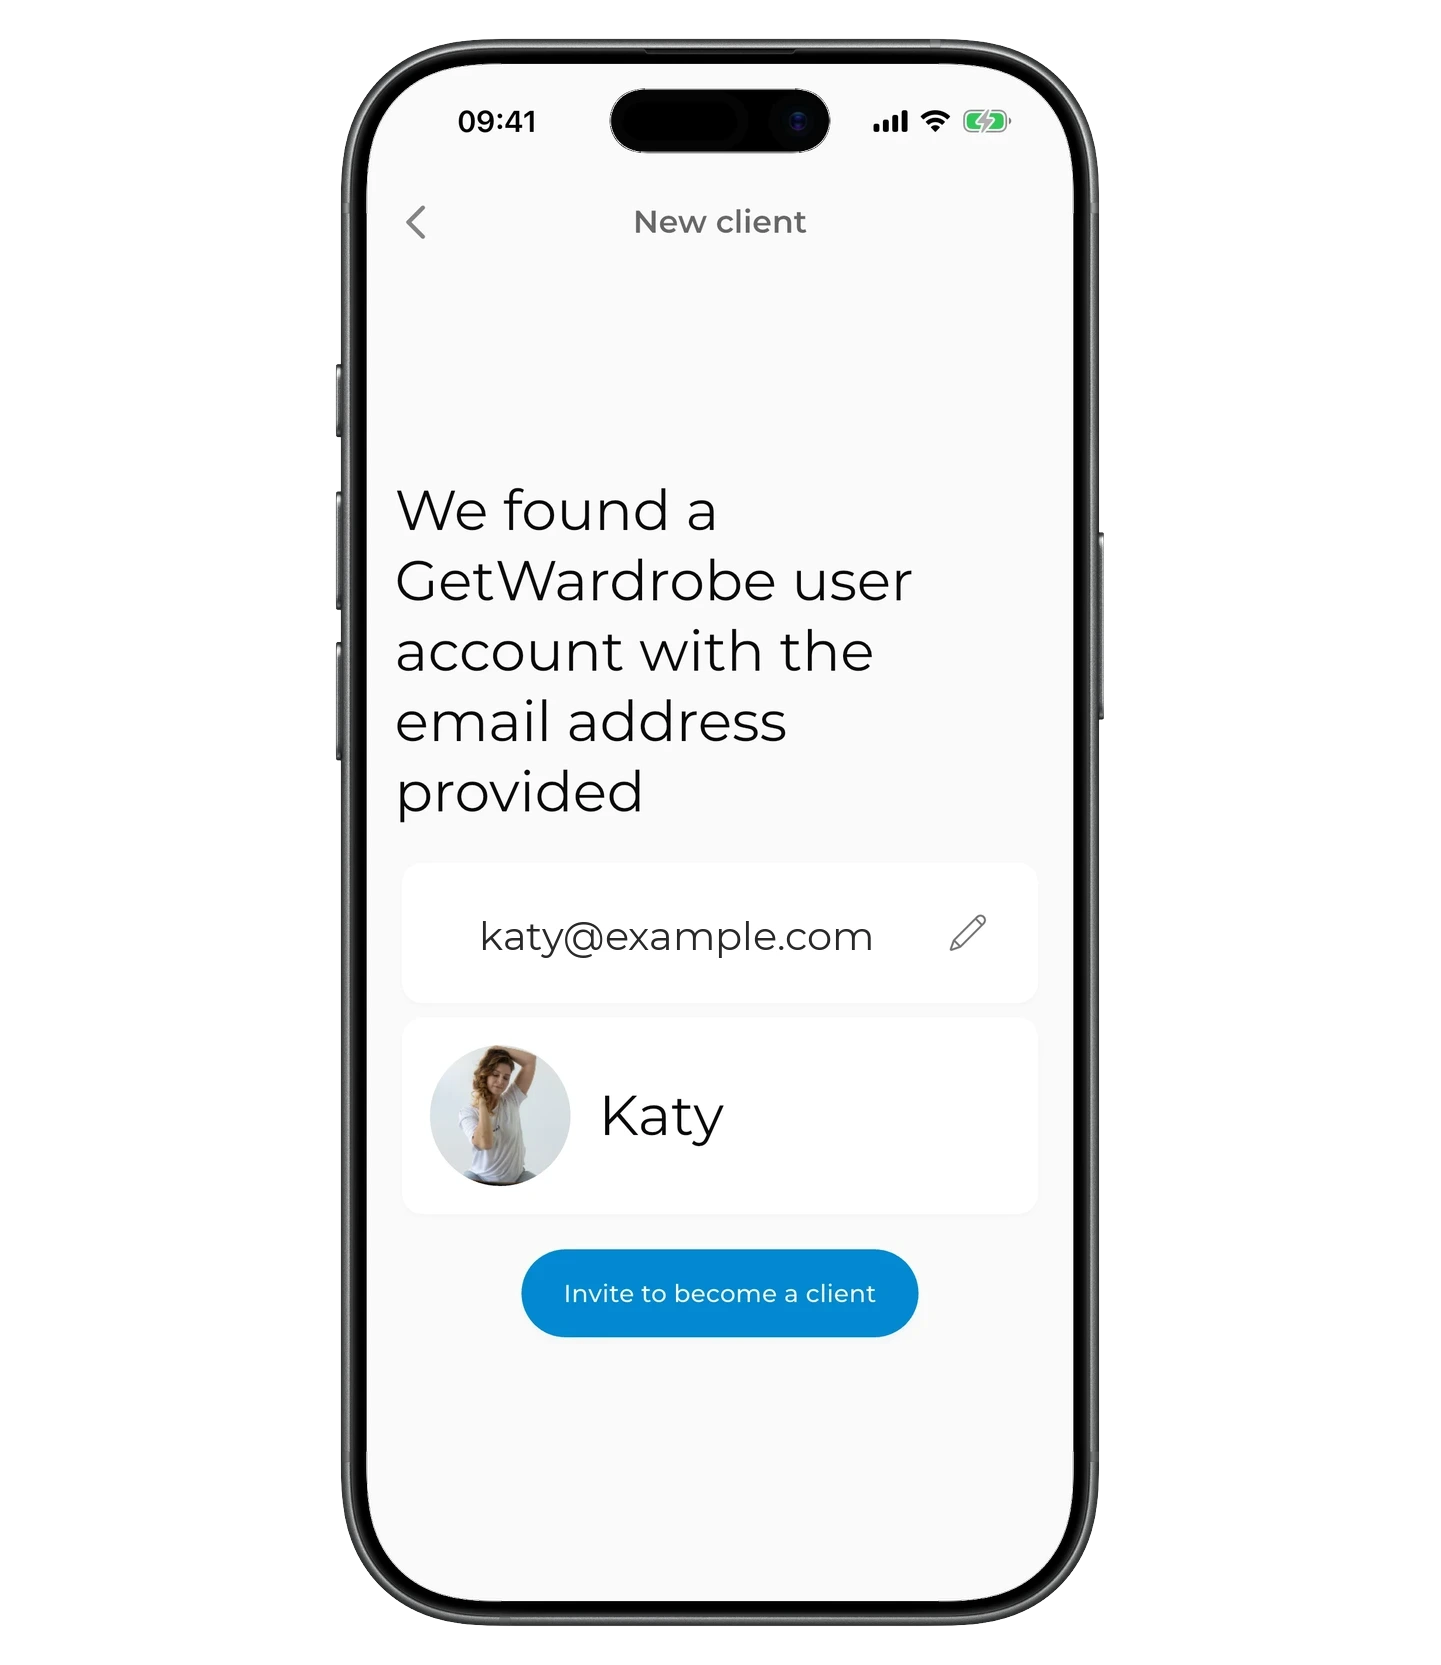
If an account with that email already exists in GetWardrobe, you'll see the client's name and avatar. Tap "Invite to become a client".
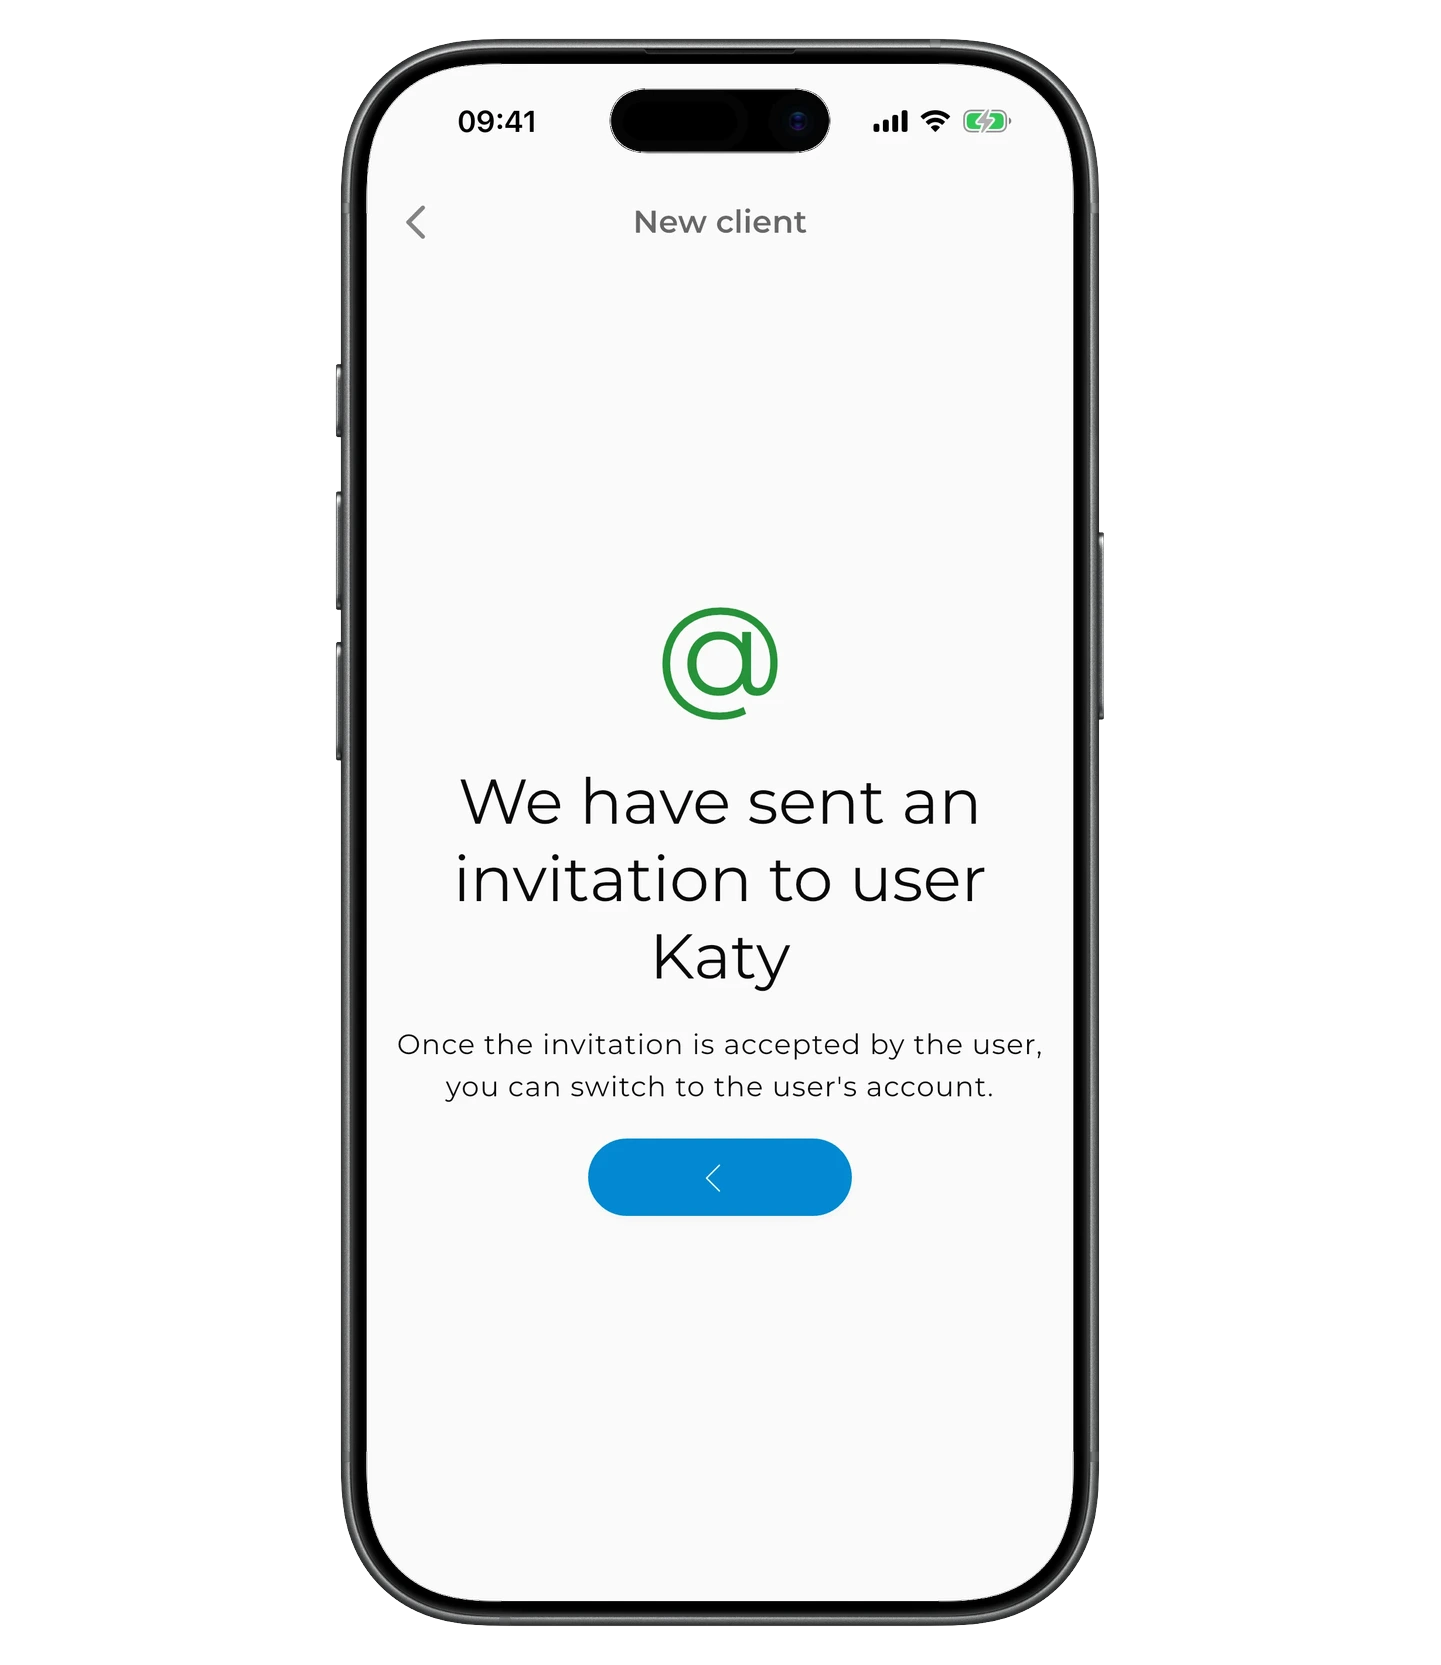
The invitation is sent immediately. As soon as the client accepts it, you'll be able to open their wardrobe and start working.
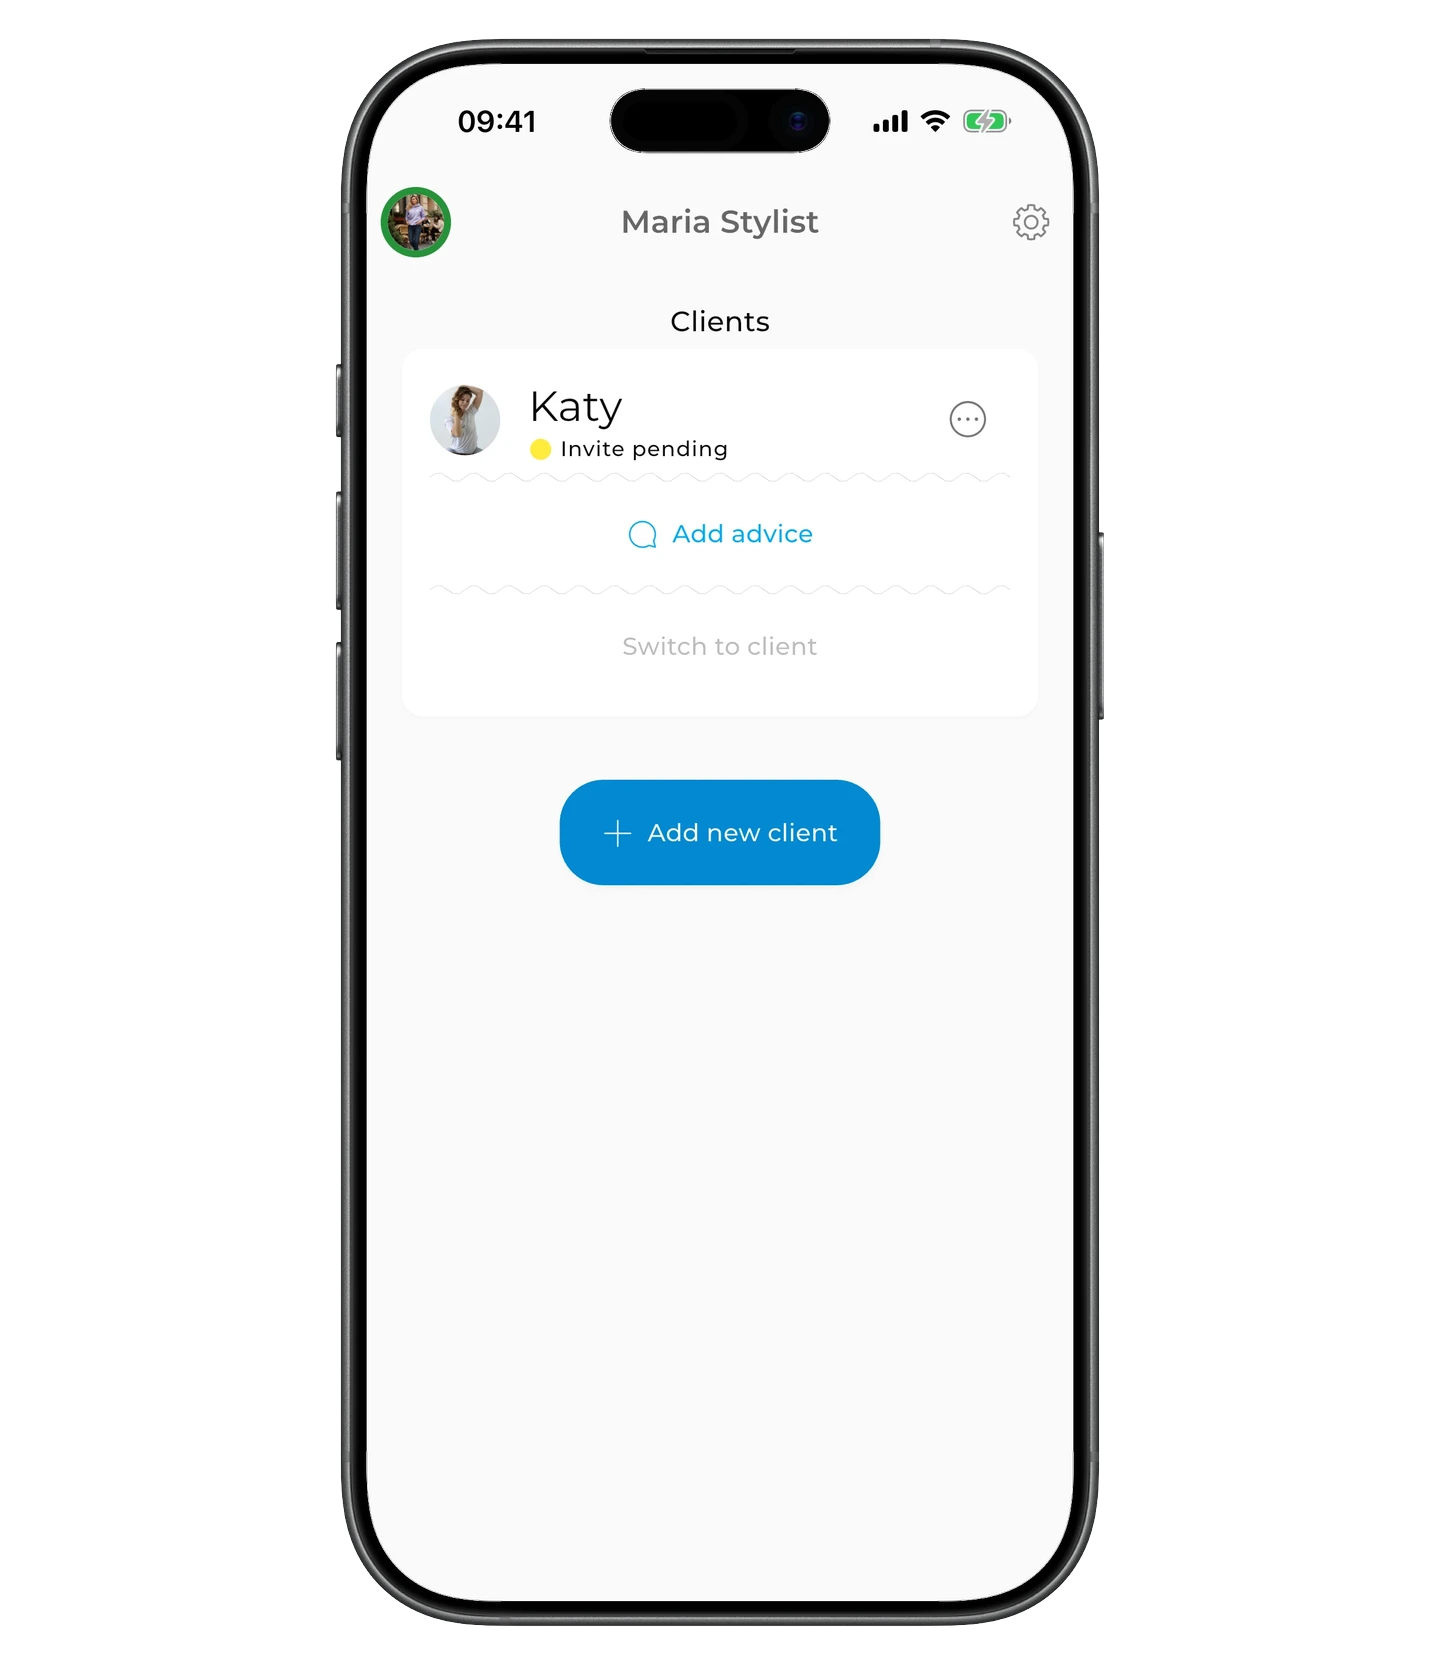
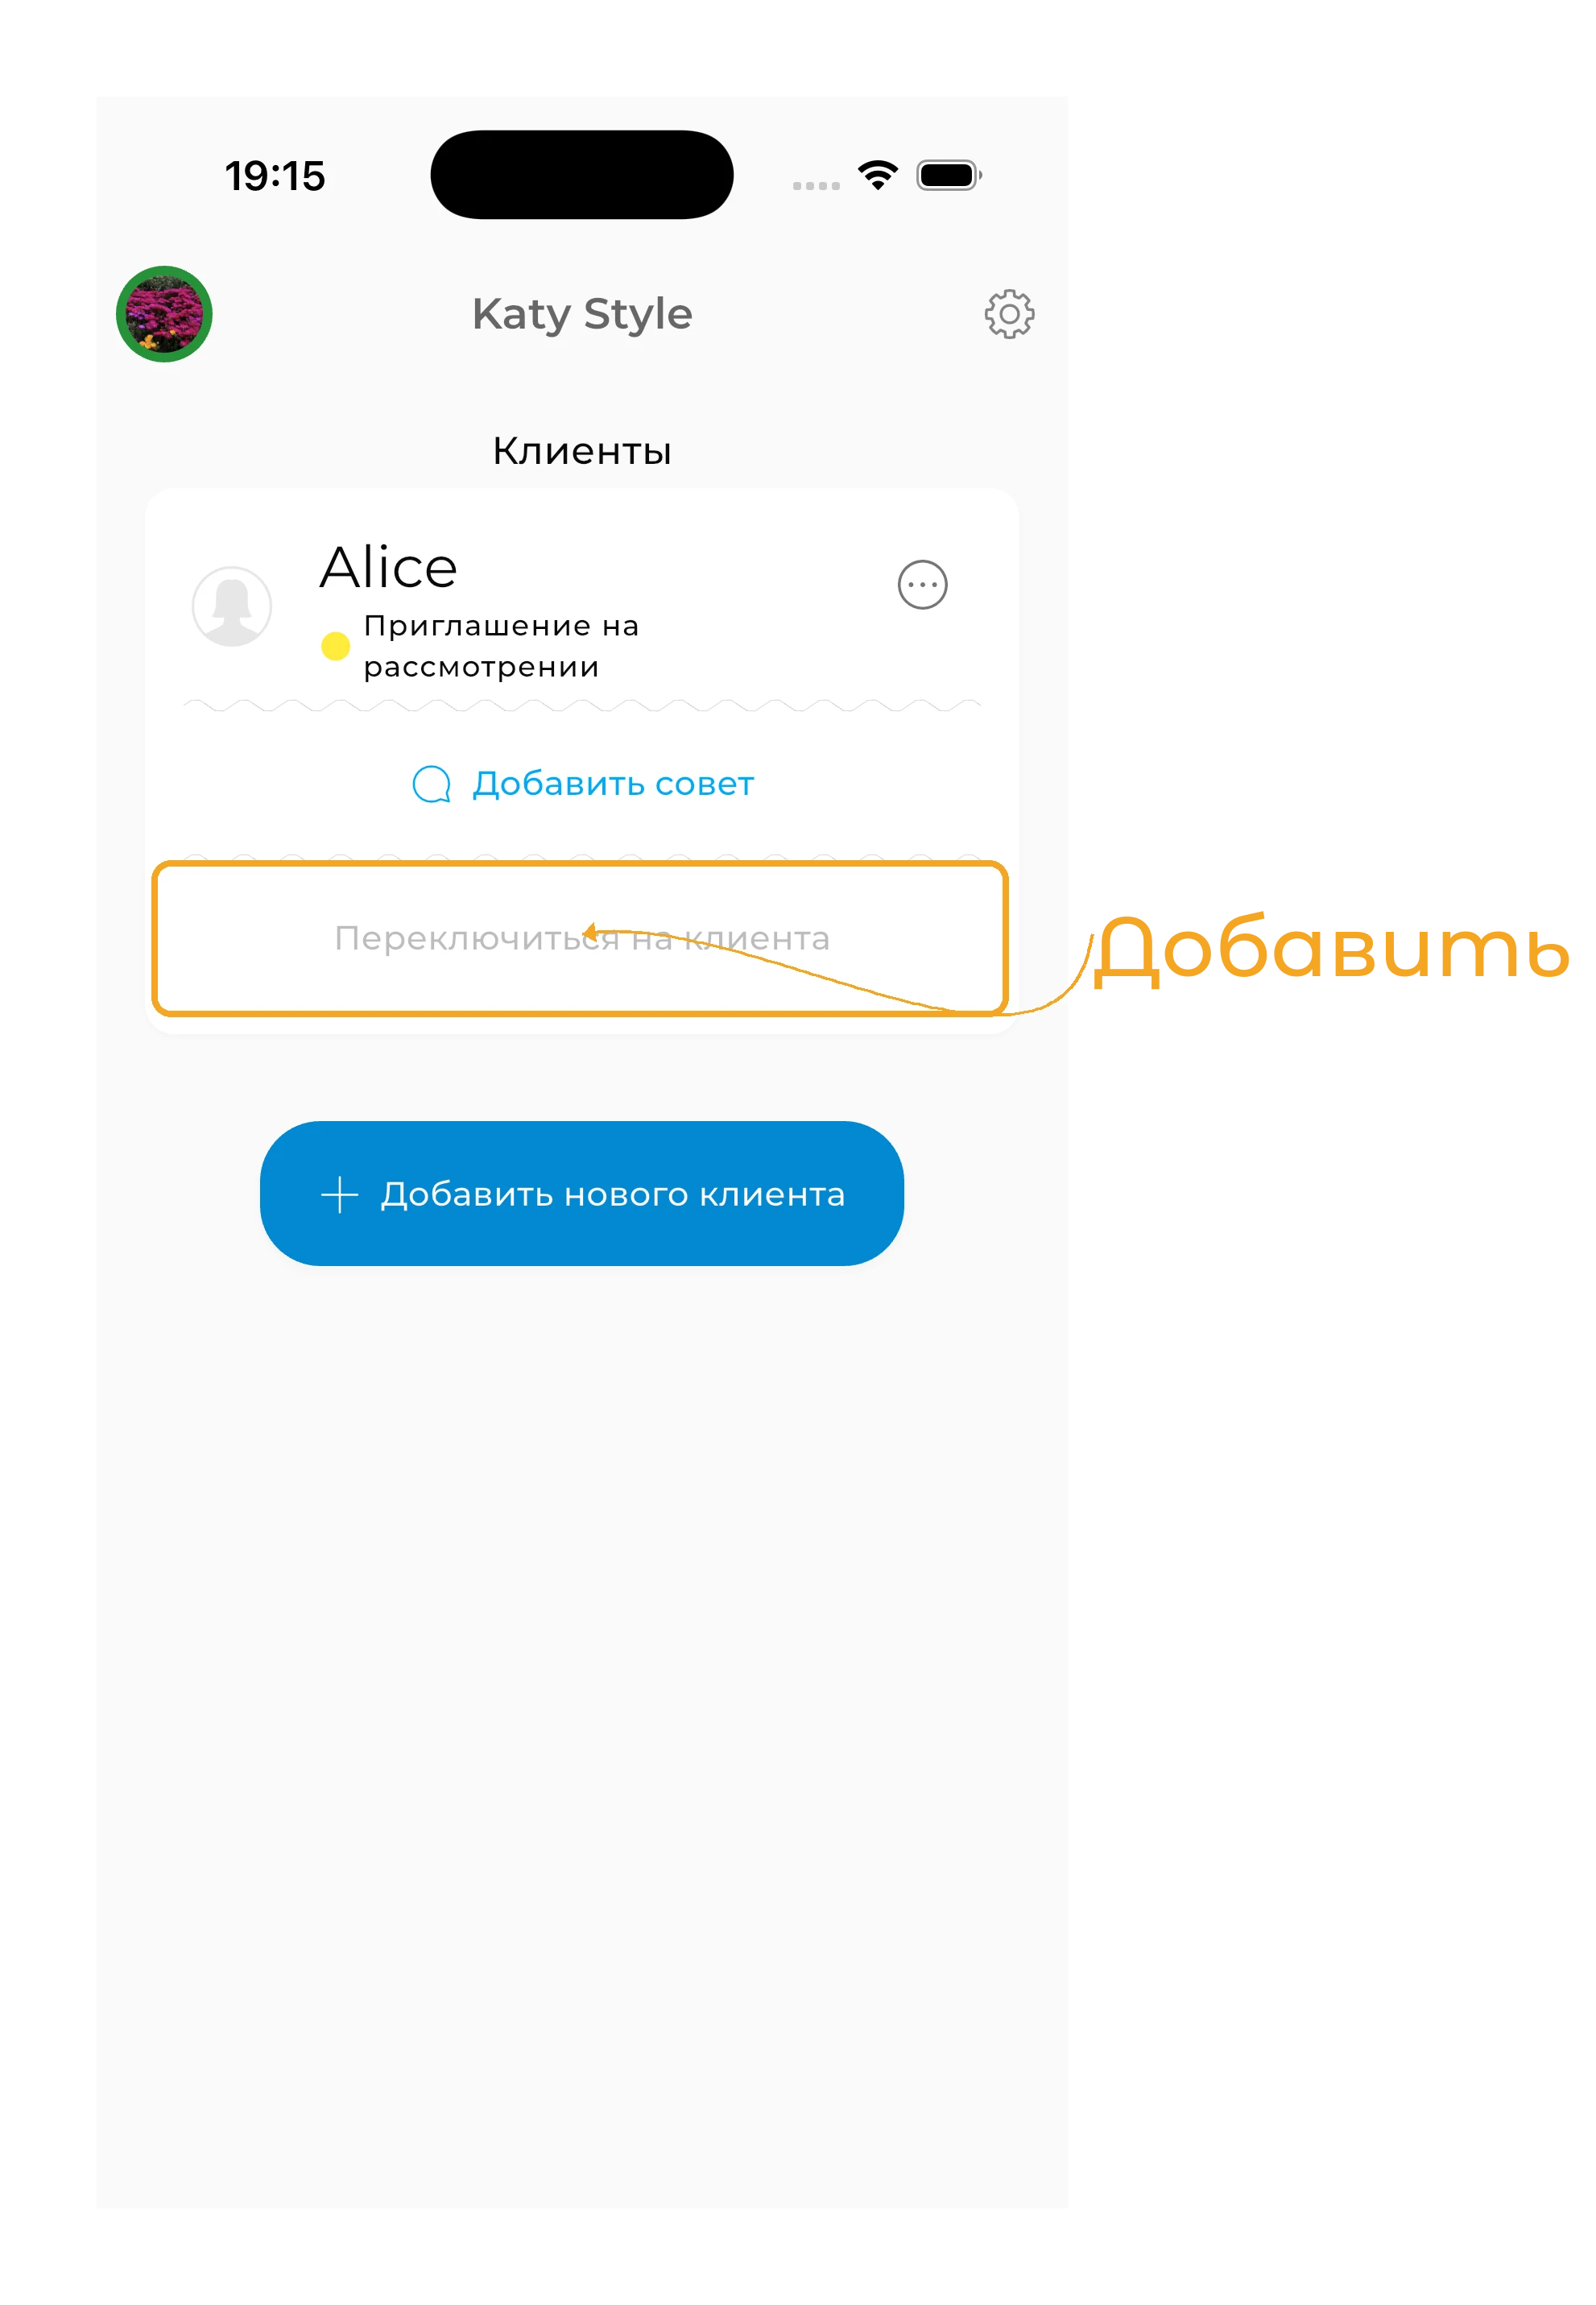
Until the client accepts your invitation, their card shows "Pending". Once they accept, it changes to "Accepted".
The client doesn't have a GetWardrobe account
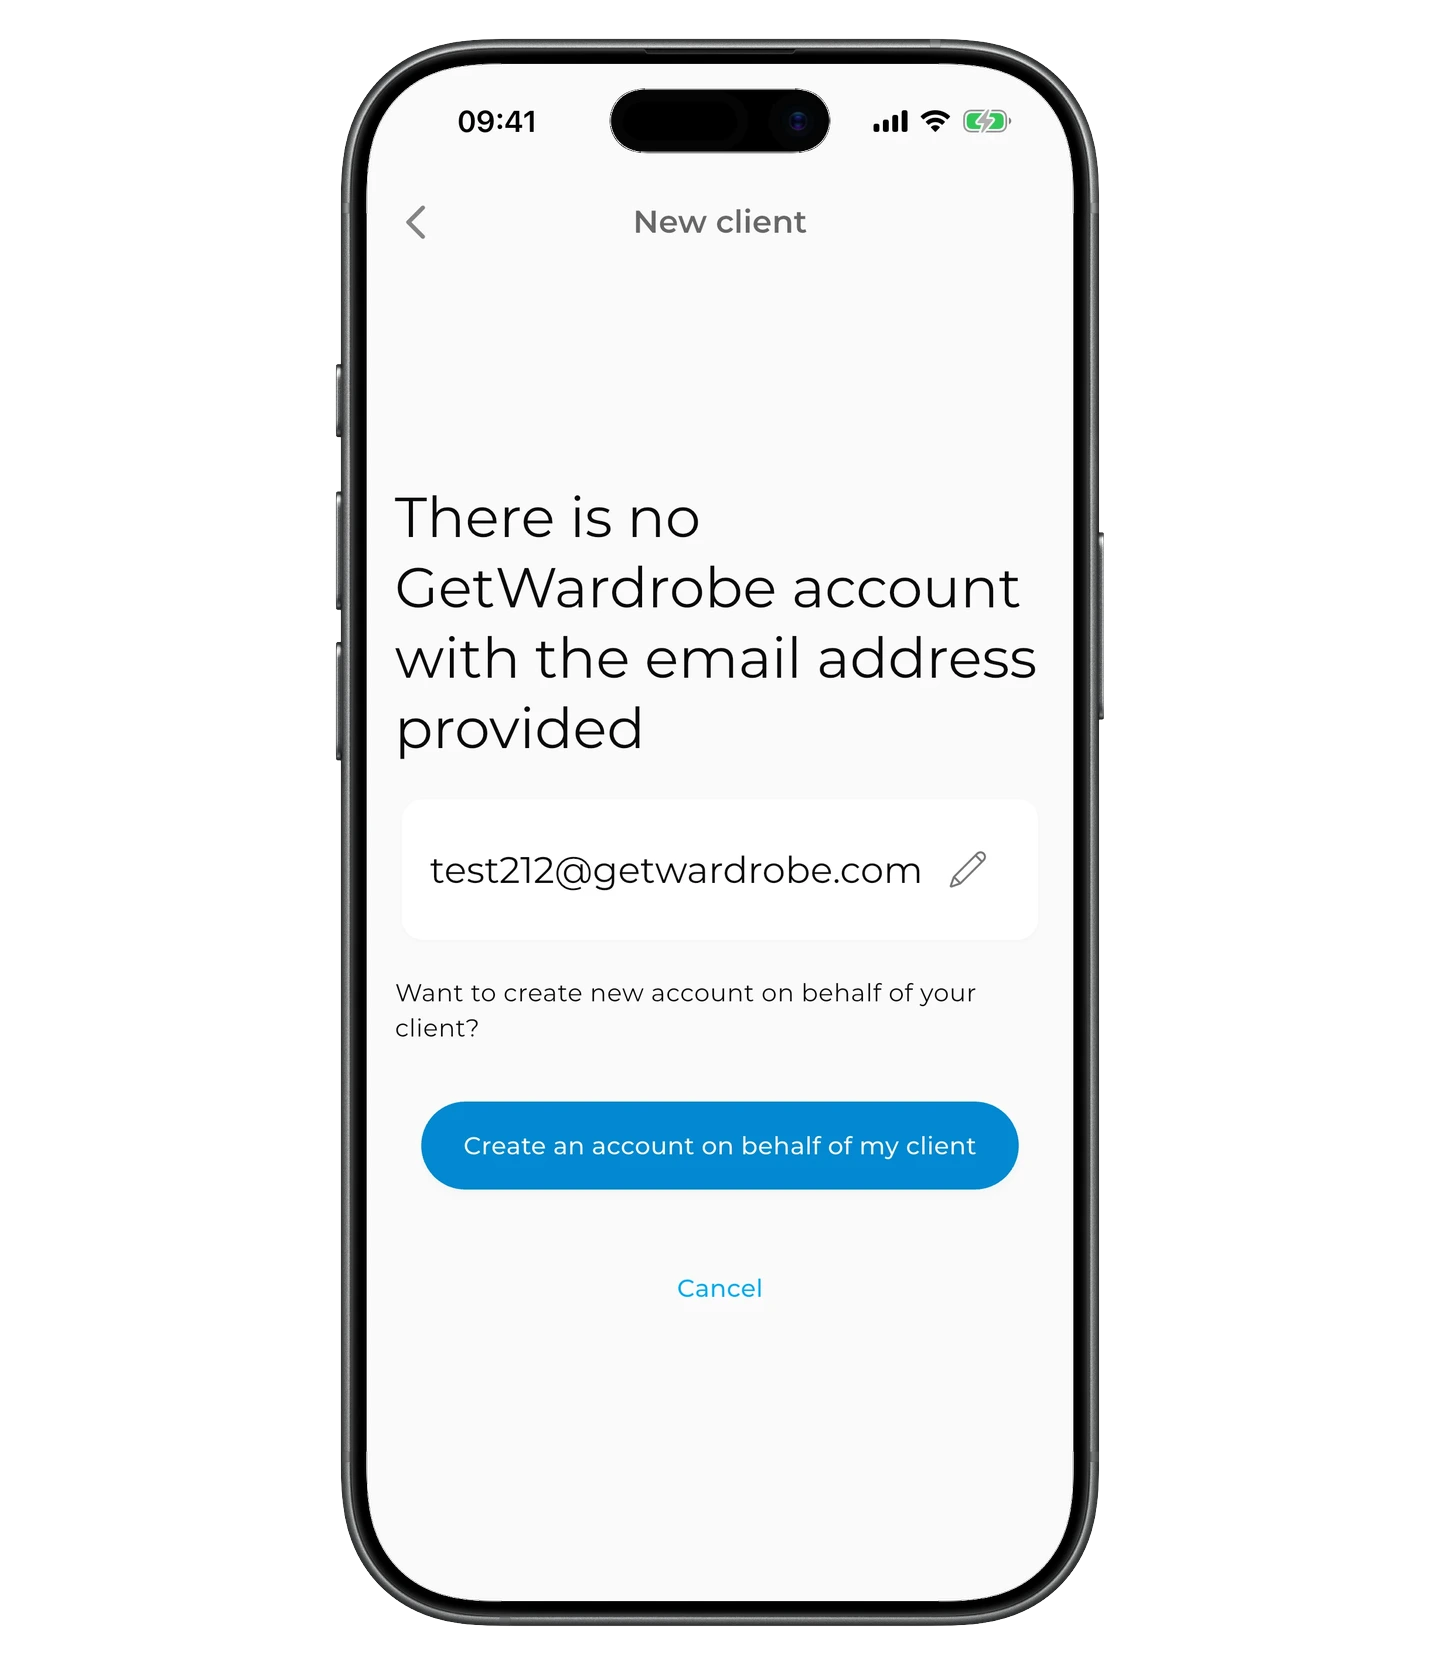
Tap "+ Add New Client", enter the email, and tap "Submit".
Tap "Create an account on behalf of my client".
Creating a client account
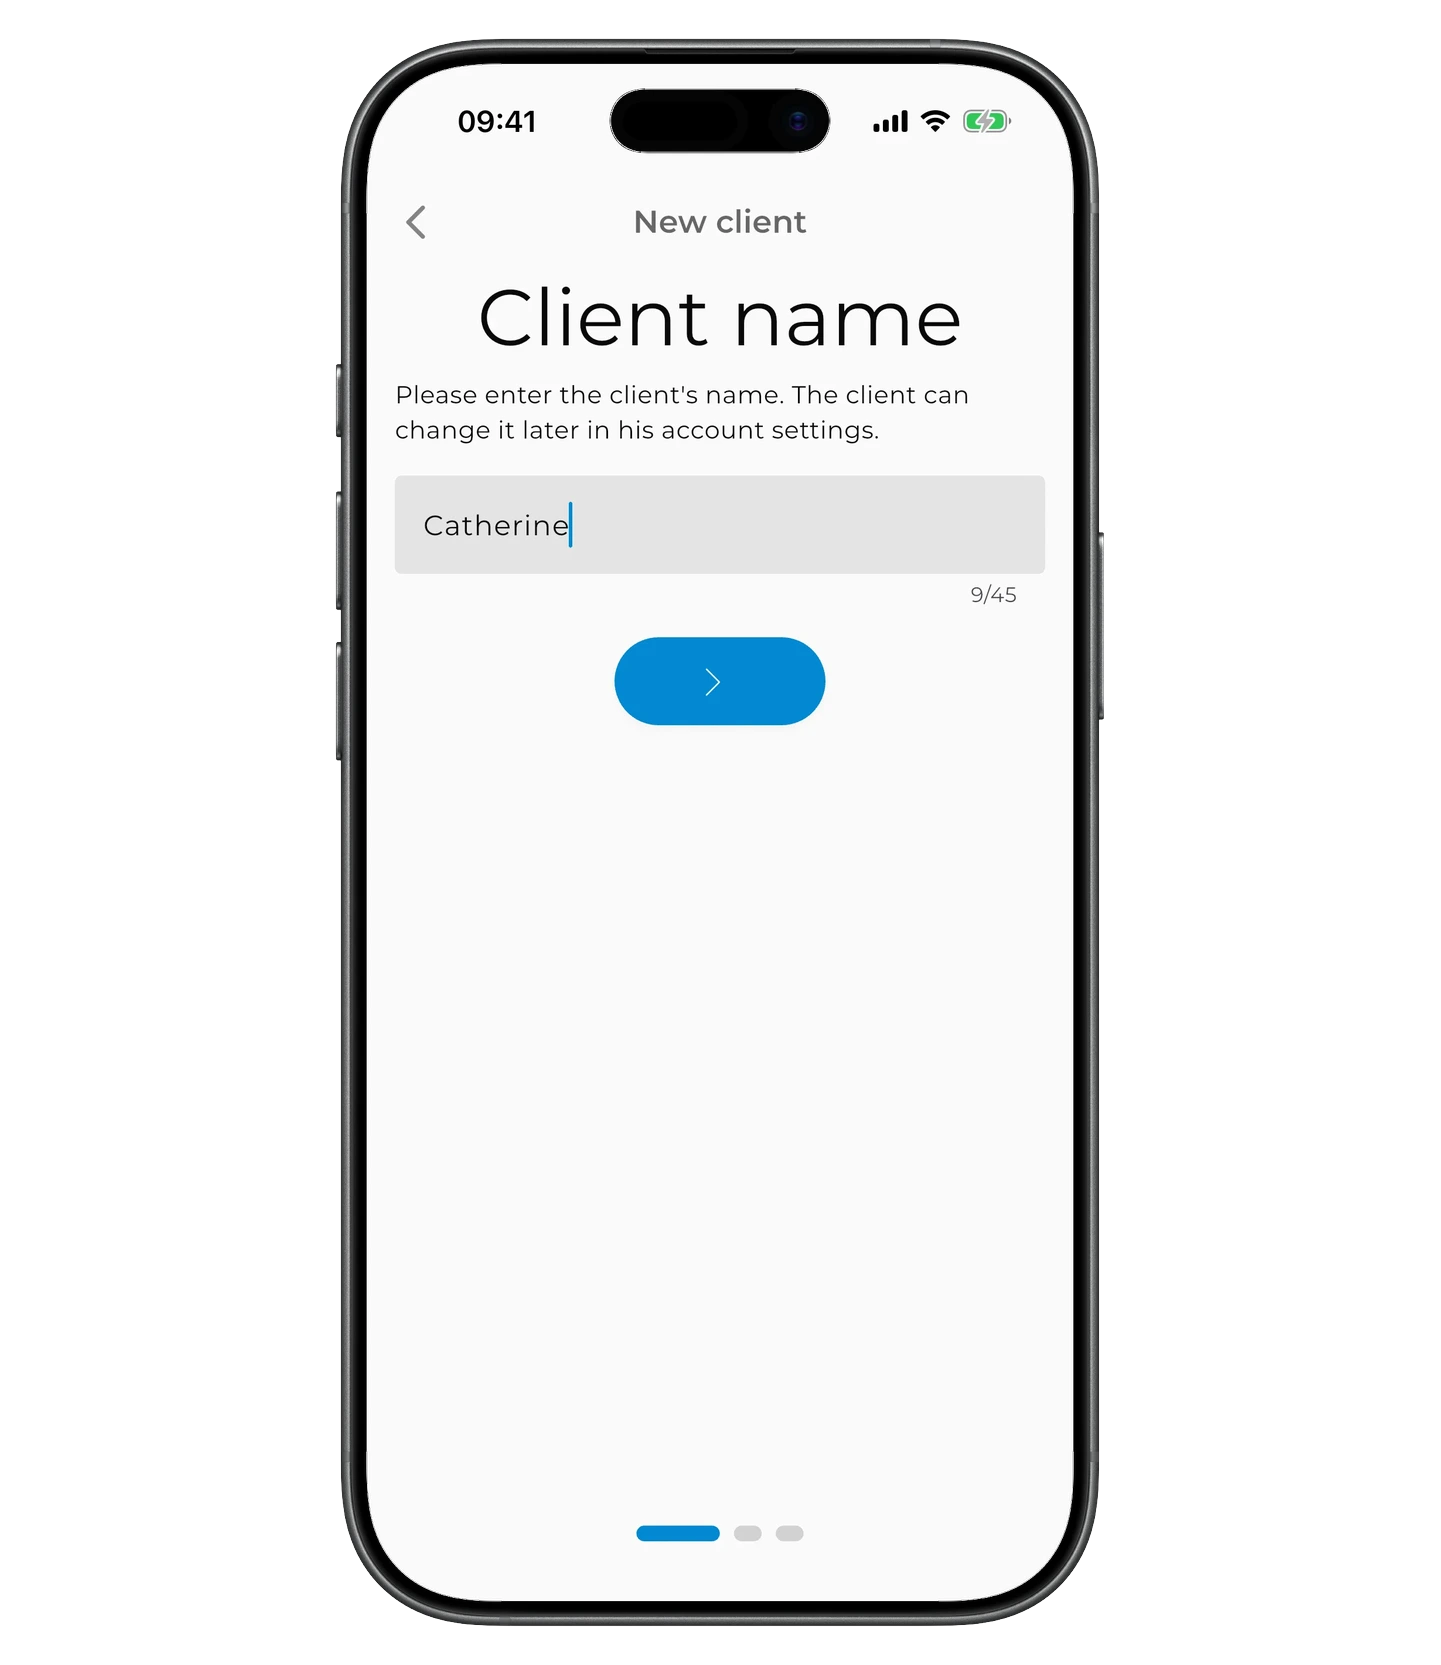
Enter the client's name and tap the right-arrow button.
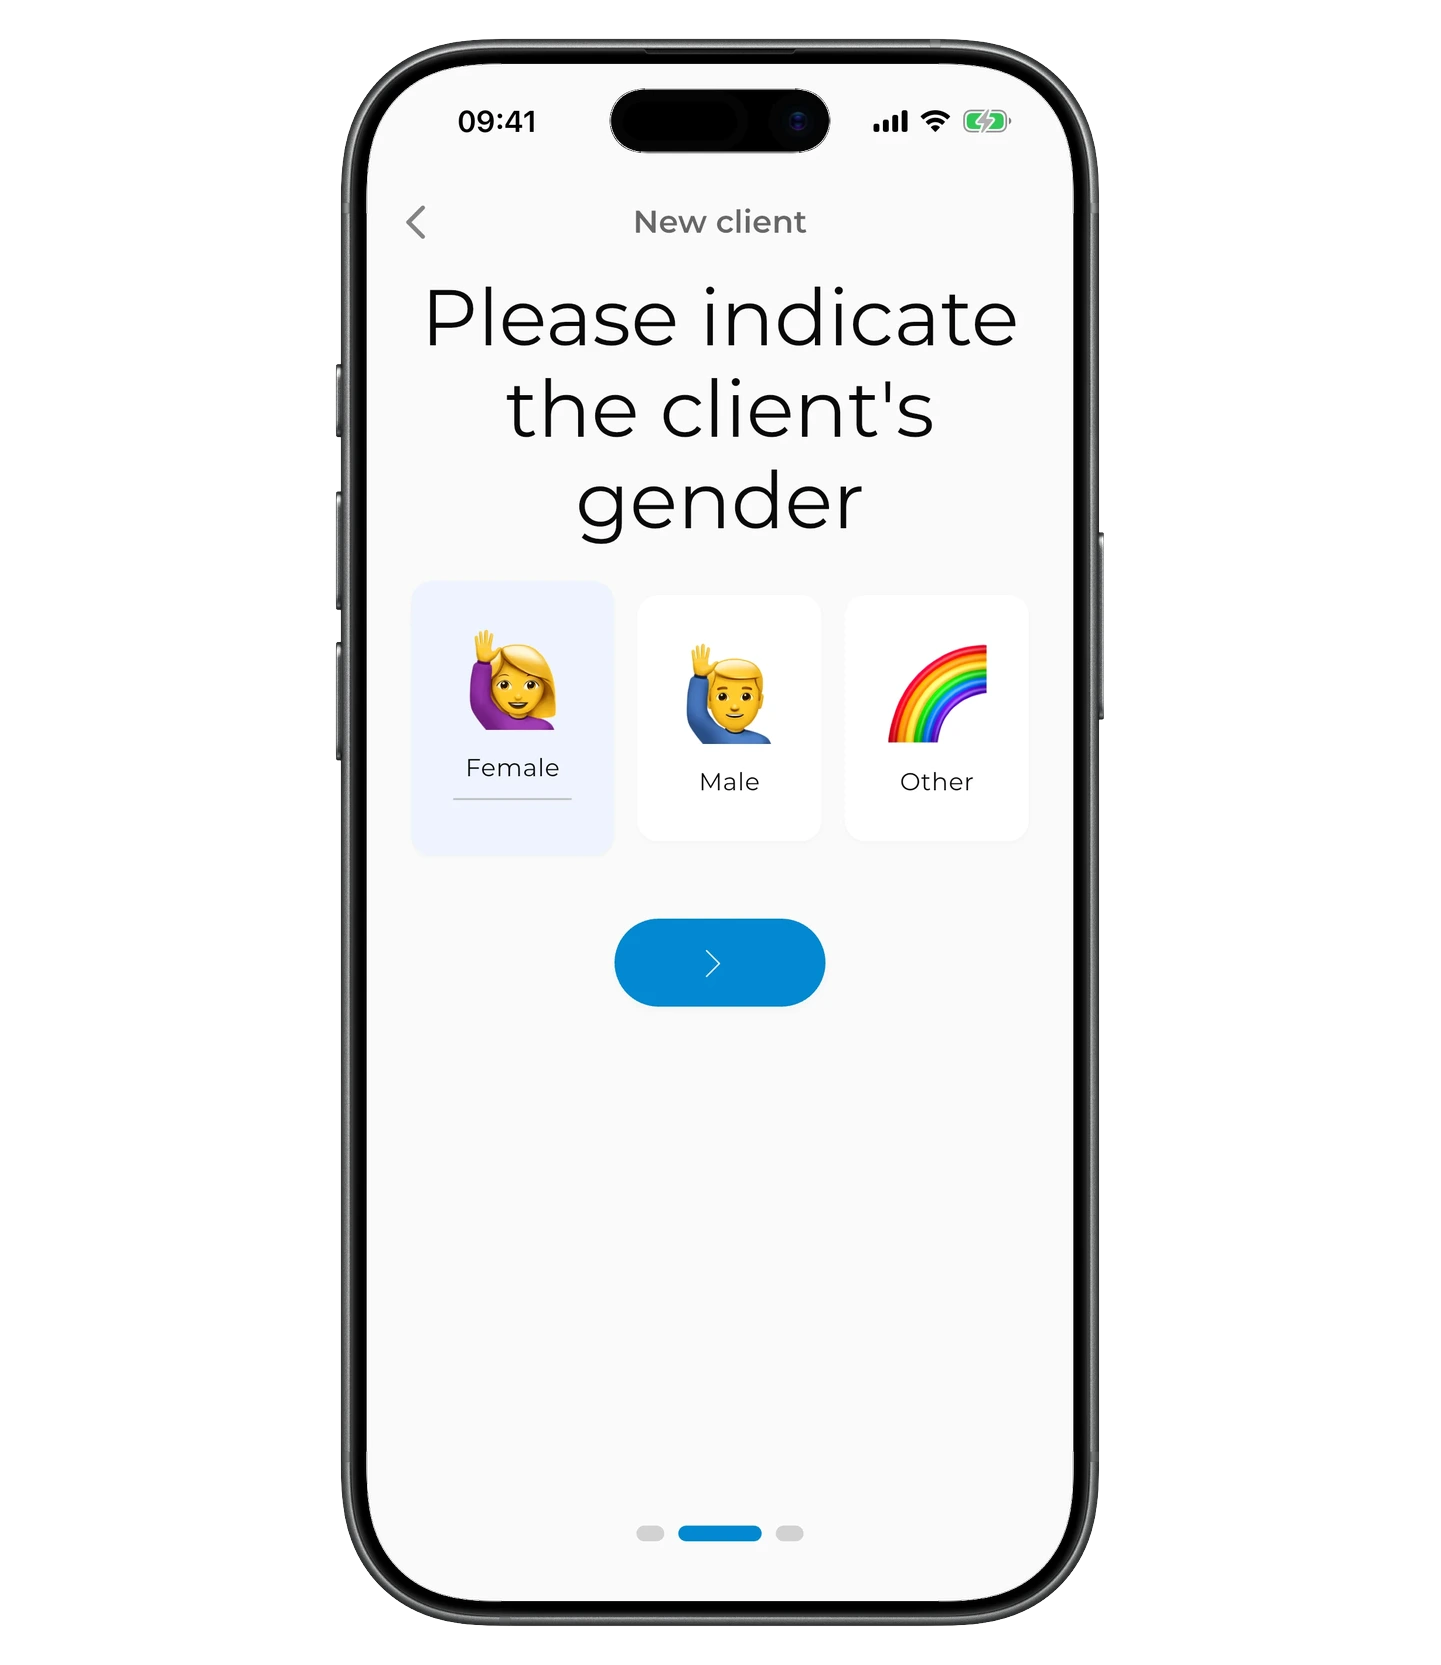
Select the client's gender — this determines which clothing categories show up in the app.
Confirm the account by reviewing the client's name, email, and gender.
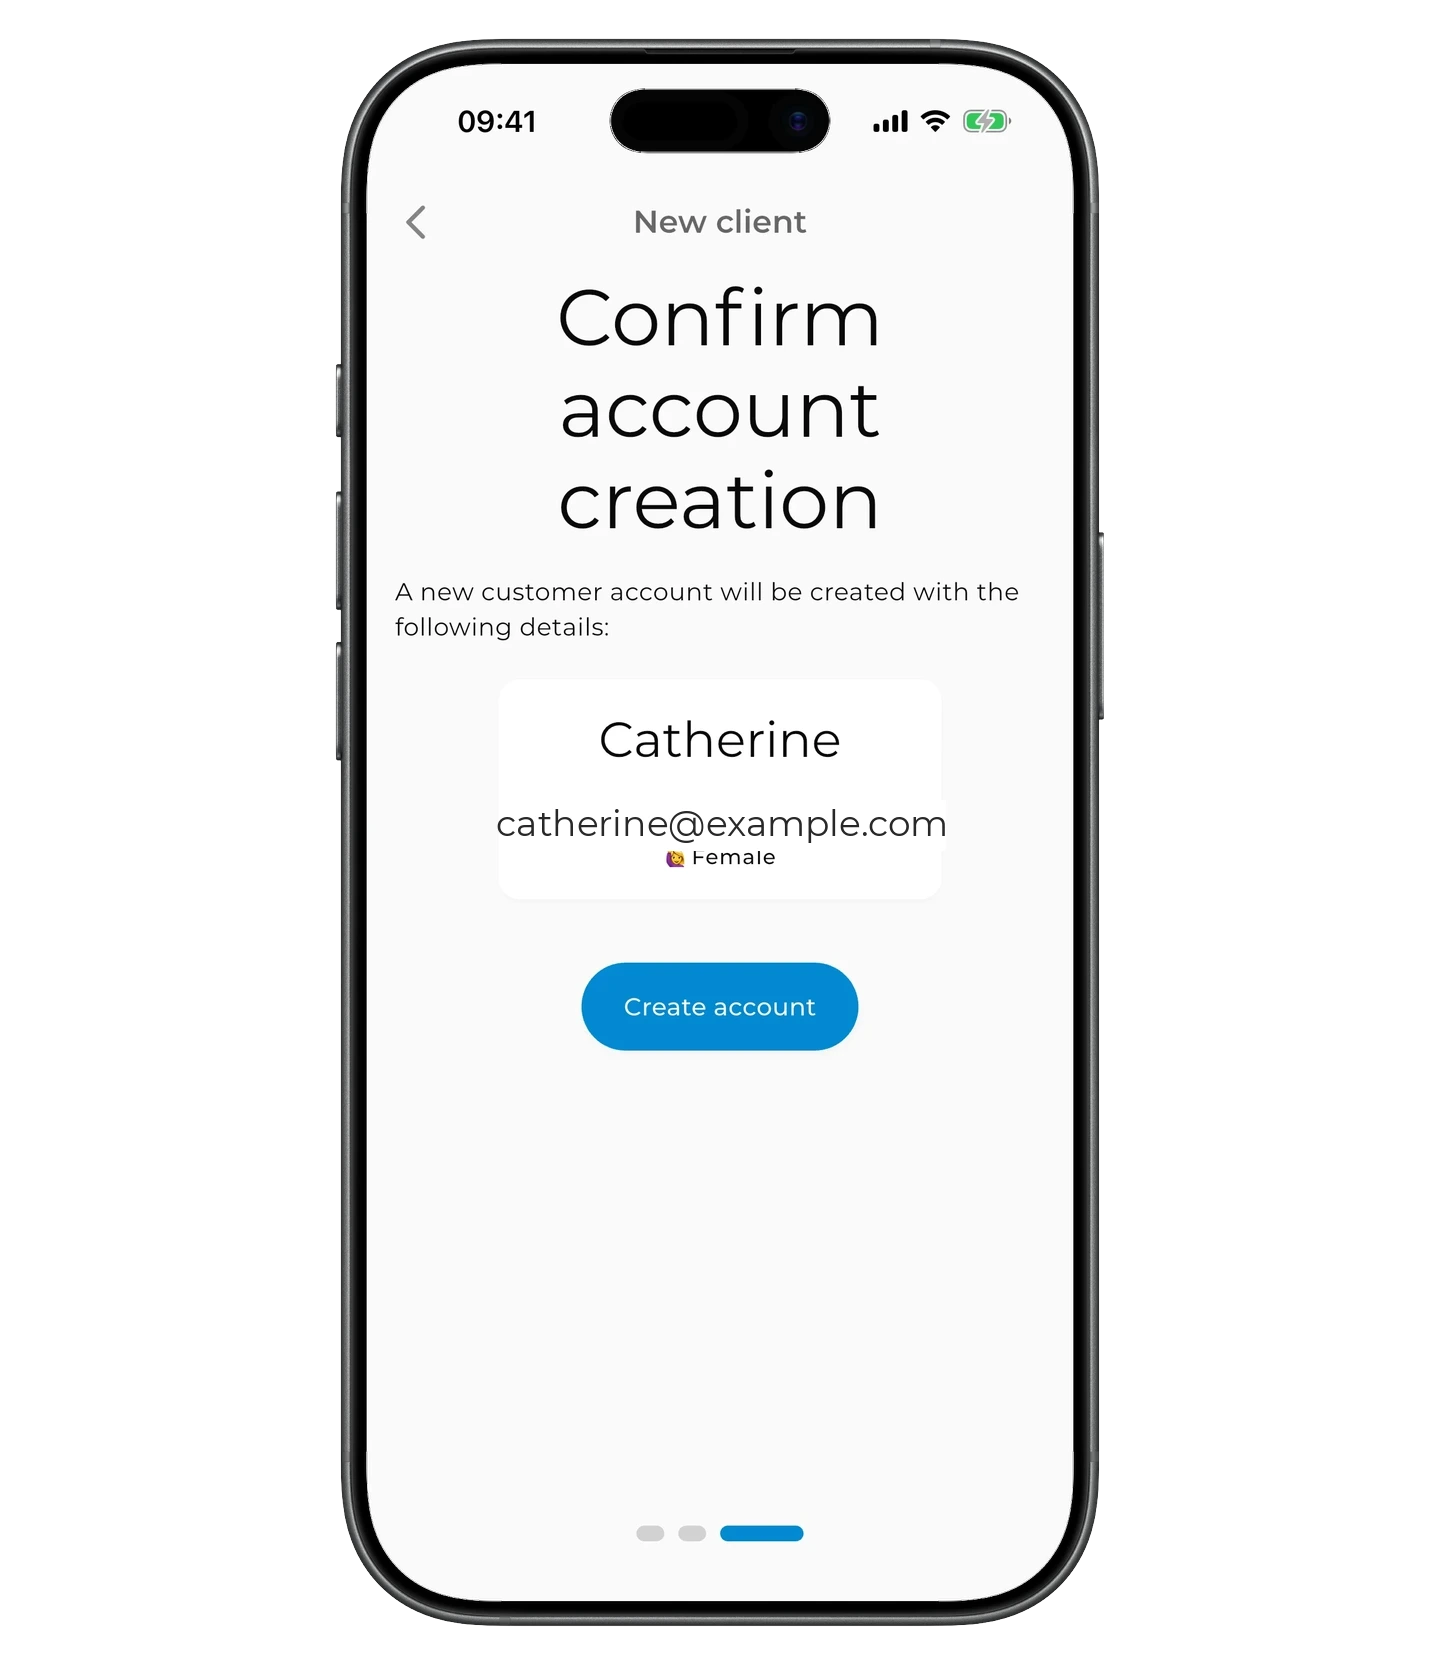
Once the account is created, you'll get an activation link and code. You can send them to the client right away or hold on to them — they're always available on the client's card.

Switching to a client's wardrobe
Tap "Switch to Client" on the client card. If you created the account yourself, you can switch to it right away. For existing users — once they accept the invitation.

Inside the client's wardrobe you can:
- add items
- create outfits
- plan outfits
- create shopping lists
- build capsule wardrobes
- leave recommendations in the Advice section
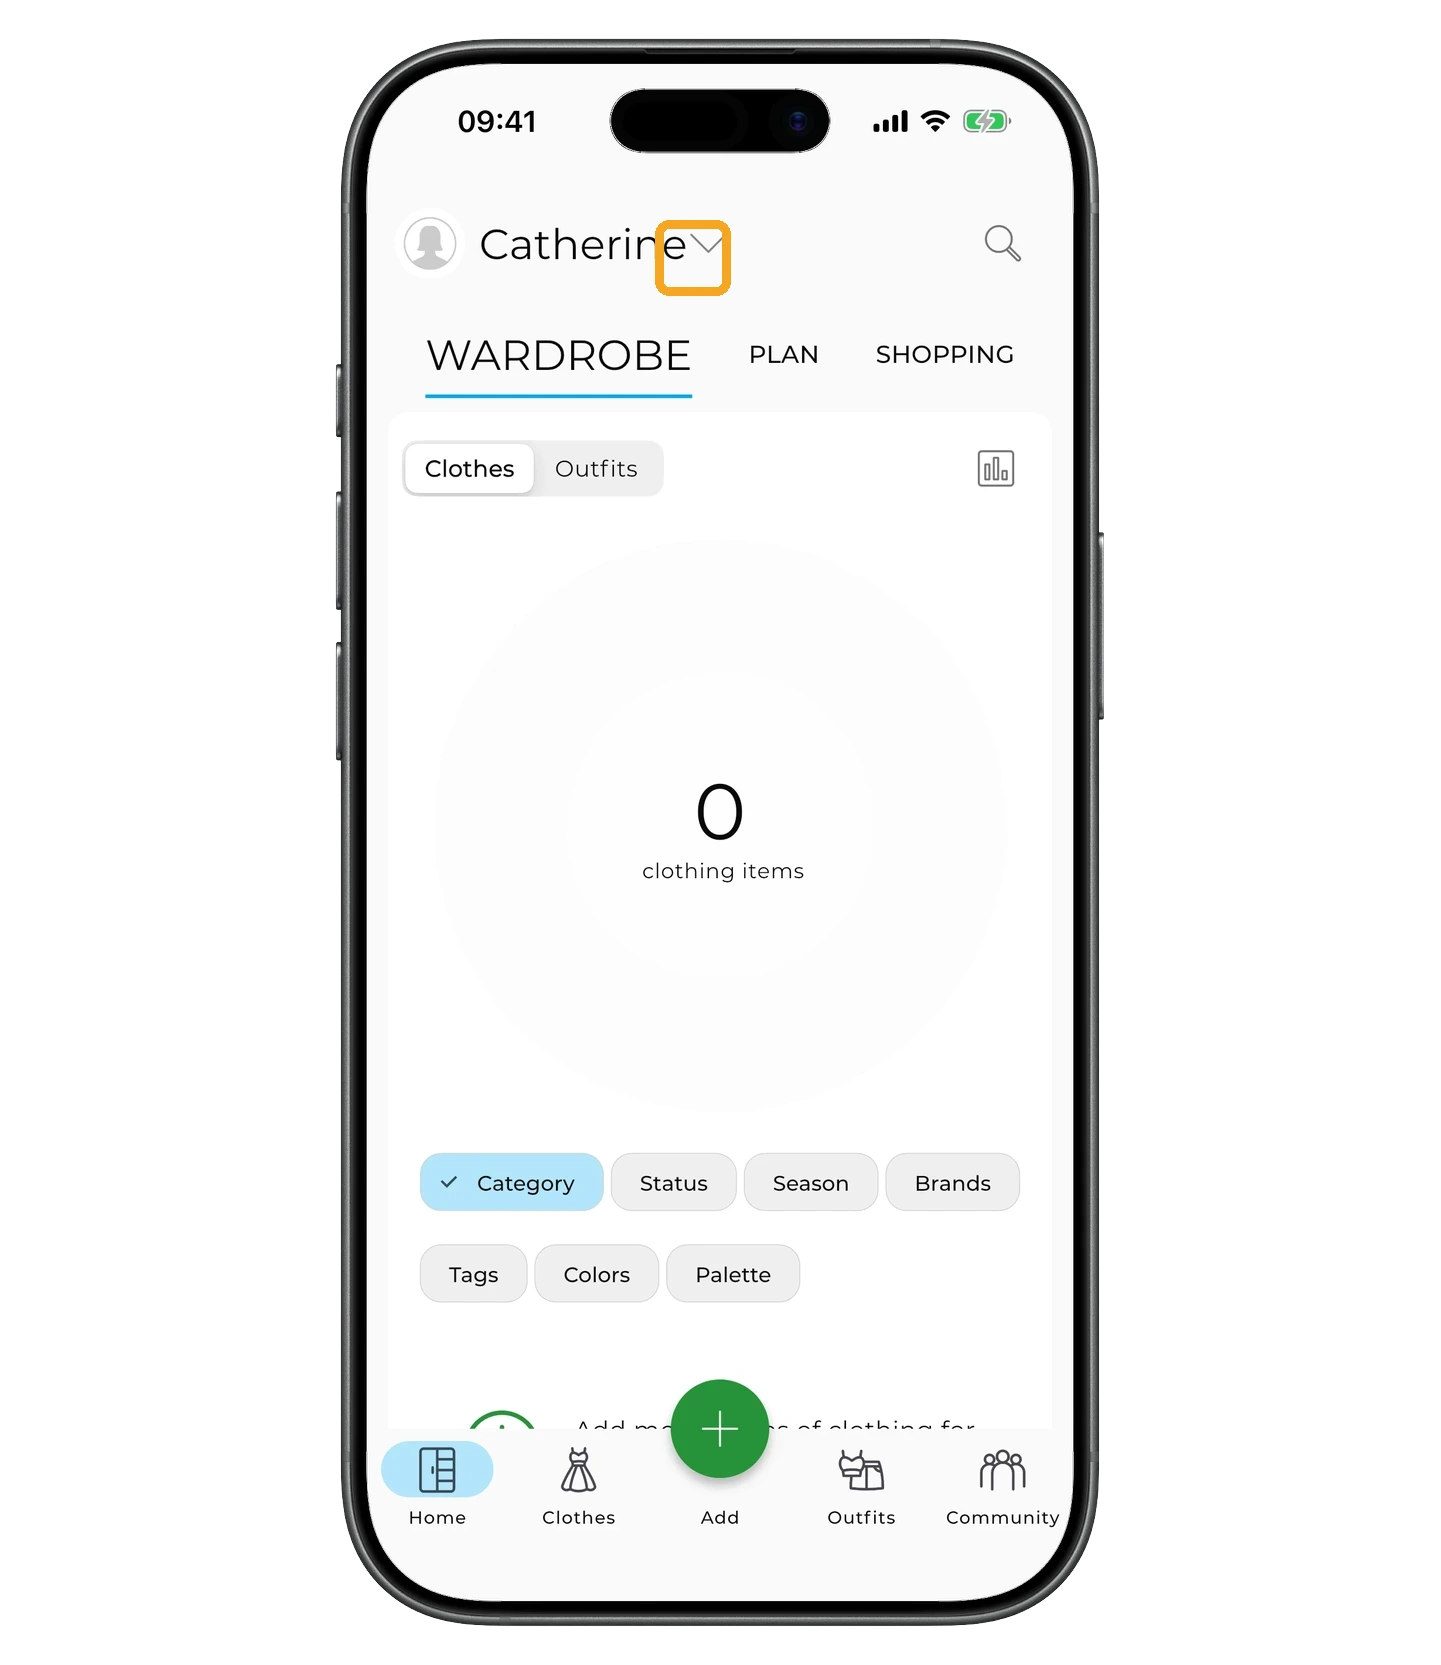
To return to your stylist account, tap the arrow next to the client's name.
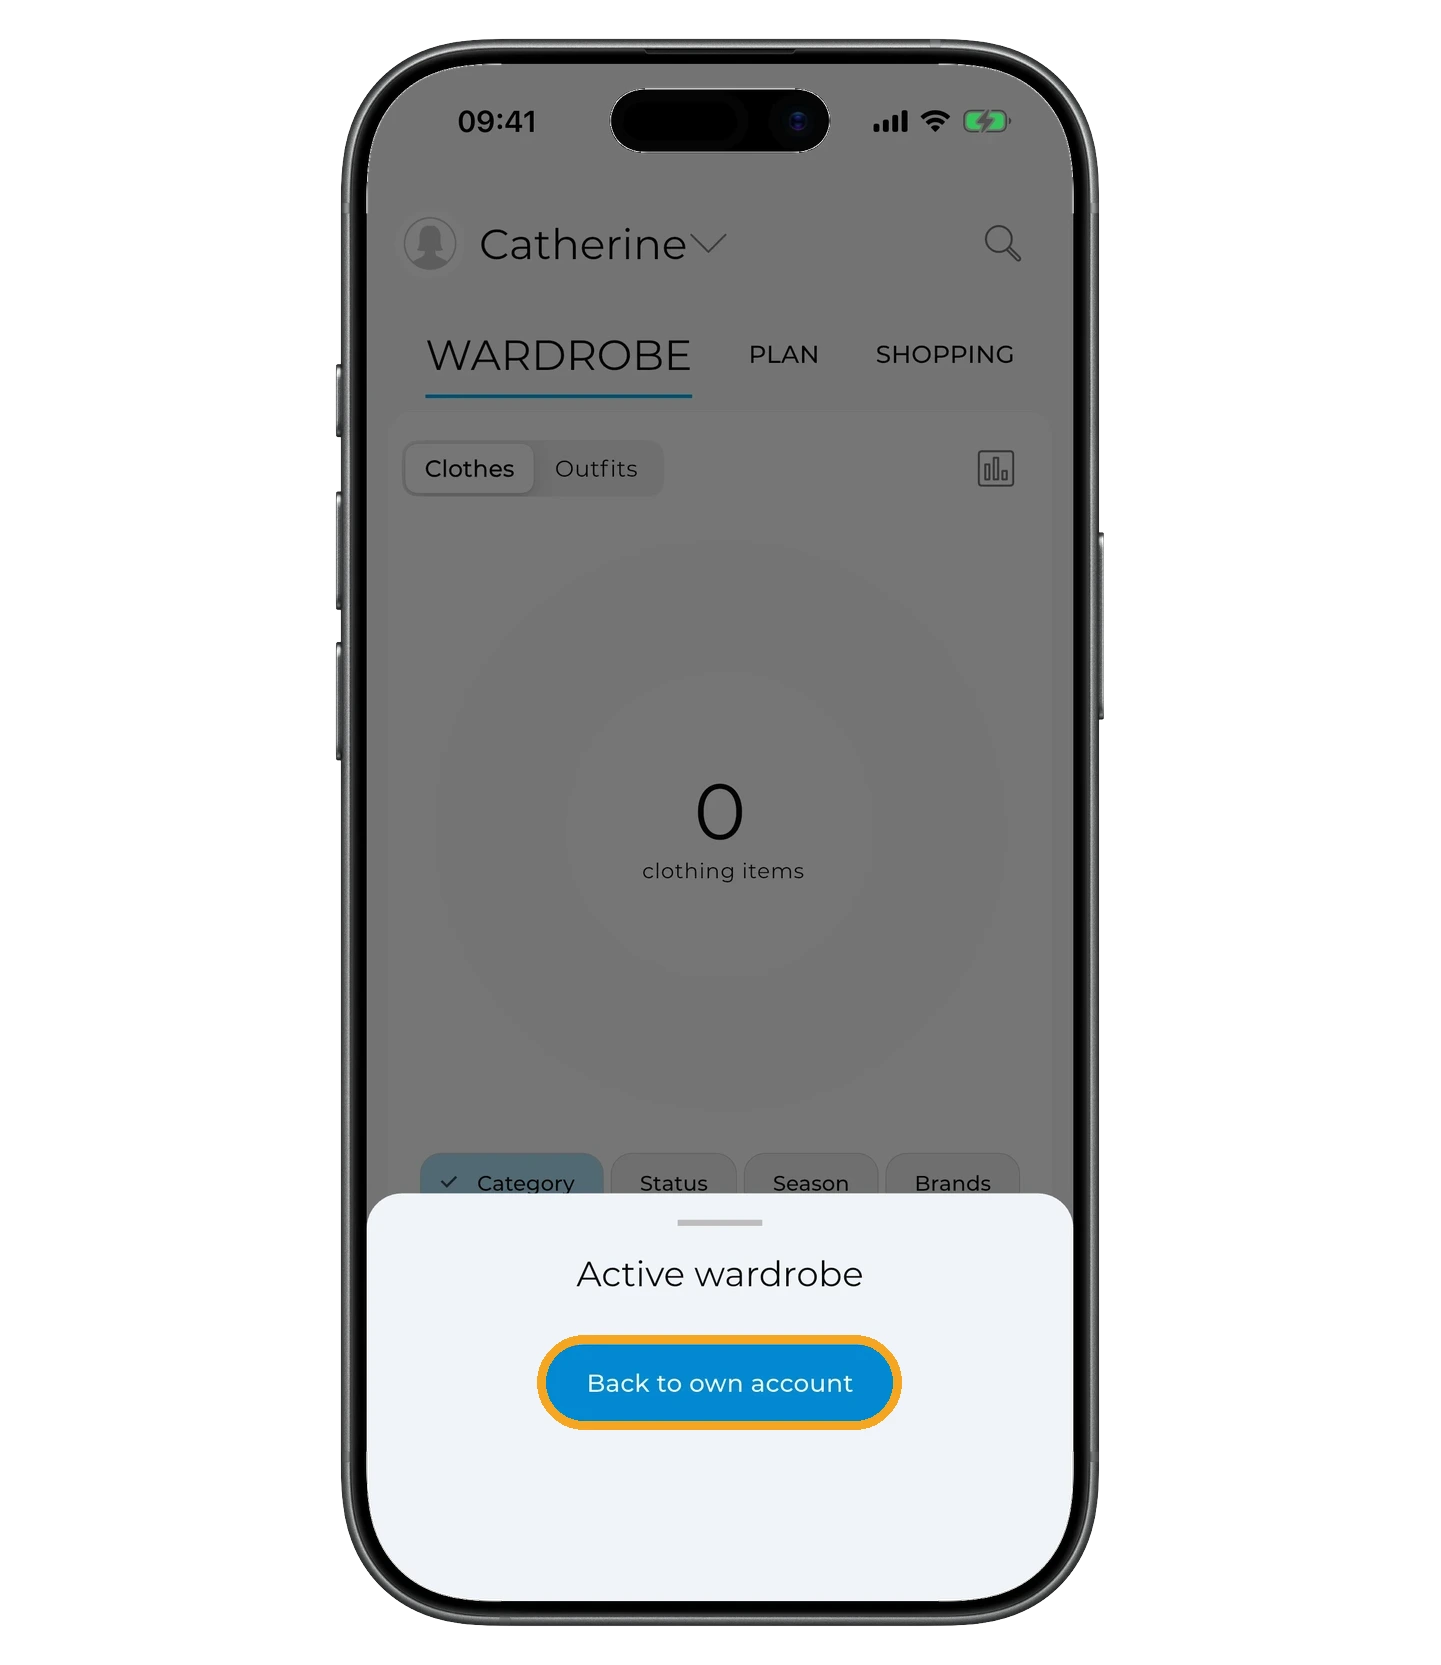
Tap "Back to own account" to return to your stylist dashboard.
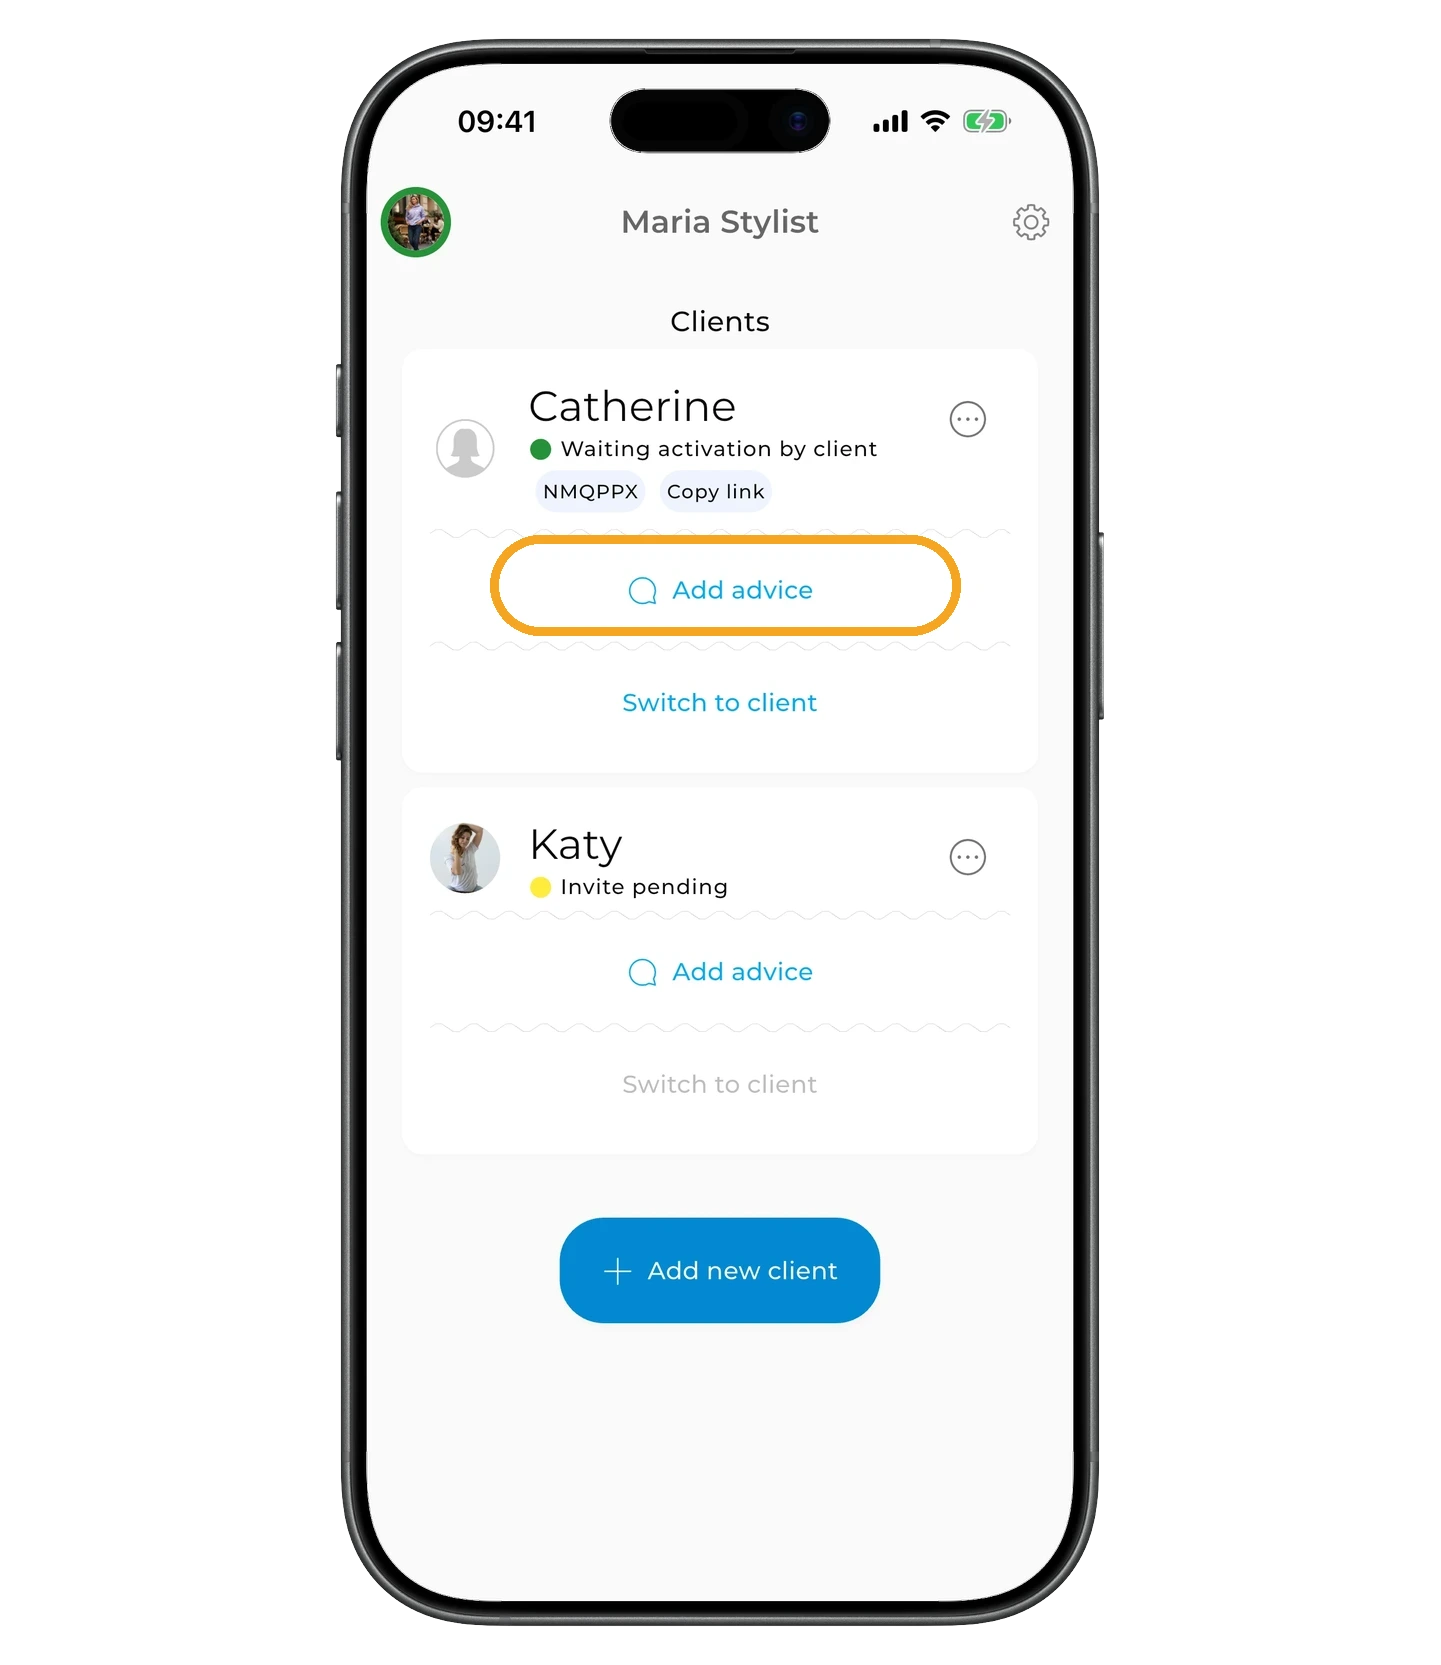
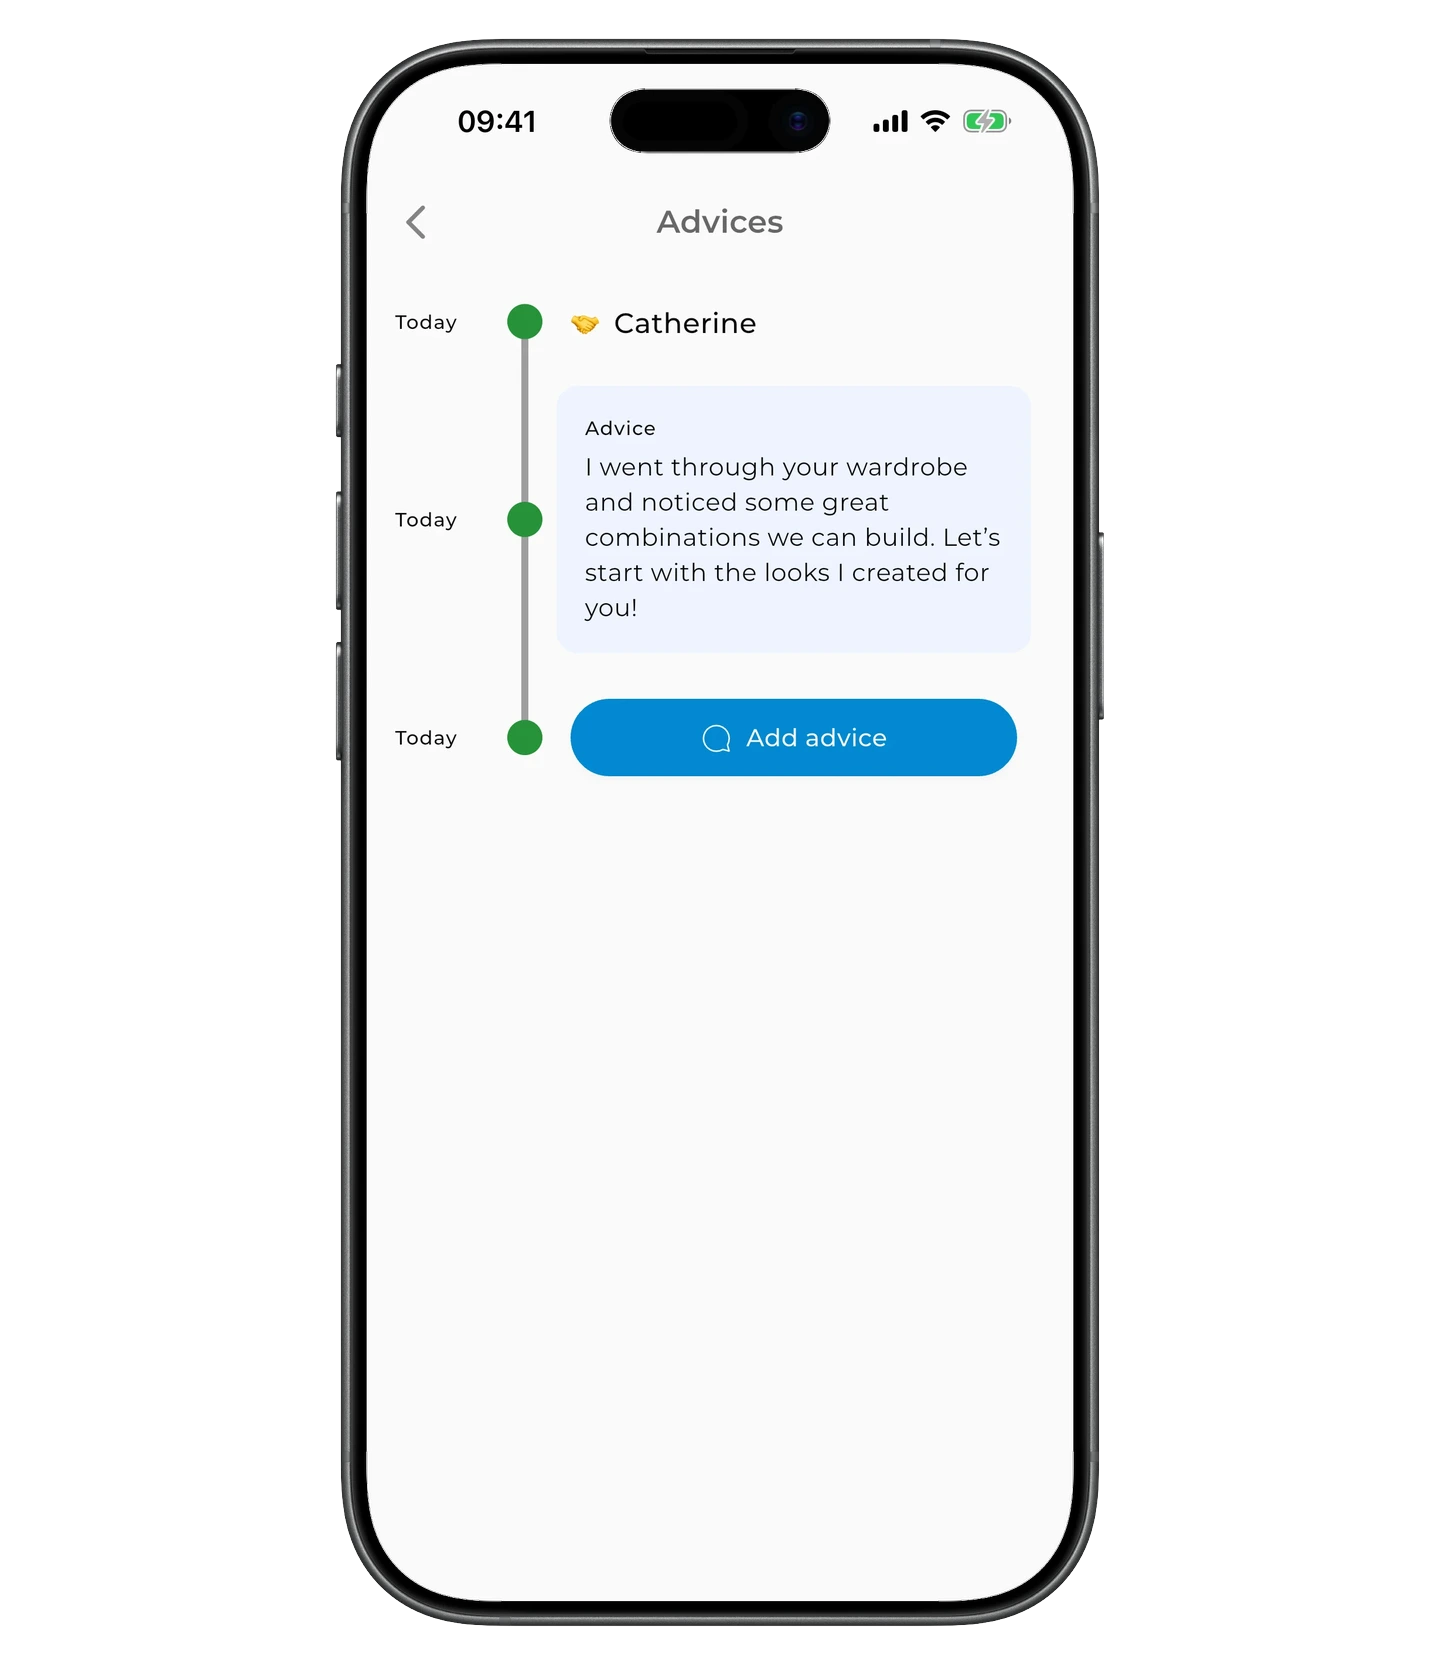
Leaving advice
Tap "Add Advice" on the client card.
Write your recommendation and, if needed, add a link — for example, to a specific item, store, or collection.
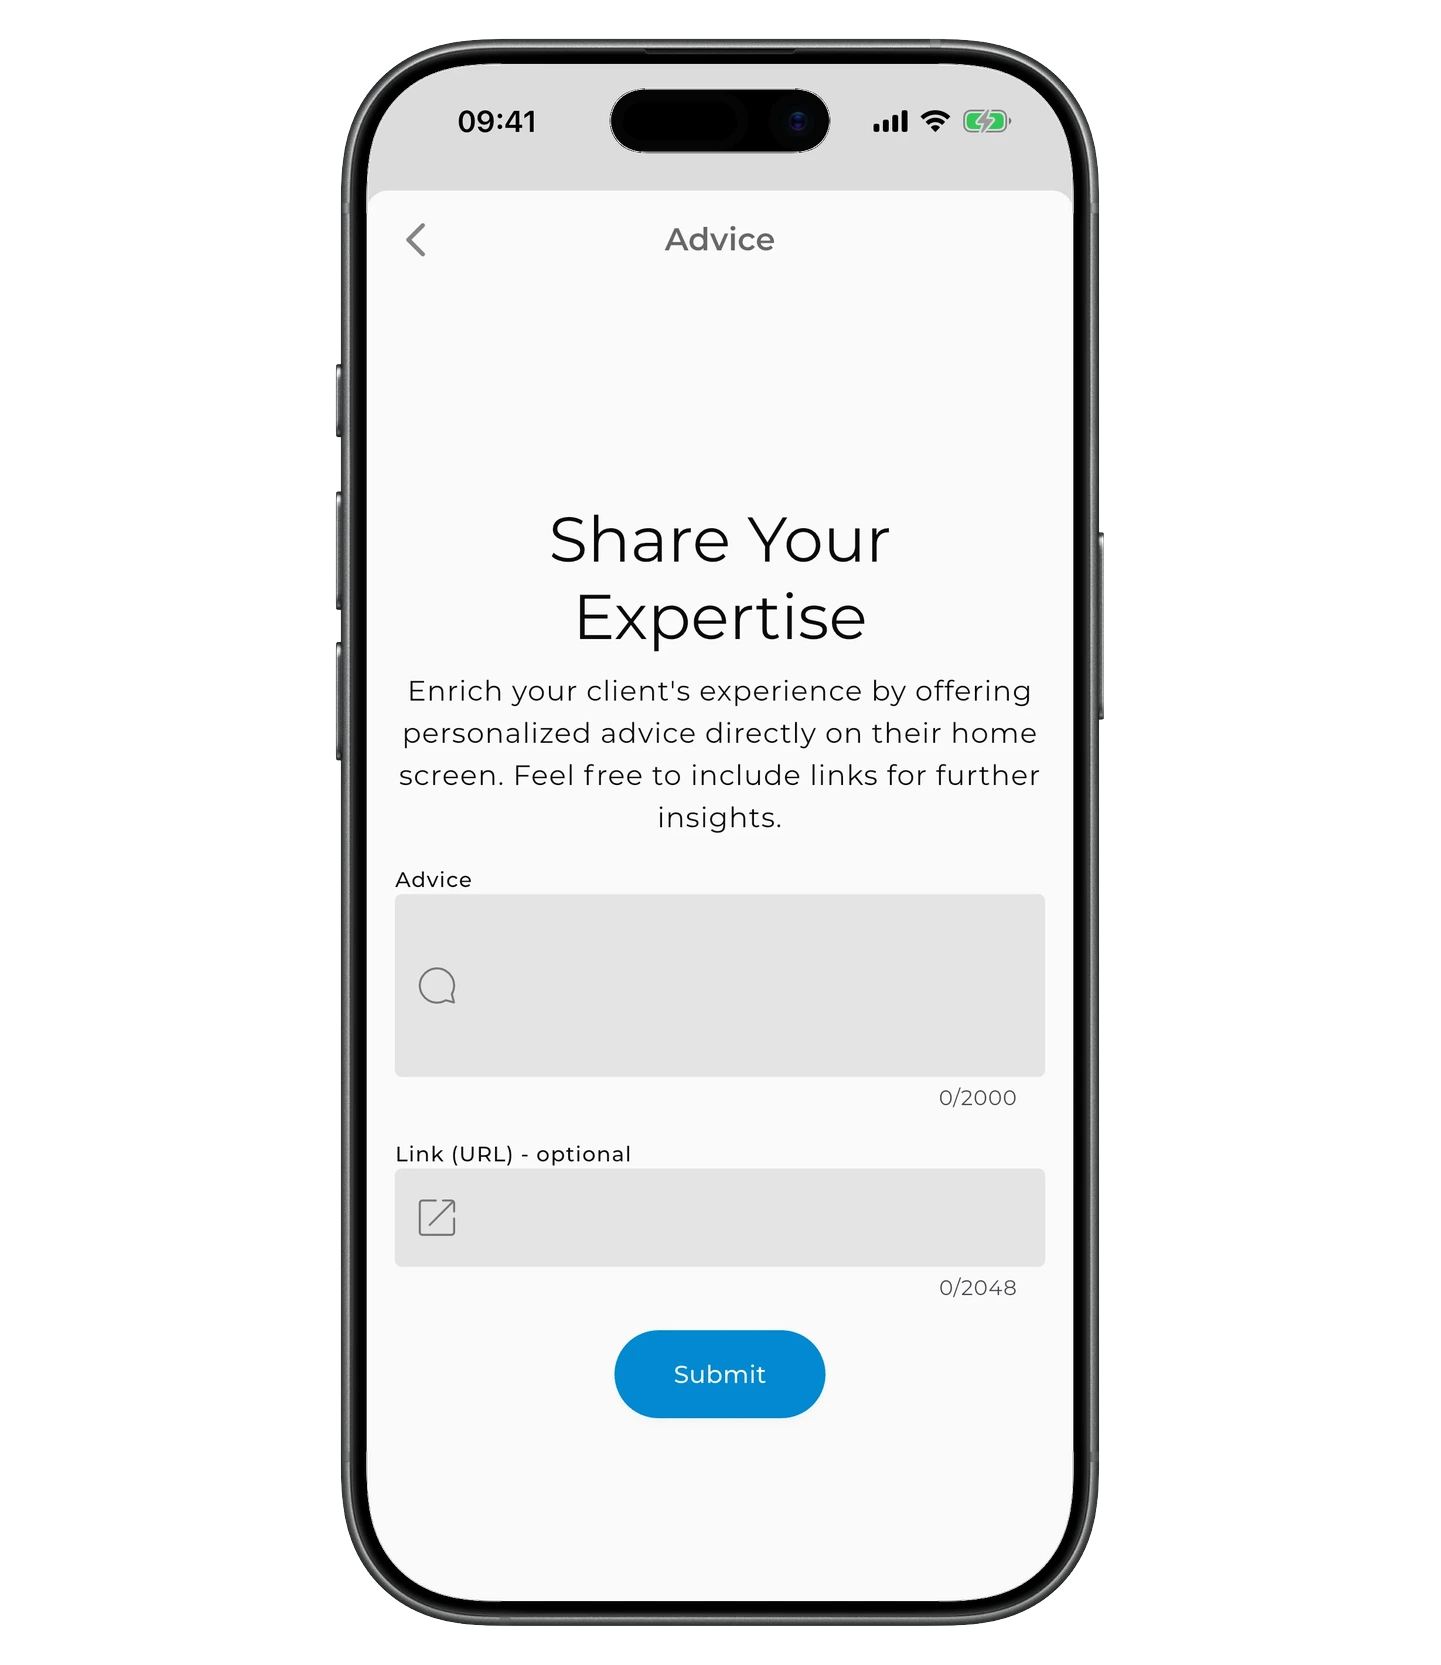
Tap "Submit". The advice shows up in the client's feed — they can come back to it anytime.
That's it — you're ready to invite clients and start working with their wardrobes.
Need help?
Get in touch at support@getwardrobe.com