How to Digitize Your Wardrobe: A Practical Guide
You don't need a free weekend. You need 15 minutes and a phone.
Most guides about digitizing your wardrobe read like a spring cleaning plan. Pull everything out of the closet, lay it on the bed, photograph 200 items one by one, tag each one with season, color, brand, occasion, fabric weight, and phase of the moon.
No wonder people give up after six scarves.
You don't need to digitize your entire wardrobe in one sitting. Or in one week. The people who successfully maintain a digital closet didn't start with a marathon session — they started with whatever they were wearing that day, and added a few pieces whenever they had a spare moment.
This guide covers the actual methods that work, the shortcuts that save hours, and the mistakes that make people quit.
Why Bother?
If you already know why you want a digital wardrobe, skip ahead. But if someone sent you this link and you're skeptical — fair.
What changes when your clothes live on your phone:
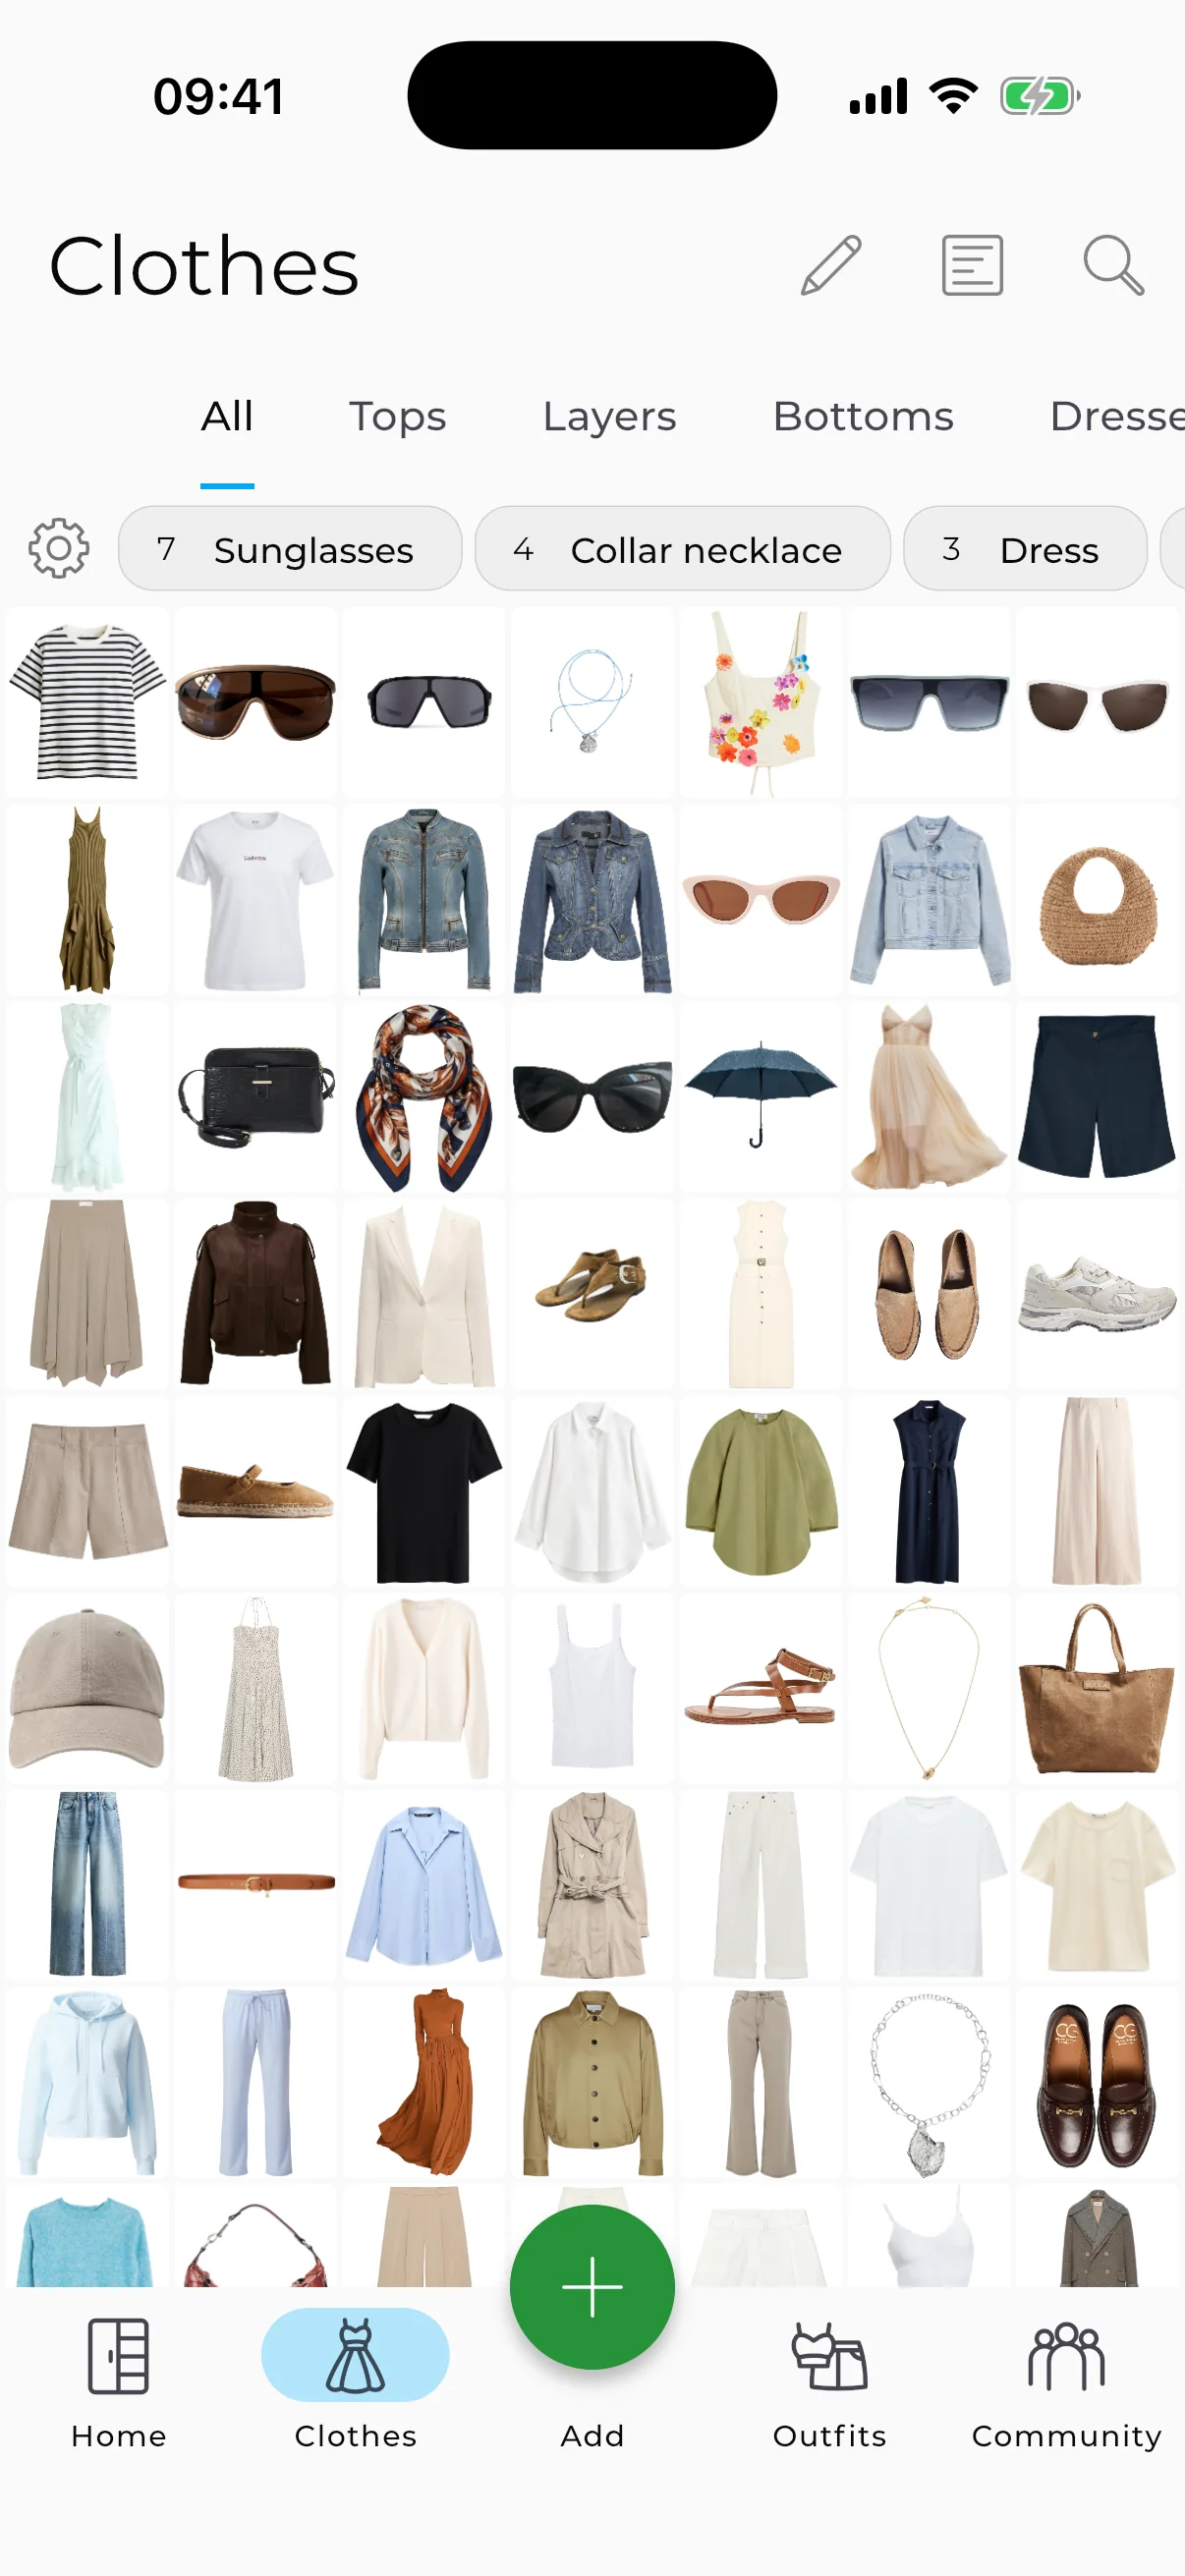
You see everything you own. Not just the front row of your closet — everything. The jeans behind the jeans. The shirt you forgot you bought. The app shows you the structure of your wardrobe: how many items you have total, how many in each category, which colors dominate. Most people who digitize their wardrobes are surprised by how many pieces they'd completely forgotten about.

You stop buying duplicates. That navy blazer you think you have but can't find? Turns out you own two. Open the app in a store, filter by color, and you have your answer in two seconds. Many users report cutting impulse purchases significantly once they can actually see what they already have.
Getting dressed takes five minutes, not fifteen. When all your clothes are in front of you and you can filter by weather, occasion, or color, the decision gets simpler. Pick an outfit before bed, check the forecast, done.
You find combinations you'd never think of. The AI Outfit Generator scans your wardrobe and suggests unexpected outfit ideas — in one tap you can get 10, 20, even 30 combinations from your real clothes.
What You'll Need
A phone with a camera. That's it.
If you want better results: good natural light (near a window, daytime) and a neutral background (a white wall, a door, even a white sheet on the floor). But perfect conditions aren't necessary — AI background removal handles imperfect photos well, and the AI photo enhancement feature corrects issues with lighting and color.

Method 1: Photograph Your Clothes (The Standard Way)
This is how most people start, and it's the most flexible method.
How it works: Take a photo of an item → the app automatically removes the background → AI detects the category and color → you save it.
How to get good results:
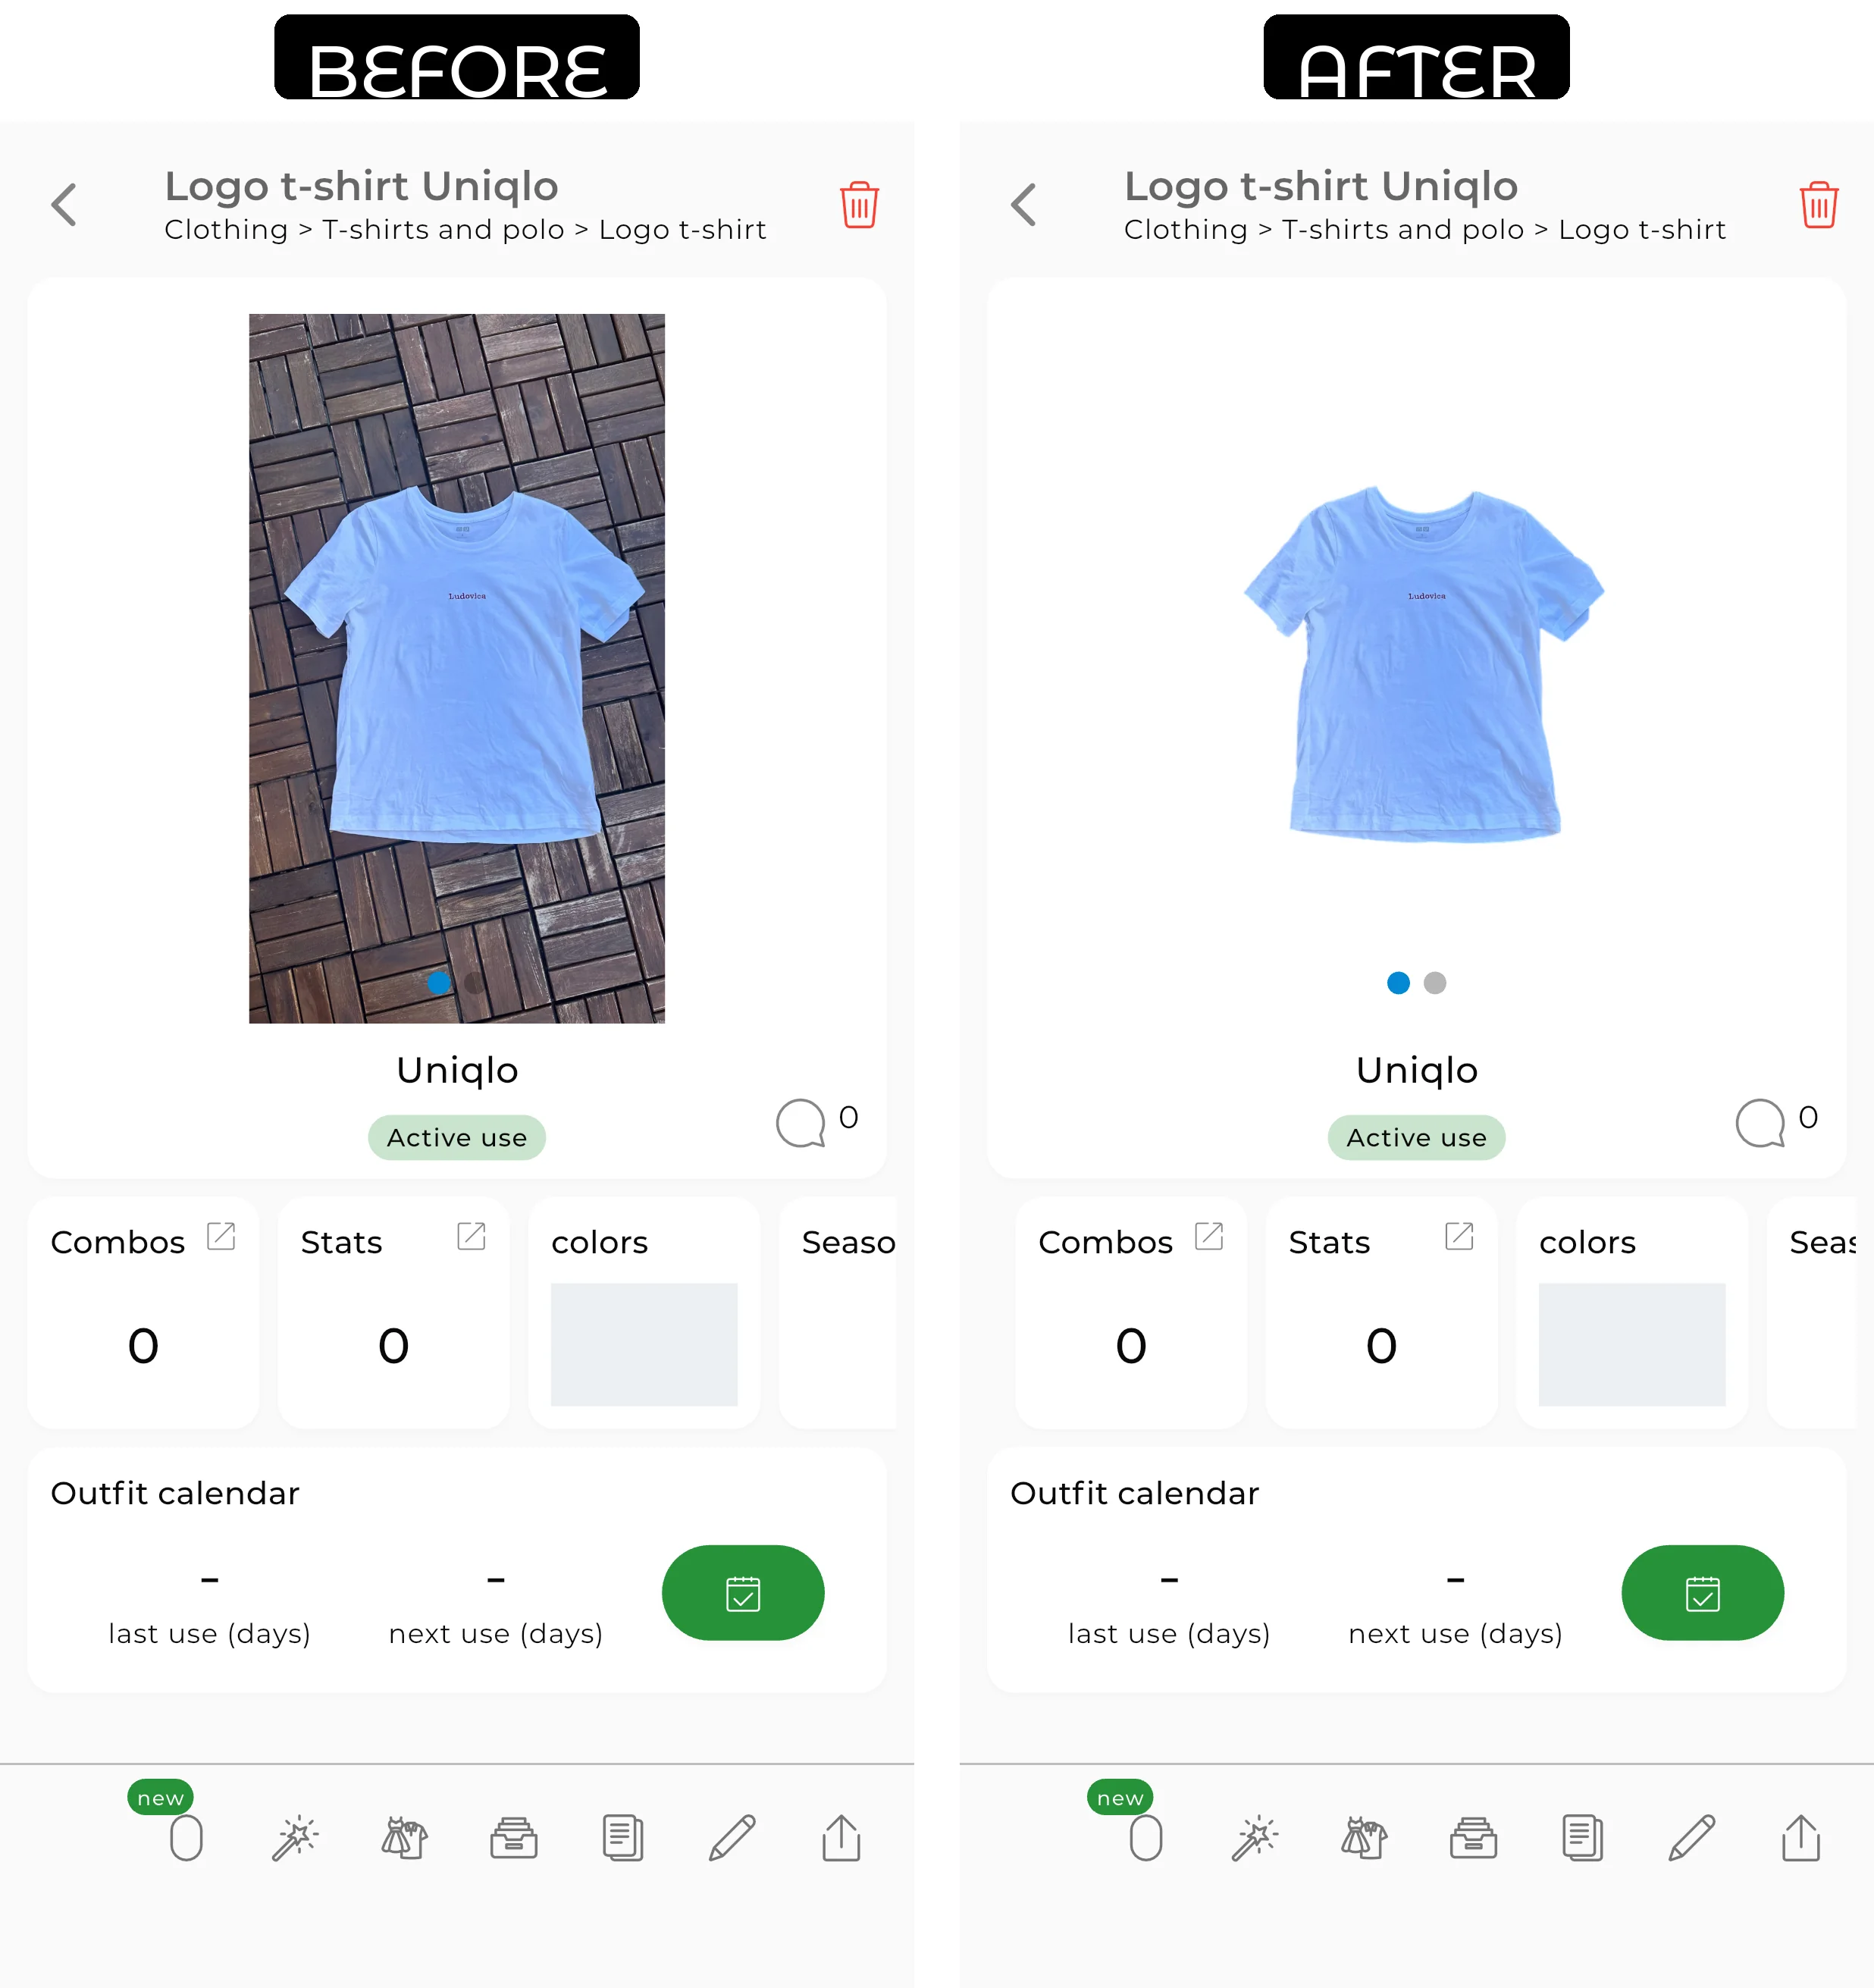
The simplest approach is to lay the item flat on a contrasting surface and shoot from above. A white shirt on a white bedsheet is invisible to AI. A white shirt on a dark floor works perfectly. When you add an item, the app automatically applies a background removal model optimized for single items.
If the result isn't perfect — no problem. Tap the item's photo to restore the original background. Then open the item editor and choose a different background removal model — the app has several for different situations: for selfies, for items with lace or fur, for complex backgrounds.
Good lighting helps but isn't essential. Natural daylight from a window is plenty. Avoid flash — it creates harsh shadows that interfere with processing.
Speed hack: Shoot first, upload later. Lay out 10 items, photograph them one after another without stopping for details, then upload them all at once from your camera roll.
Batch upload: When uploading from your gallery, you can select up to 30 images at once — the app processes them all in parallel. Just select multiple photos instead of one, and everything happens automatically. This is especially useful if you're switching from another wardrobe app and want to upload your saved photos in one go.
Realistic timing: Most of the time goes to photographing, not uploading — the app accepts up to 30 photos at once and processes them in parallel. 10 items in 5 minutes. 50 items in half an hour if you stay focused.
Method 2: Import from Online Stores
If you bought something online, the store probably has a better photo than you could take yourself.
How it works: Copy the product URL from any online store → paste it into the app → it automatically pulls the product image, brand name, price, and link.
Works with most major retailers. The result is a clean, professional product photo without touching your camera.
When to use it: For recent purchases you still have the email or browser history for. For wishlist items you want to test against your existing wardrobe before buying.
In GetWardrobe: the Store Import feature saves the brand, price, and direct link to the product page, so you can always find it again.
Method 3: Screenshot
Somewhere between the first and second method: you have a photo of the item on a website or in your gallery, but no direct URL. Or the store doesn't support link import — that happens too.
How it works: Take a screenshot (or find an existing photo) → upload it into GetWardrobe from your gallery → AI removes the background the same way it does with regular photos.
Works for older purchases still sitting in your camera roll, for items that have been taken off sale, and for stores that don't support link import. Screenshots are especially useful when the image contains important information — price, brand, name. If there's no such information, you can add the image as a regular photo instead.
You Don't Need to Digitize Everything at Once
The counterintuitive advice: don't try to add your entire wardrobe on day one.
Add 5 items today — what you're wearing right now. That's one outfit: a top, bottom, shoes, outerwear, an accessory. Enough to get comfortable with the app and build your first outfit manually.
Tomorrow, add 5 more. The day after, 5 more. When you reach 15 items, try the AI Studio — it'll create your first combinations. At 30 items, you unlock the full AI Outfit Generator, which produces 10–30 ready outfits per run. That's when the real wow moment happens.
Within two weeks, your digital closet will have 50–70 items — without a single "digitizing day." It just... happens.
The people who try to photograph 200 items in one evening burn out and never open the app again. The people who add 5 items a day while watching a show end up with a complete digital wardrobe within a month.
Organizing Your Digital Closet
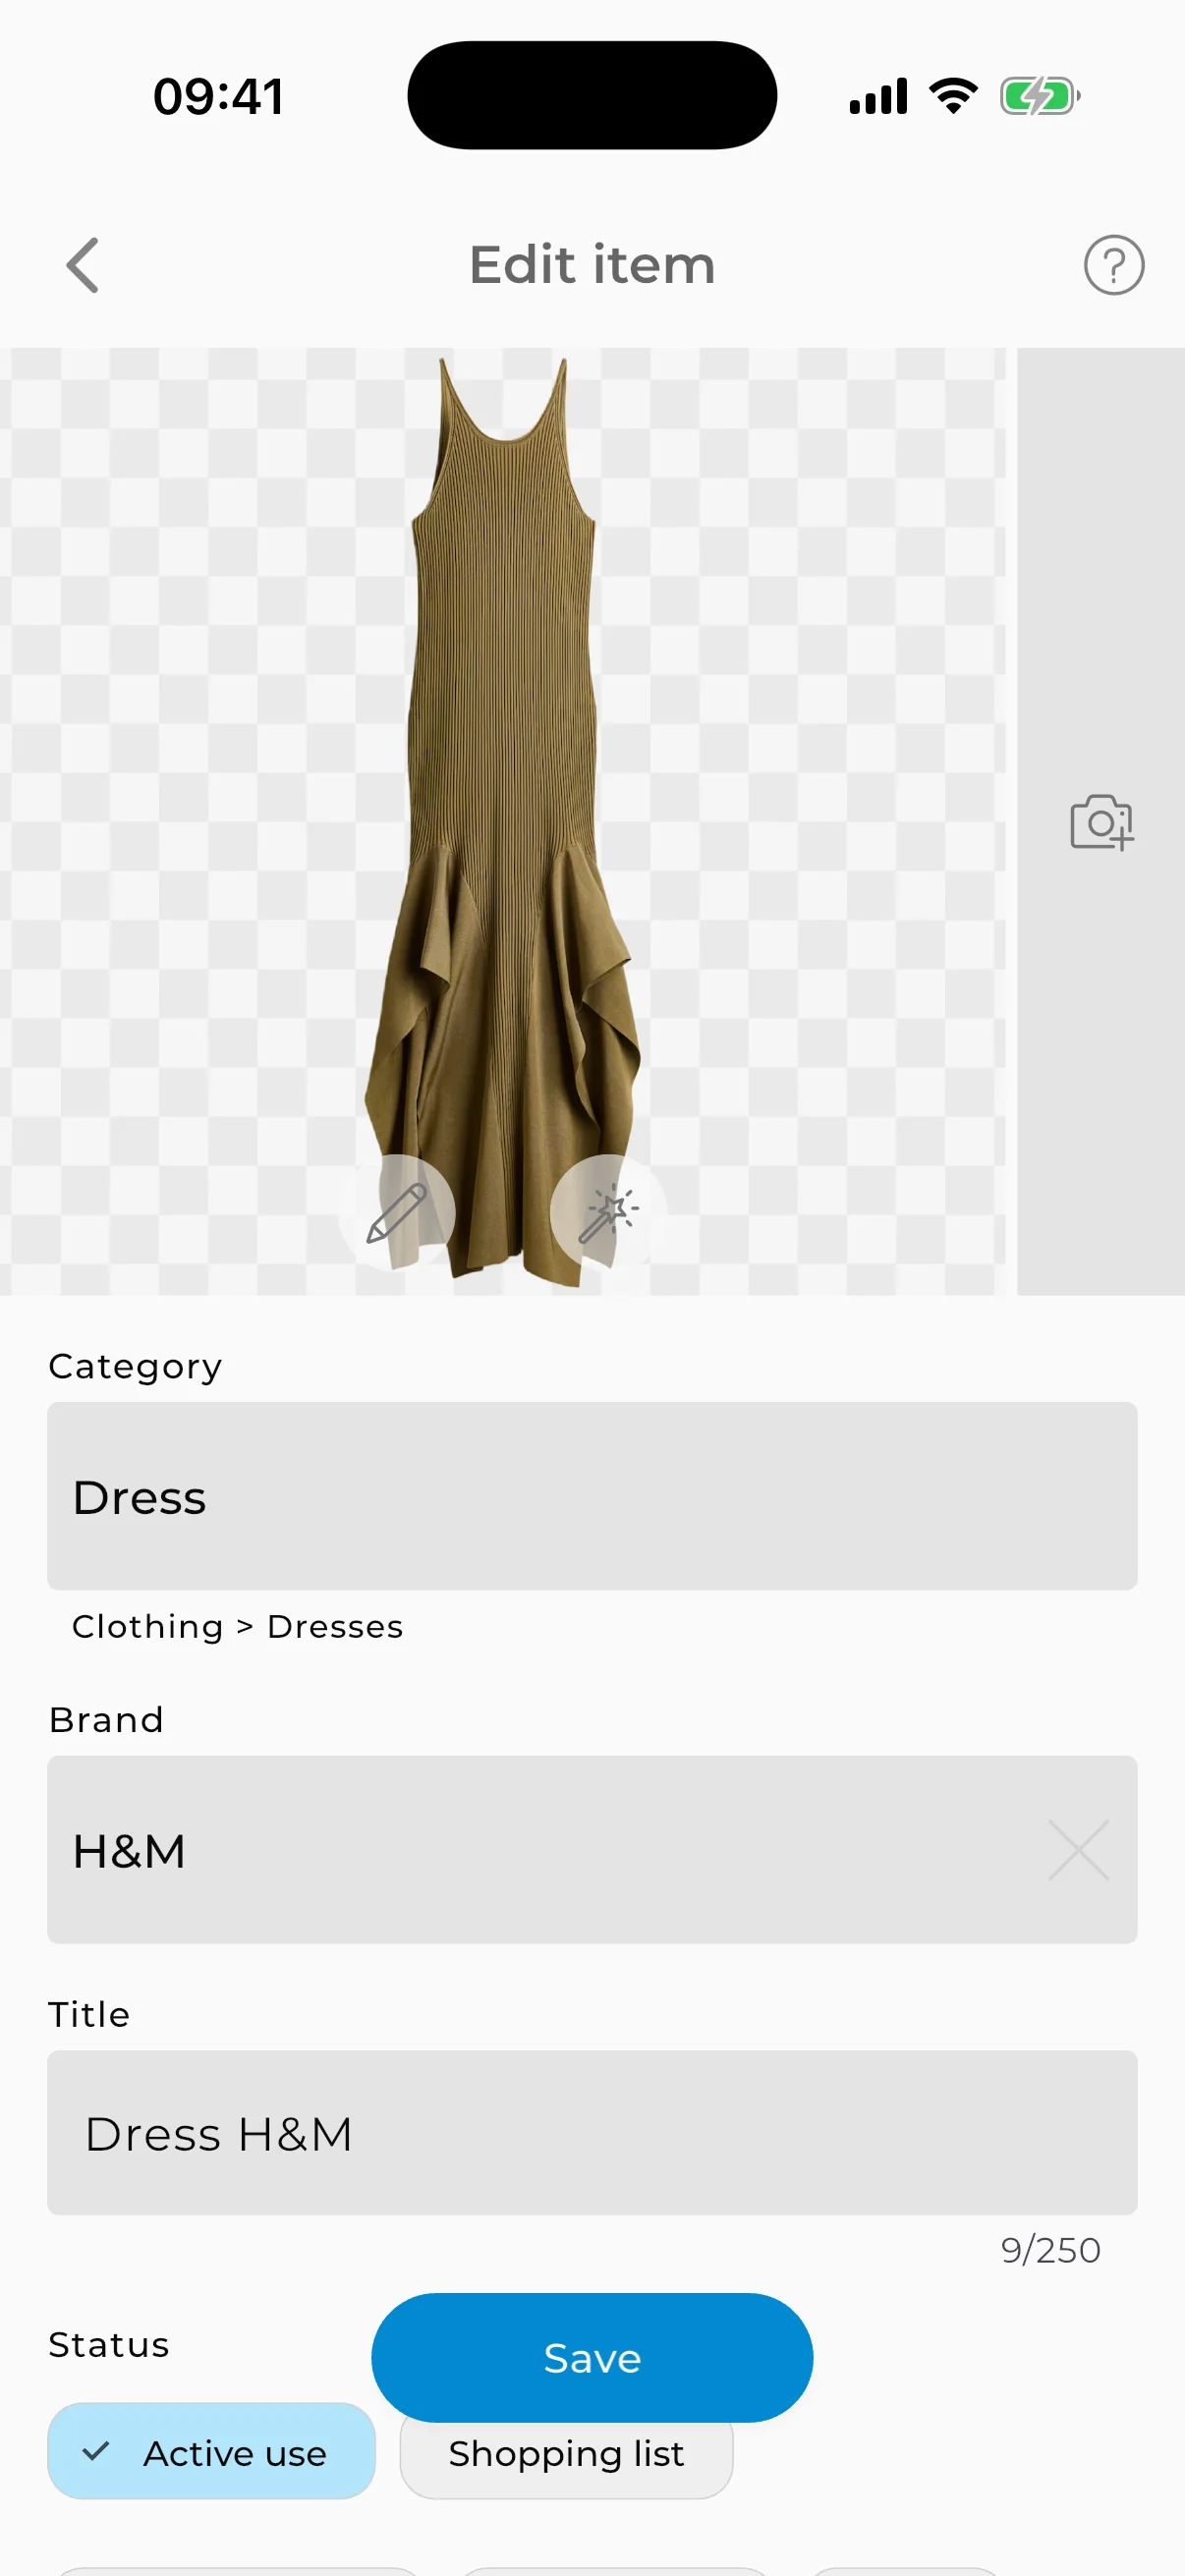
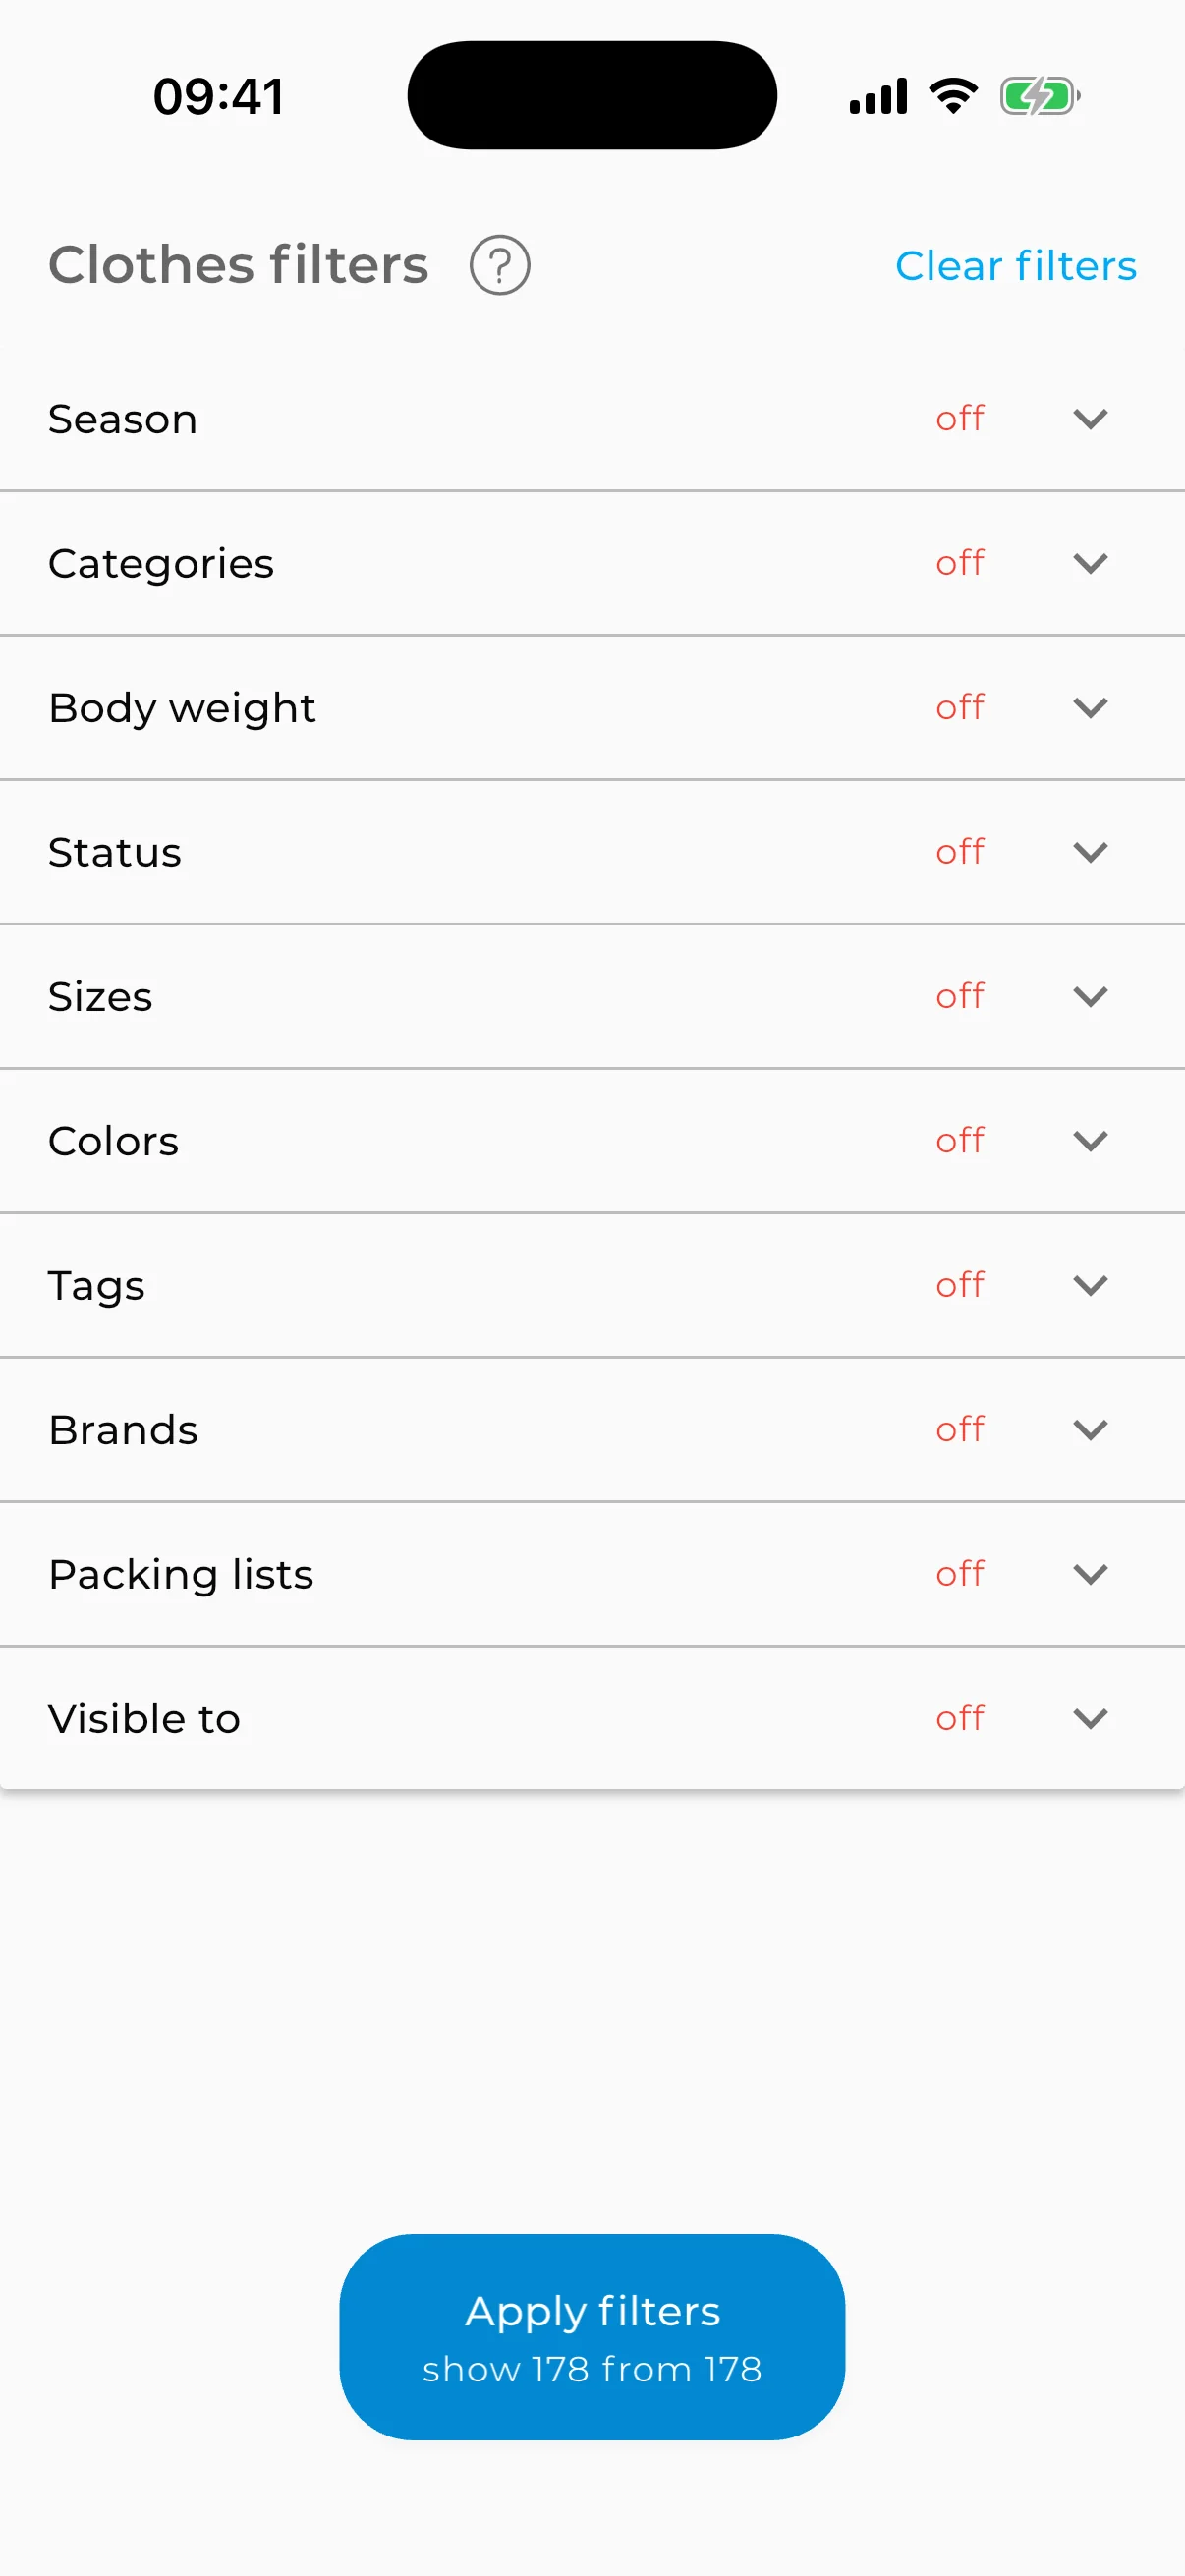
Once your items are uploaded, organization mostly happens automatically — AI detects categories (tops, bottoms, shoes, outerwear) and colors. But a few things are worth doing manually.
Seasons. Tag items as spring/summer, fall/winter, or all-season. This makes it easy to hide your winter coats in July and find them again in October.
Fix AI mistakes. AI detects categories and colors accurately in most cases, but not perfectly. It might file a blazer under outerwear instead of tops, or call your navy blue "black." Takes two seconds to correct in the item editor, and it makes outfit suggestions more accurate.
Lifestyle tags. If you wear different things for work, the gym, and weekends, add tags. Something like "office" or "sport" — then you can instantly filter what you need when building an outfit.
Price and purchase date. If you want to track wardrobe spending and cost-per-wear, add the price and purchase date when uploading an item. Over time, the app shows you which items truly earn their place.
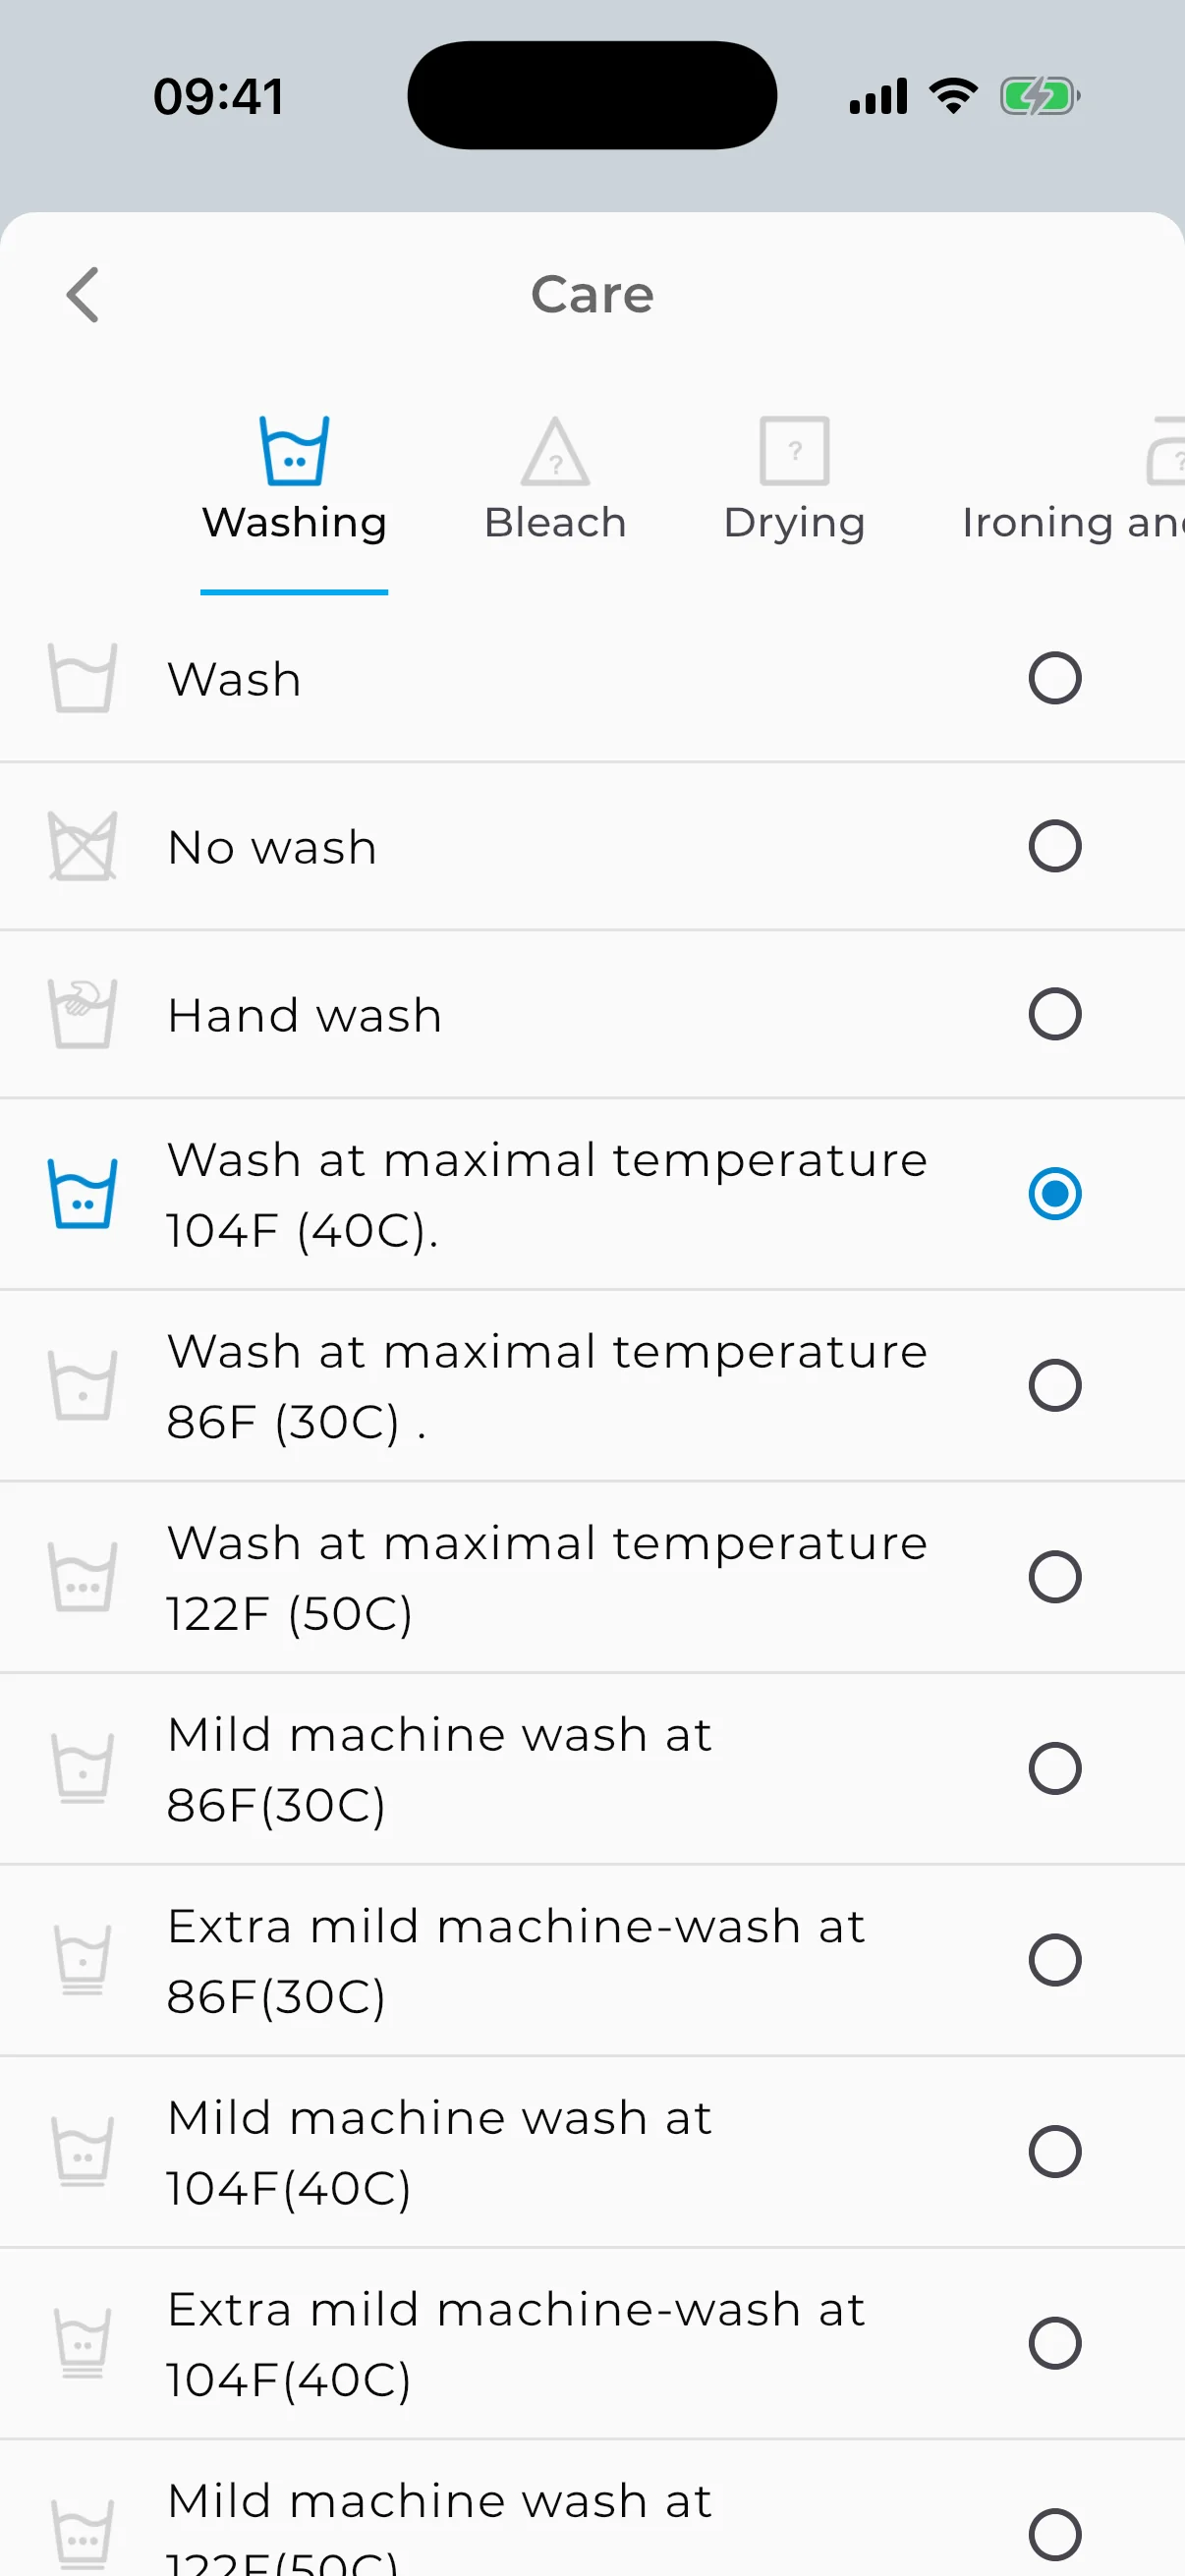
Care instructions. If you cut off labels, it's worth recording the care instructions right away — how to wash, iron, dry. You won't have to guess later whether something is machine-washable.
Don't over-organize. This is where many people lose momentum. If you spend more time tagging and categorizing than actually using the app, something has gone wrong. The basics — category, color, season — are enough for AI to generate good outfit combinations. Everything else is optional.
Once It's Digital: What to Do Next (And Where People Stall)
A digital wardrobe is just a collection of photos until you use it. Here's what becomes possible, and where people tend to lose steam.
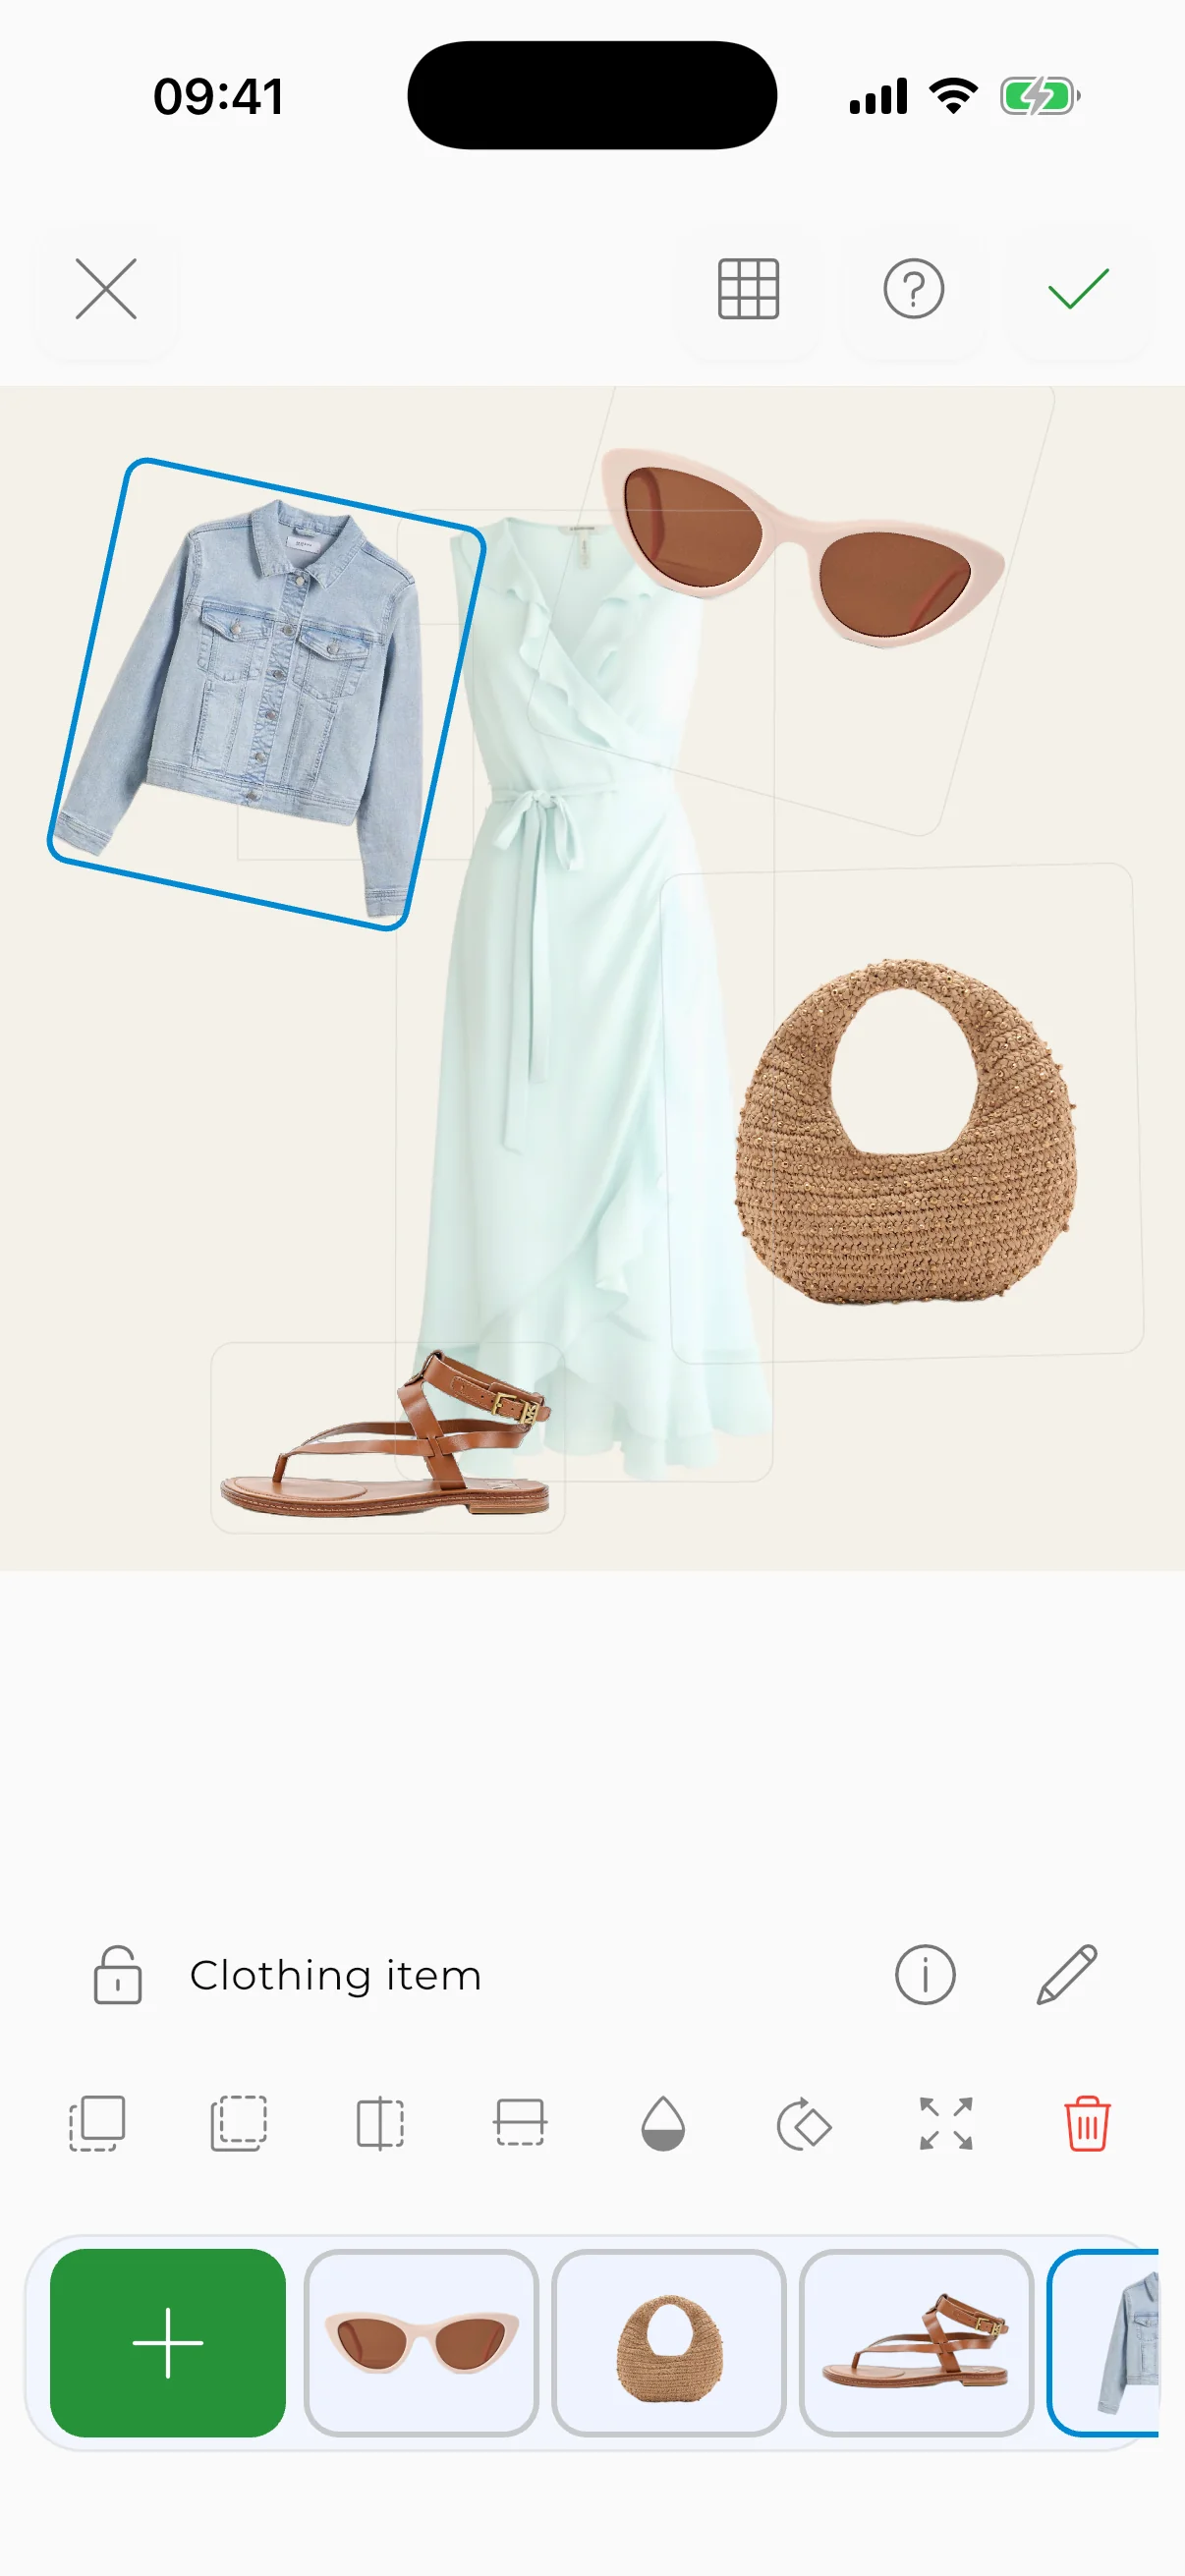
Create outfits. Pick items from your wardrobe and arrange them on a canvas like a puzzle — top, bottom, shoes, bag. Move things around, swap pieces, try unexpected combinations. That sweater you never wore with that skirt? It might be the best pairing in your closet. Add accessories — a pair of white sneakers or a leather belt completely changes the look.
Try it on virtually. Virtual try-on shows you how an outfit will look on you — before you get dressed. It works with outfits from the community too: see someone else's look → try it on yourself → get inspired. And if you're planning a purchase, you can try a new item with what you already own.

Get inspired by the community. Browse outfits from other users and stylists, save the ones you like, and use them as a starting point for your own combinations.
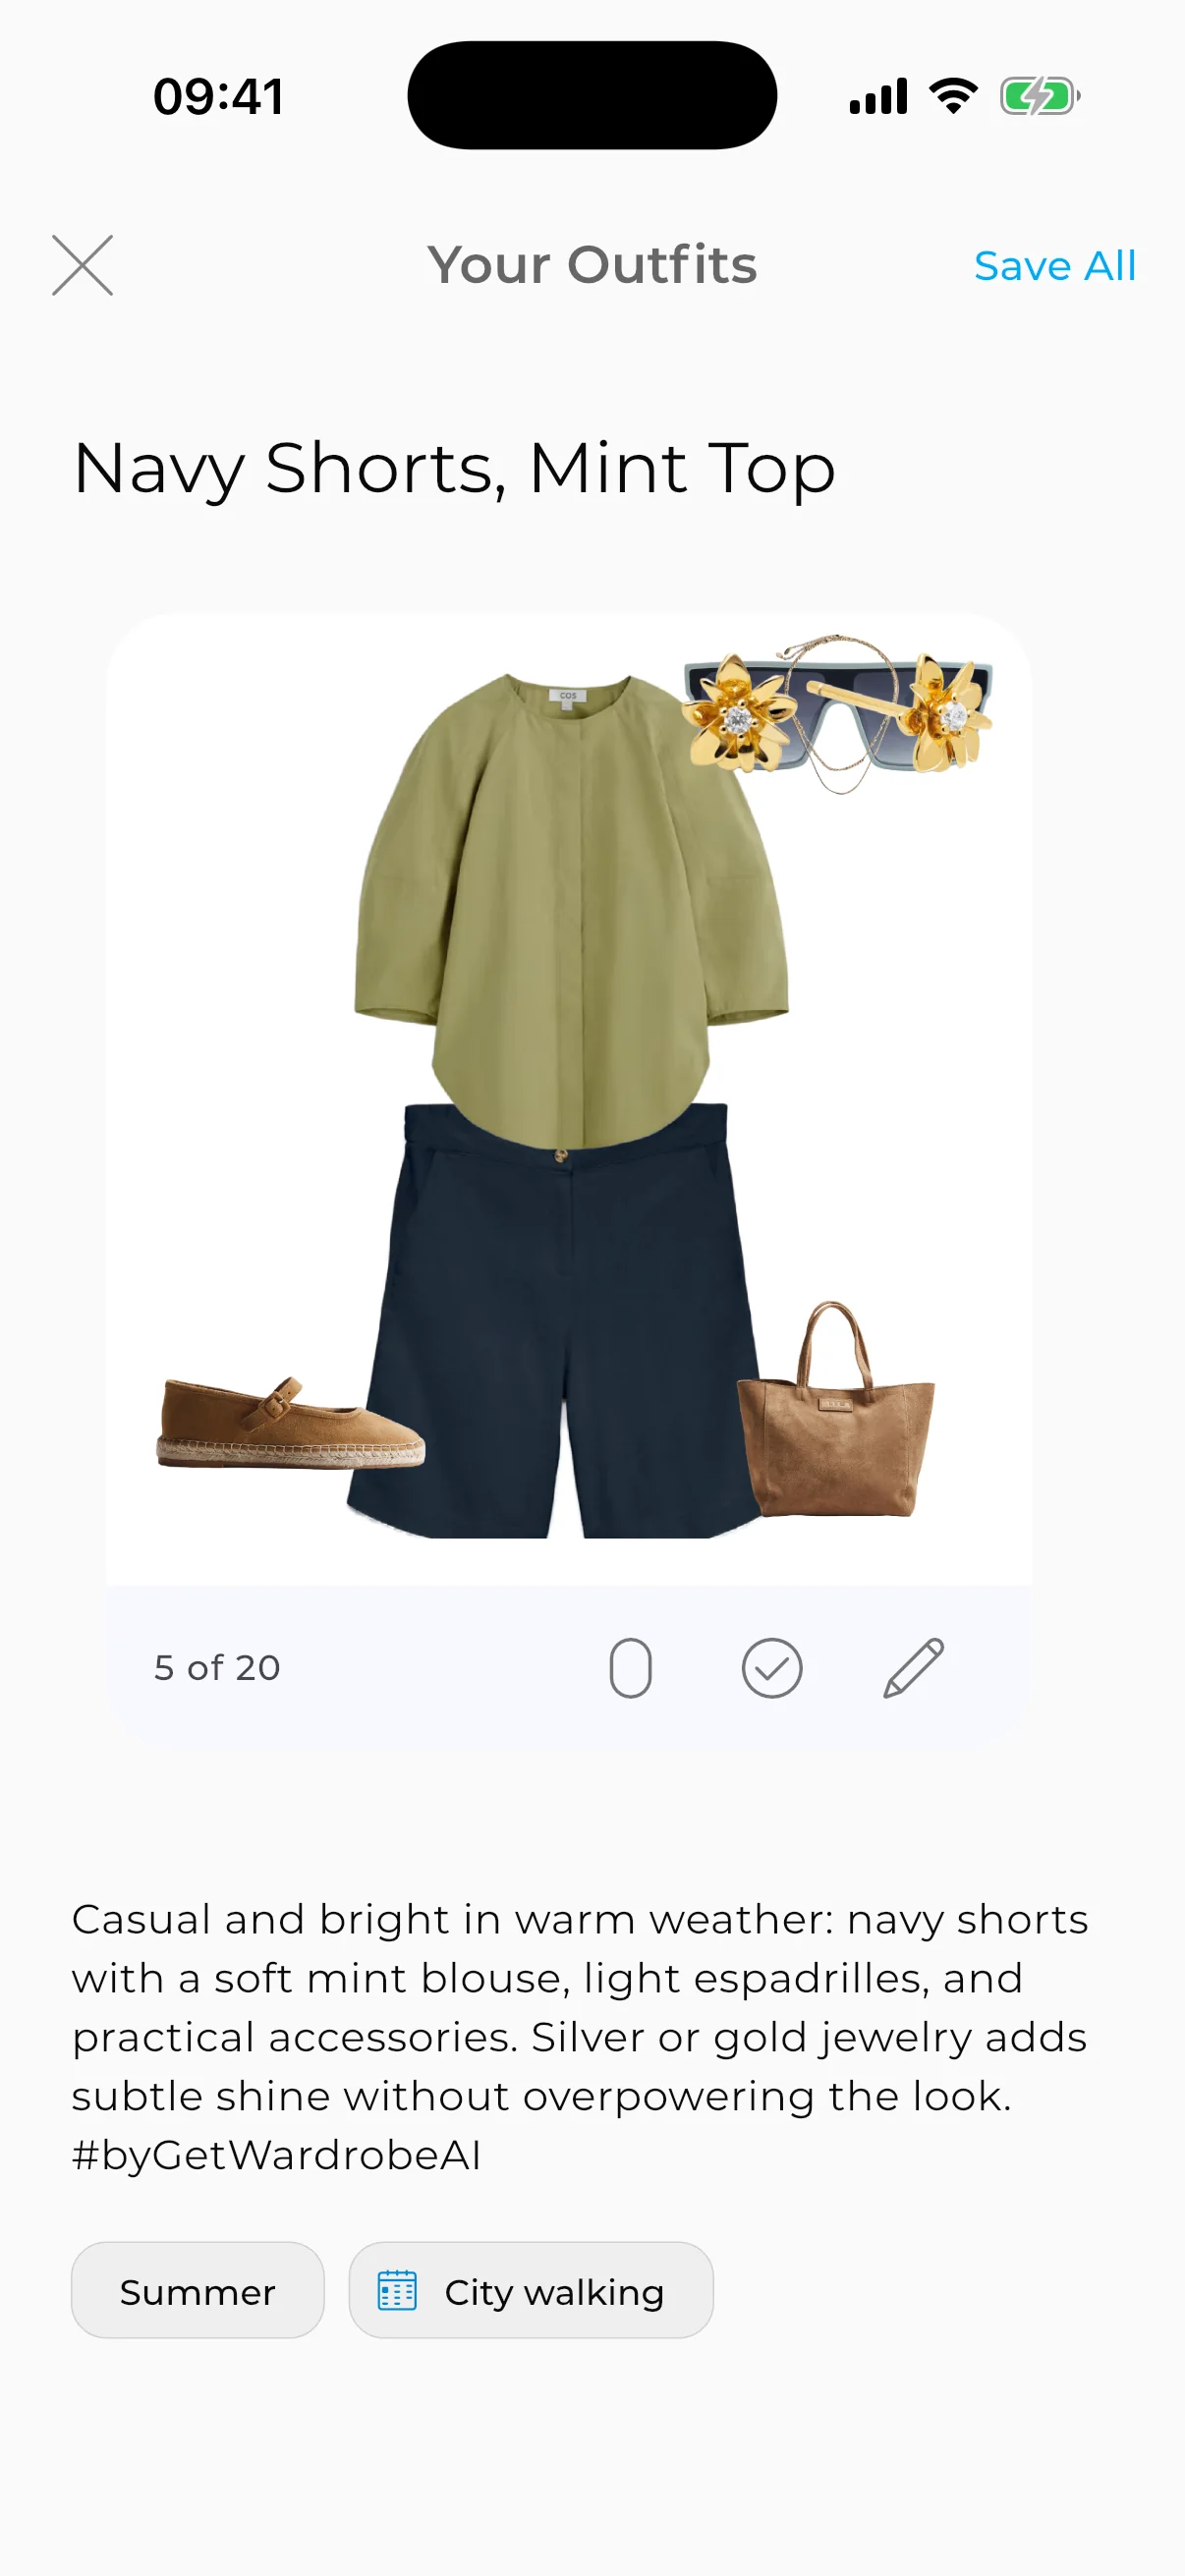
Let AI find combinations. The AI Outfit Generator scans your wardrobe and produces 10–30 combinations in seconds. It considers color harmony, item types, and wearability. You'll see outfits from your own clothes that you'd never have thought to put together.
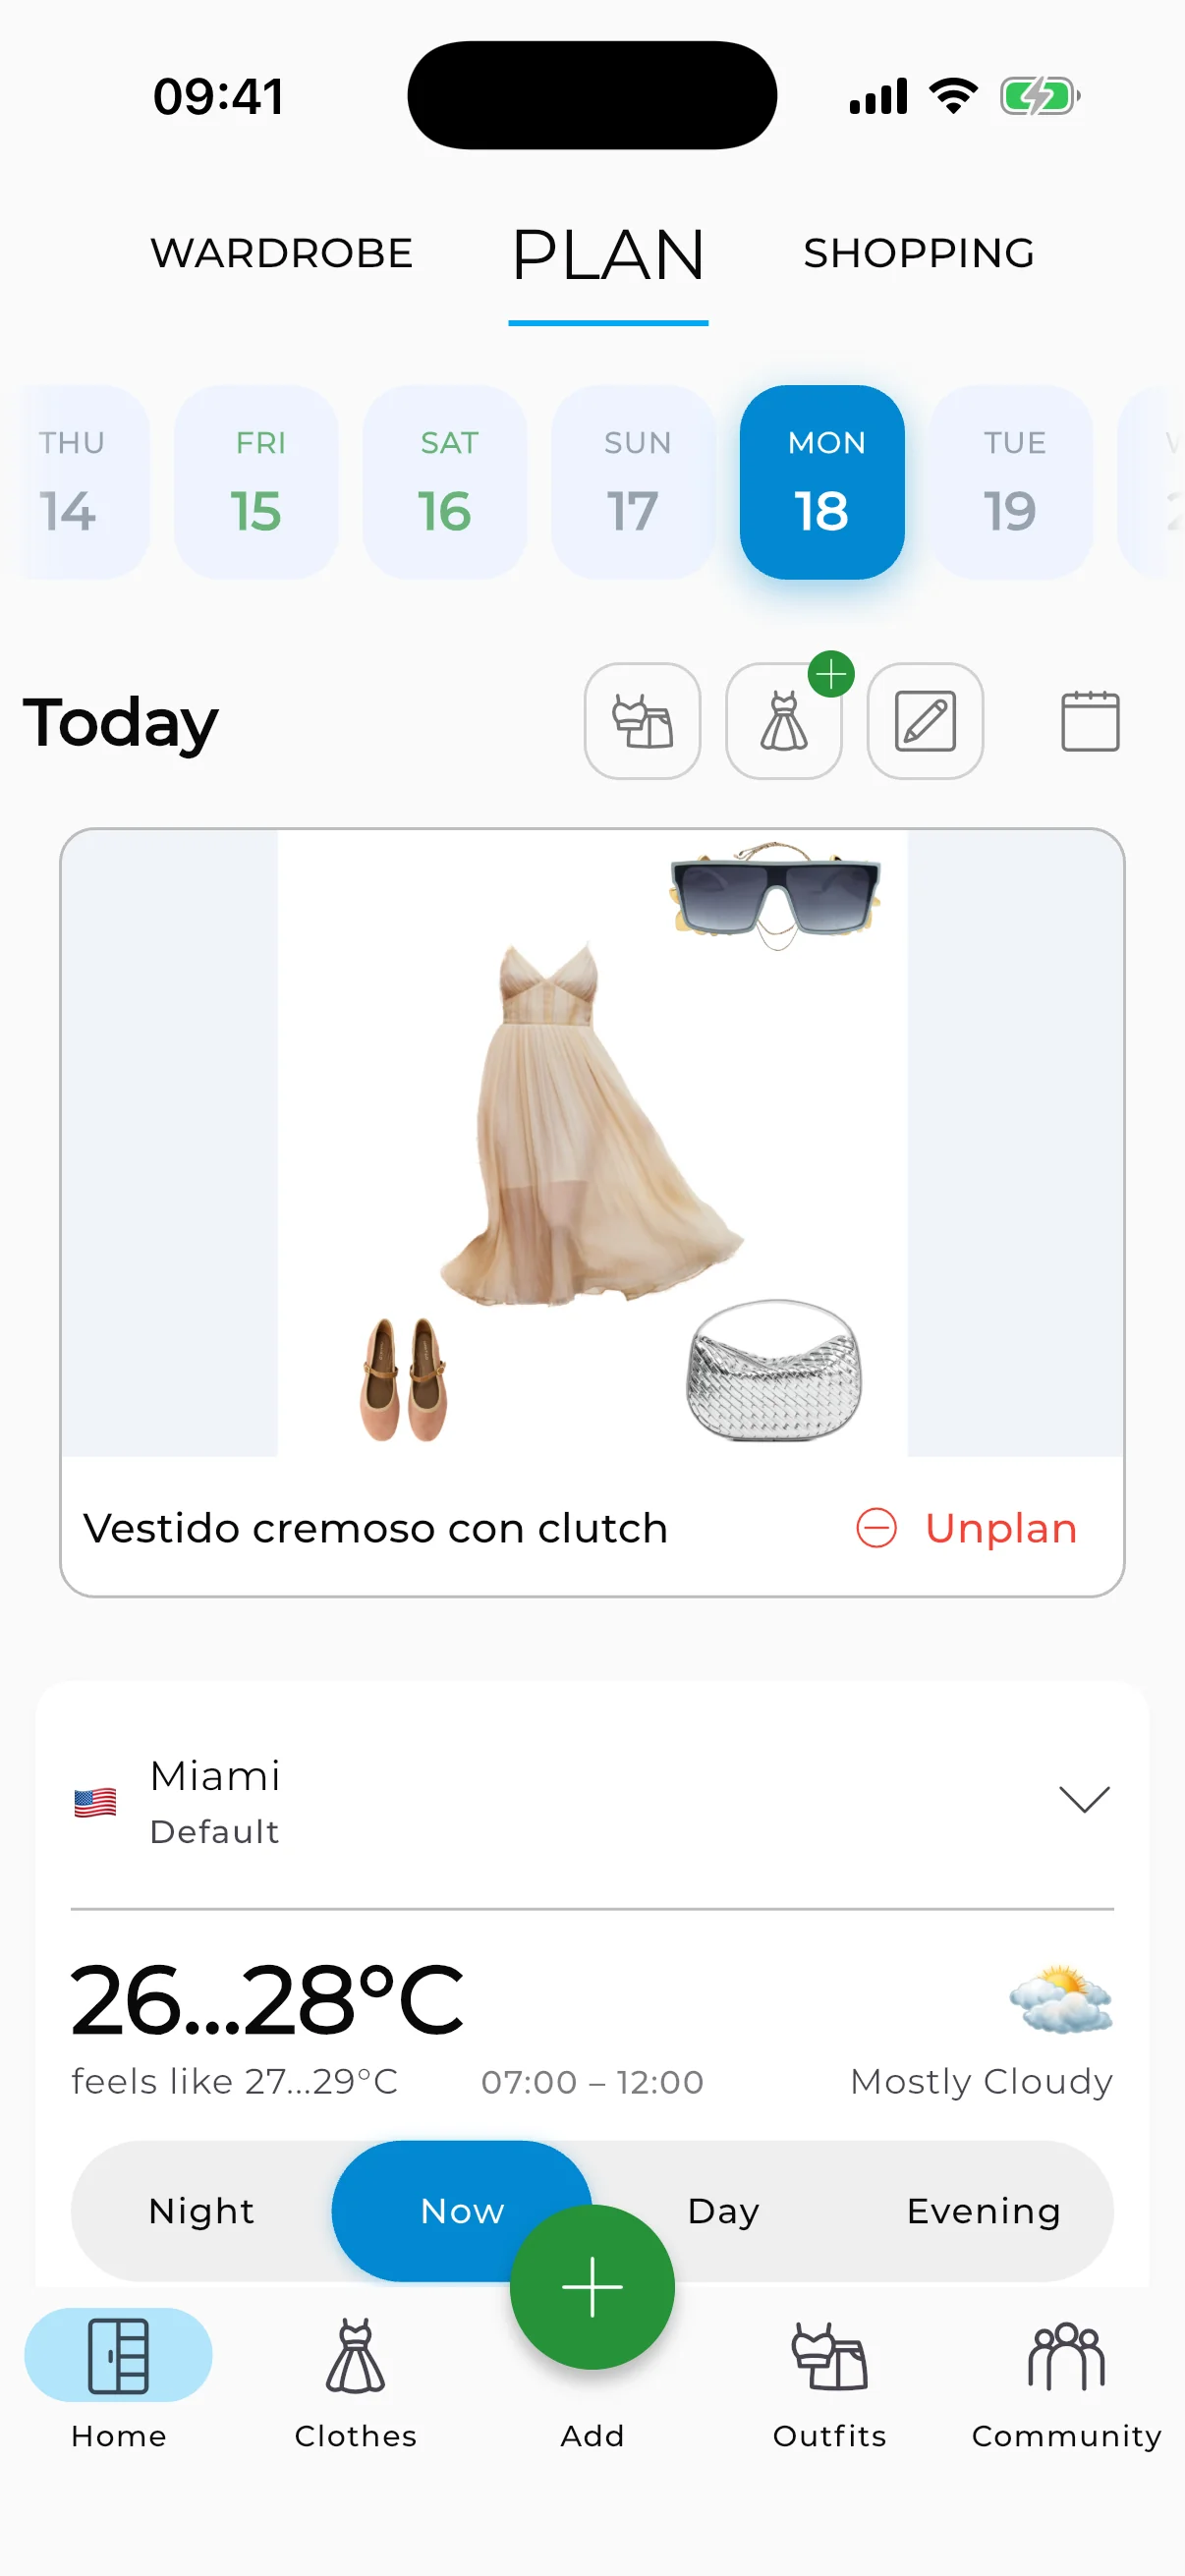
Plan your week. Open the outfit calendar, check the weather forecast for the next few days, and assign outfits. Monday meeting? Dark blazer + white shirt + grey trousers. Saturday brunch? Denim jacket + bright top + jeans. Done before you go to sleep.
Test before you buy. Add a potential purchase (via store link or screenshot) and see how it pairs with what you already own. If it creates five new outfits — good buy. If it only works with one thing — maybe skip it.
Track what you wear. Over time, your statistics show which items you wear most, which ones gather dust, and what your real color palette looks like (as opposed to what you think it is).
Where people stall: photographing items on hangers (lay them flat — hangers distort the shape), shooting on a matching-color background (white shirt on white sheet is invisible to AI — use contrast), and spending three hours tagging everything on day one instead of just... using the app for a week and seeing what sticks. You built your wardrobe over years. It doesn't need to be digitized in a day.
Switching from Another App
If you're already using a different wardrobe app and want to try GetWardrobe, you don't have to start from scratch. Export your photos from the old app (most let you save images) and upload them into GetWardrobe through your gallery. AI will re-detect categories and colors — just review and adjust if needed.
Start Now — It Takes 5 Minutes
Open GetWardrobe. Photograph what you're wearing — top, bottom, shoes. That's 3–5 items and five minutes.
The app removes backgrounds, detects colors and categories, and sorts everything automatically. Tomorrow, add a few more. In three days you'll have 15 items and your first AI combinations. In a week — 30 items and the full AI Outfit Generator.
The real test isn't whether you digitize 200 items — it's whether you open the app tomorrow morning before you open the closet door.
Download GetWardrobe — free for iOS, Android, and Web
GetWardrobe helps you see, organize, and wear everything in your closet. AI-powered outfit generation, weather-aware planning, and sync across all your devices. Free to start, no time limits.
Need help?
Contact us: support@getwardrobe.com