Cómo empezar en el modo estilista
El modo estilista te permite gestionar los armarios de tus clientes directamente en GetWardrobe. En esta guía verás cómo activar el modo estilista, configurar tu perfil, añadir clientes y cambiar entre armarios.
Qué puedes hacer con el modo estilista
- Todos los armarios de tus clientes, sus prendas, outfits y notas reunidos en un solo lugar.
- Crea cuentas de clientes directamente desde tu propia cuenta y empieza a trabajar de inmediato.
- Envía a tus clientes invitaciones con tu nombre y foto.
- Deja consejos y recomendaciones directamente en el armario del cliente.
- Tus clientes disponen de armarios ilimitados y de todas las funciones premium.
Cambiar al modo estilista
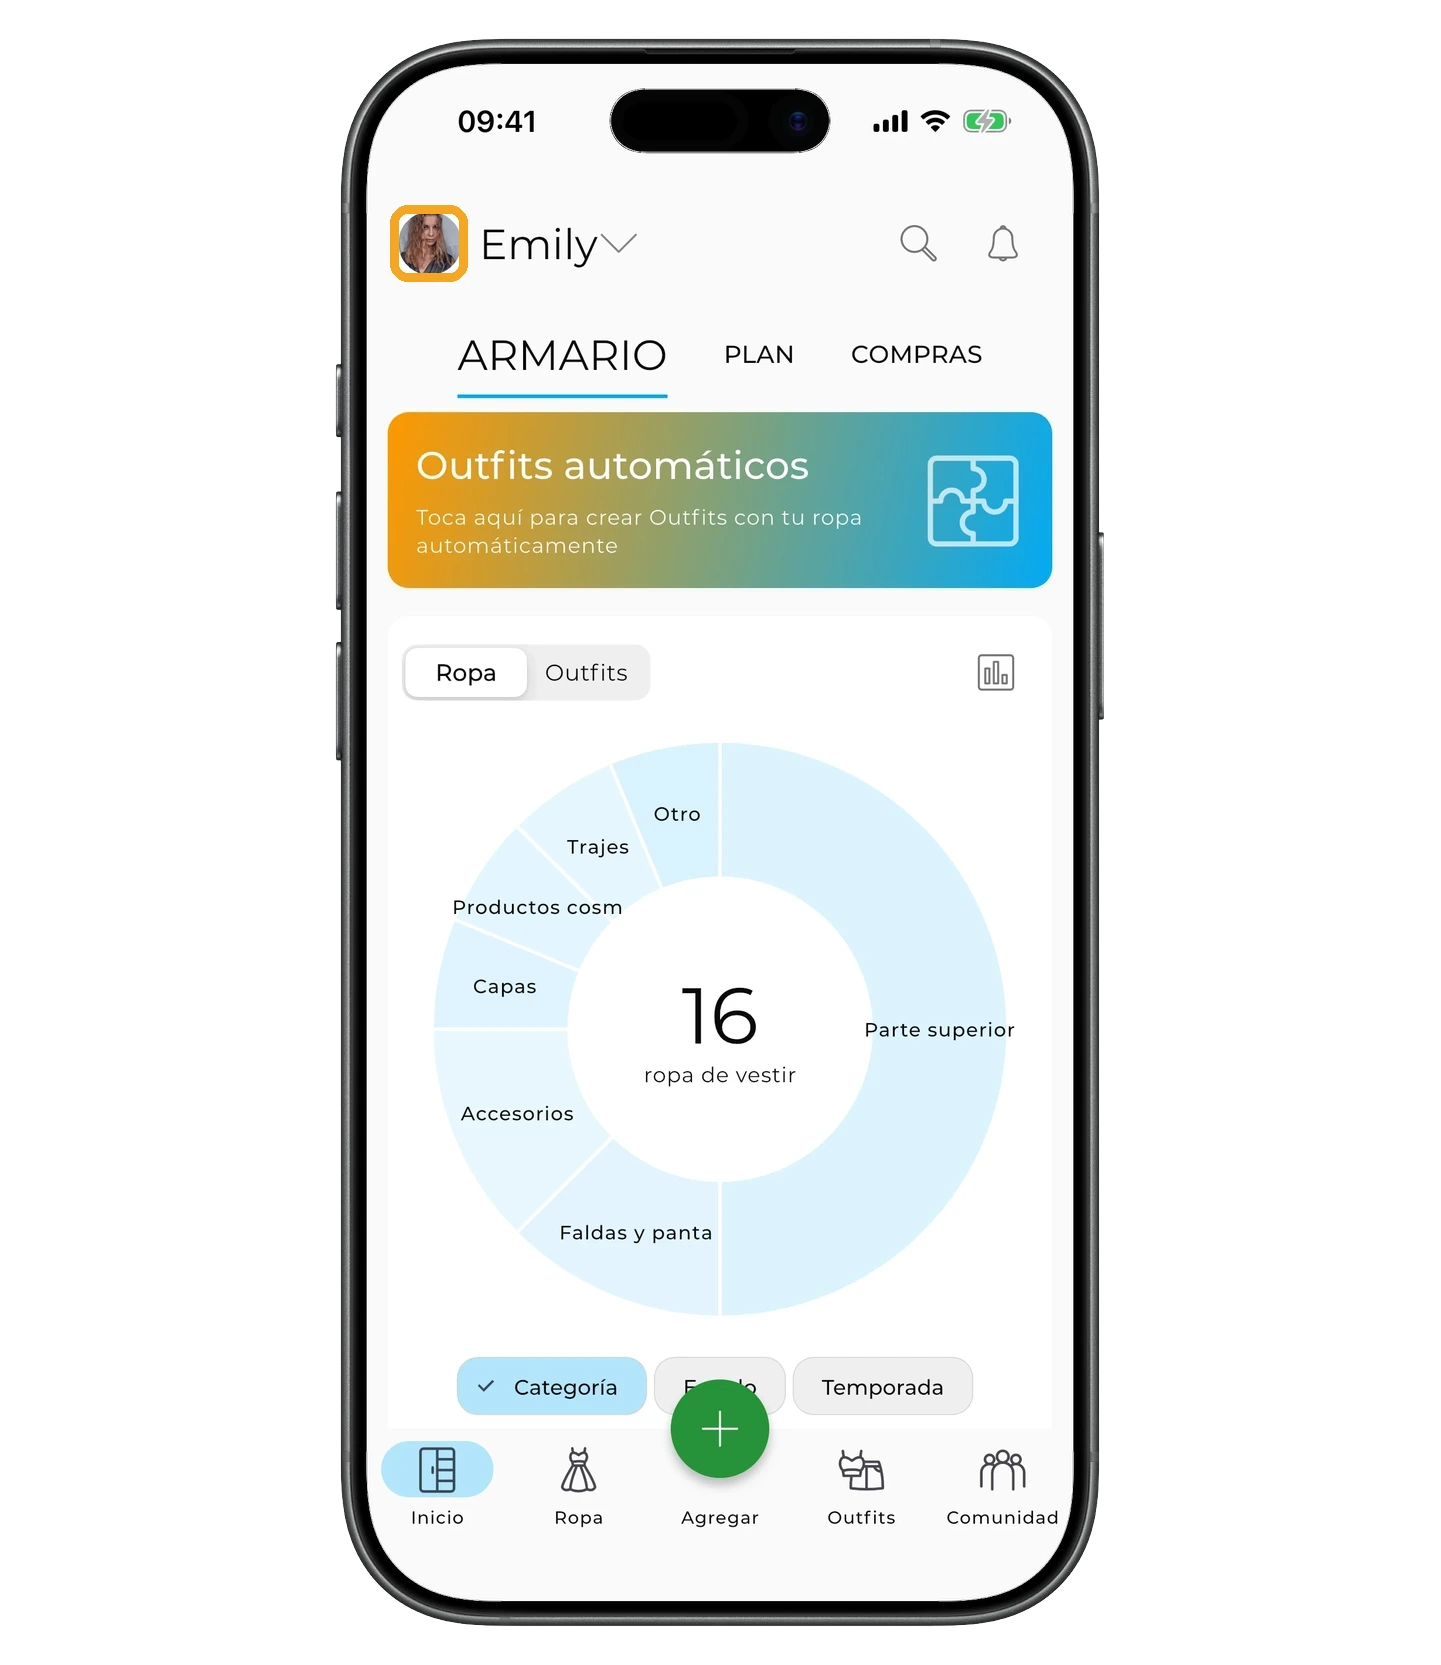
Toca tu avatar en la esquina superior izquierda de la pantalla principal.
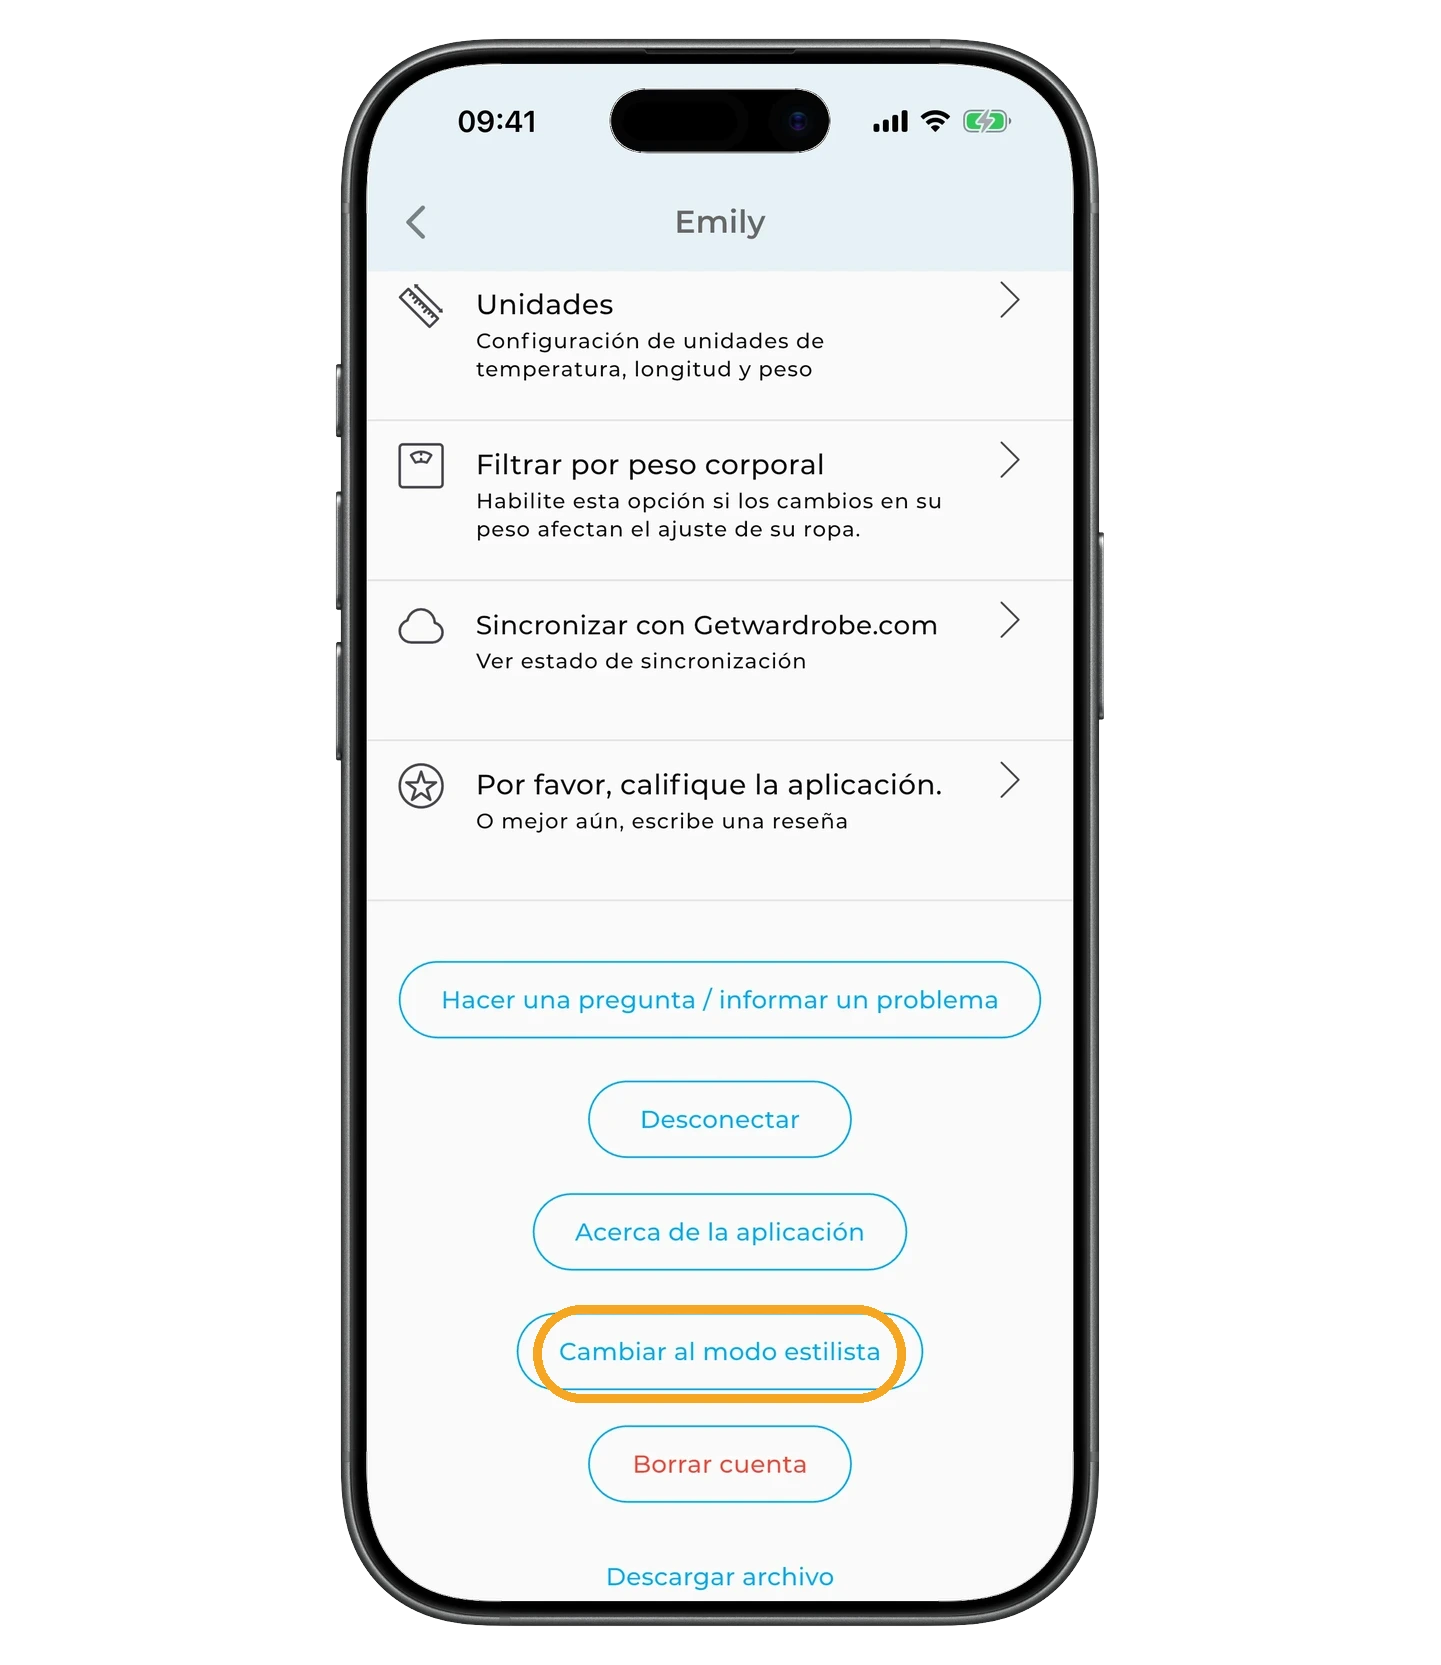
En el menú de ajustes, desplázate hacia abajo y toca «Cambiar al modo estilista».
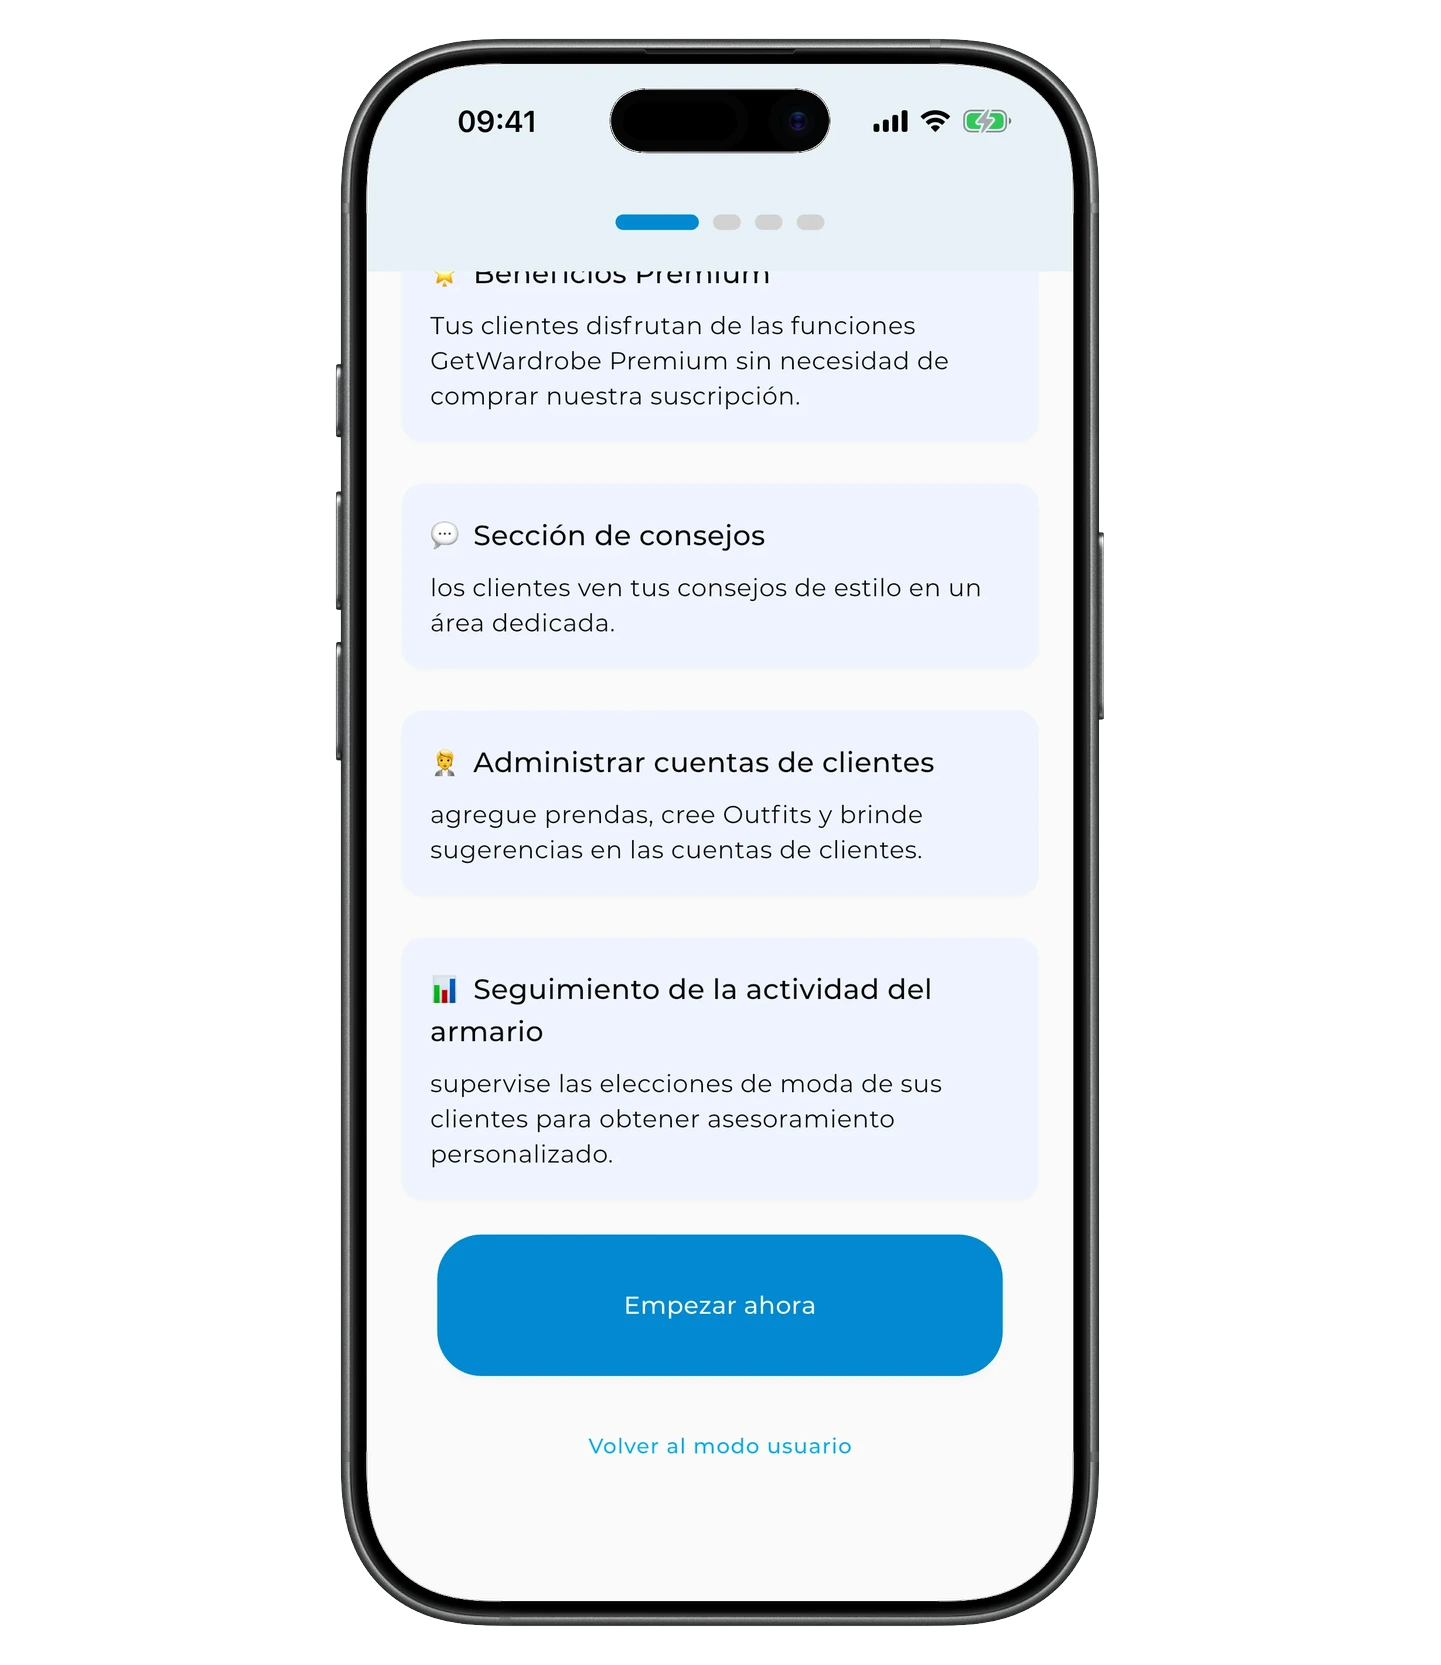
En la pantalla del modo estilista, desplázate hacia abajo y toca «Empezar ahora».
Configurar tu perfil
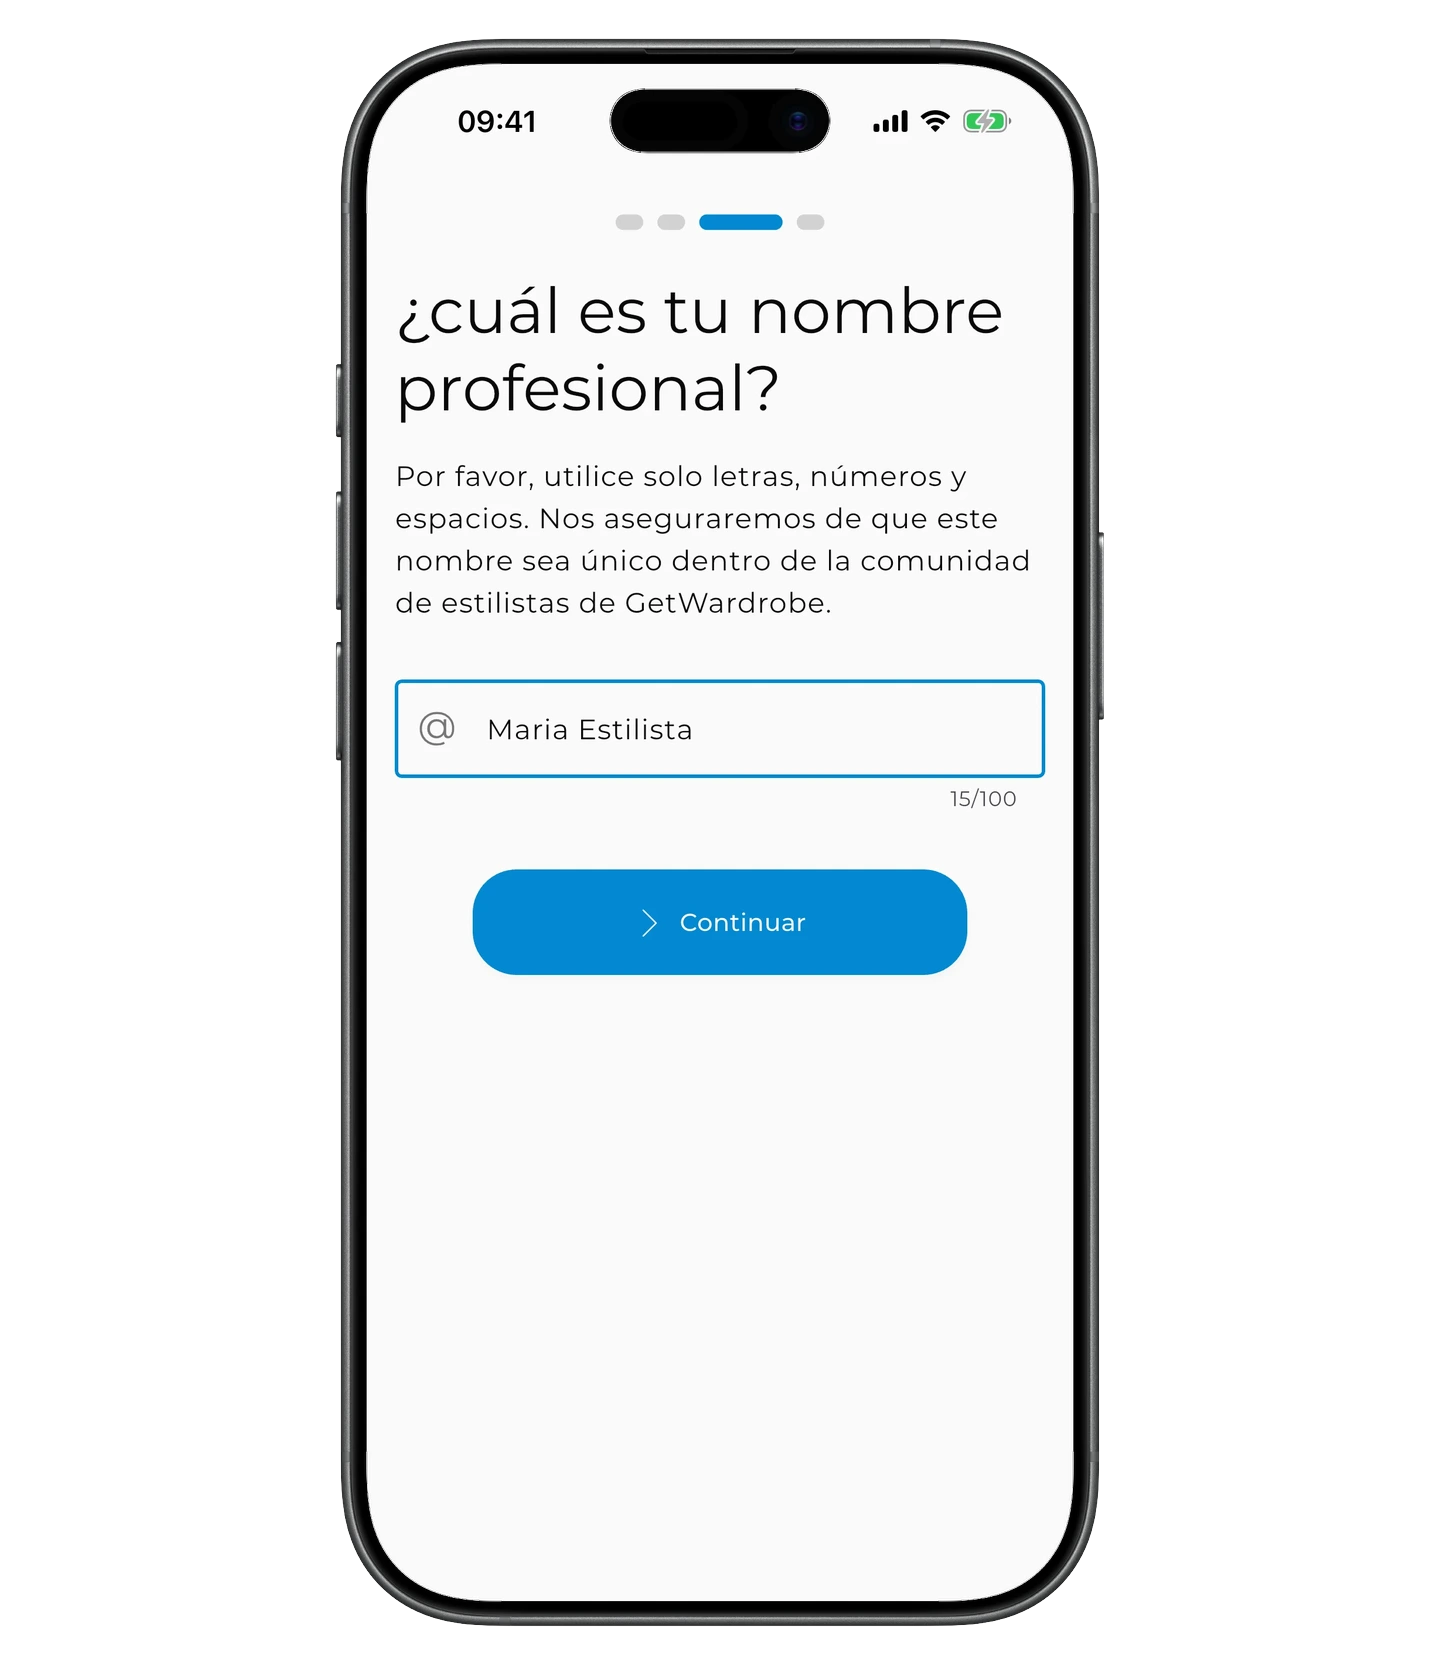
Introduce el nombre que verán tus clientes y toca «Continuar».
Añade una foto de perfil — tus clientes también la verán.

Toca «Continuar» — tu perfil de estilista está listo.
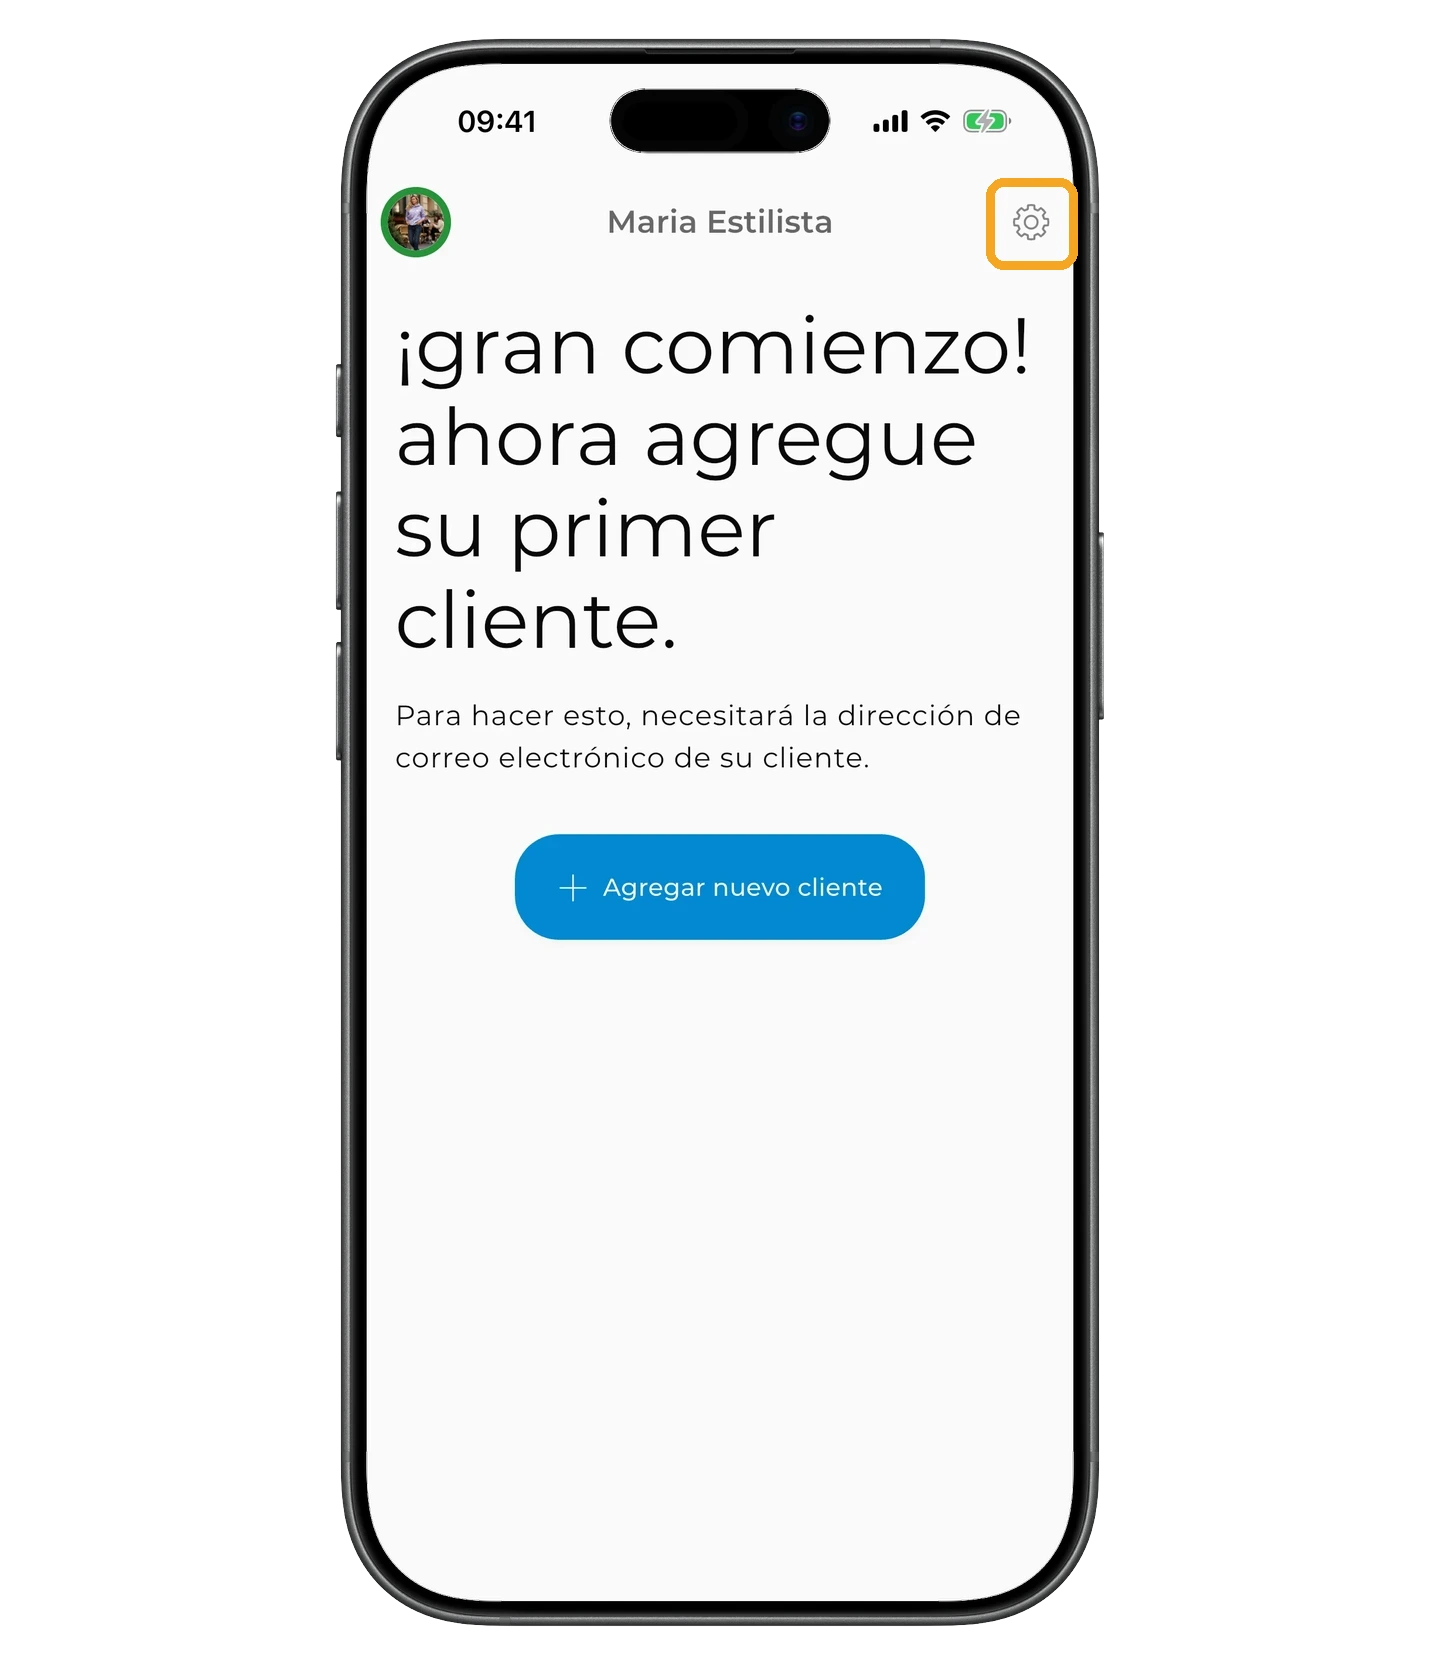
Para abrir los ajustes de tu cuenta de estilista, toca el icono del engranaje en la esquina superior derecha del panel.
En los ajustes del perfil puedes:
- añadir tus habilidades profesionales;
- añadir un enlace a tu web o redes sociales;
- subir un acuerdo de servicio si tienes uno.
Toca «Guardar» para terminar de configurar tu perfil de estilista.
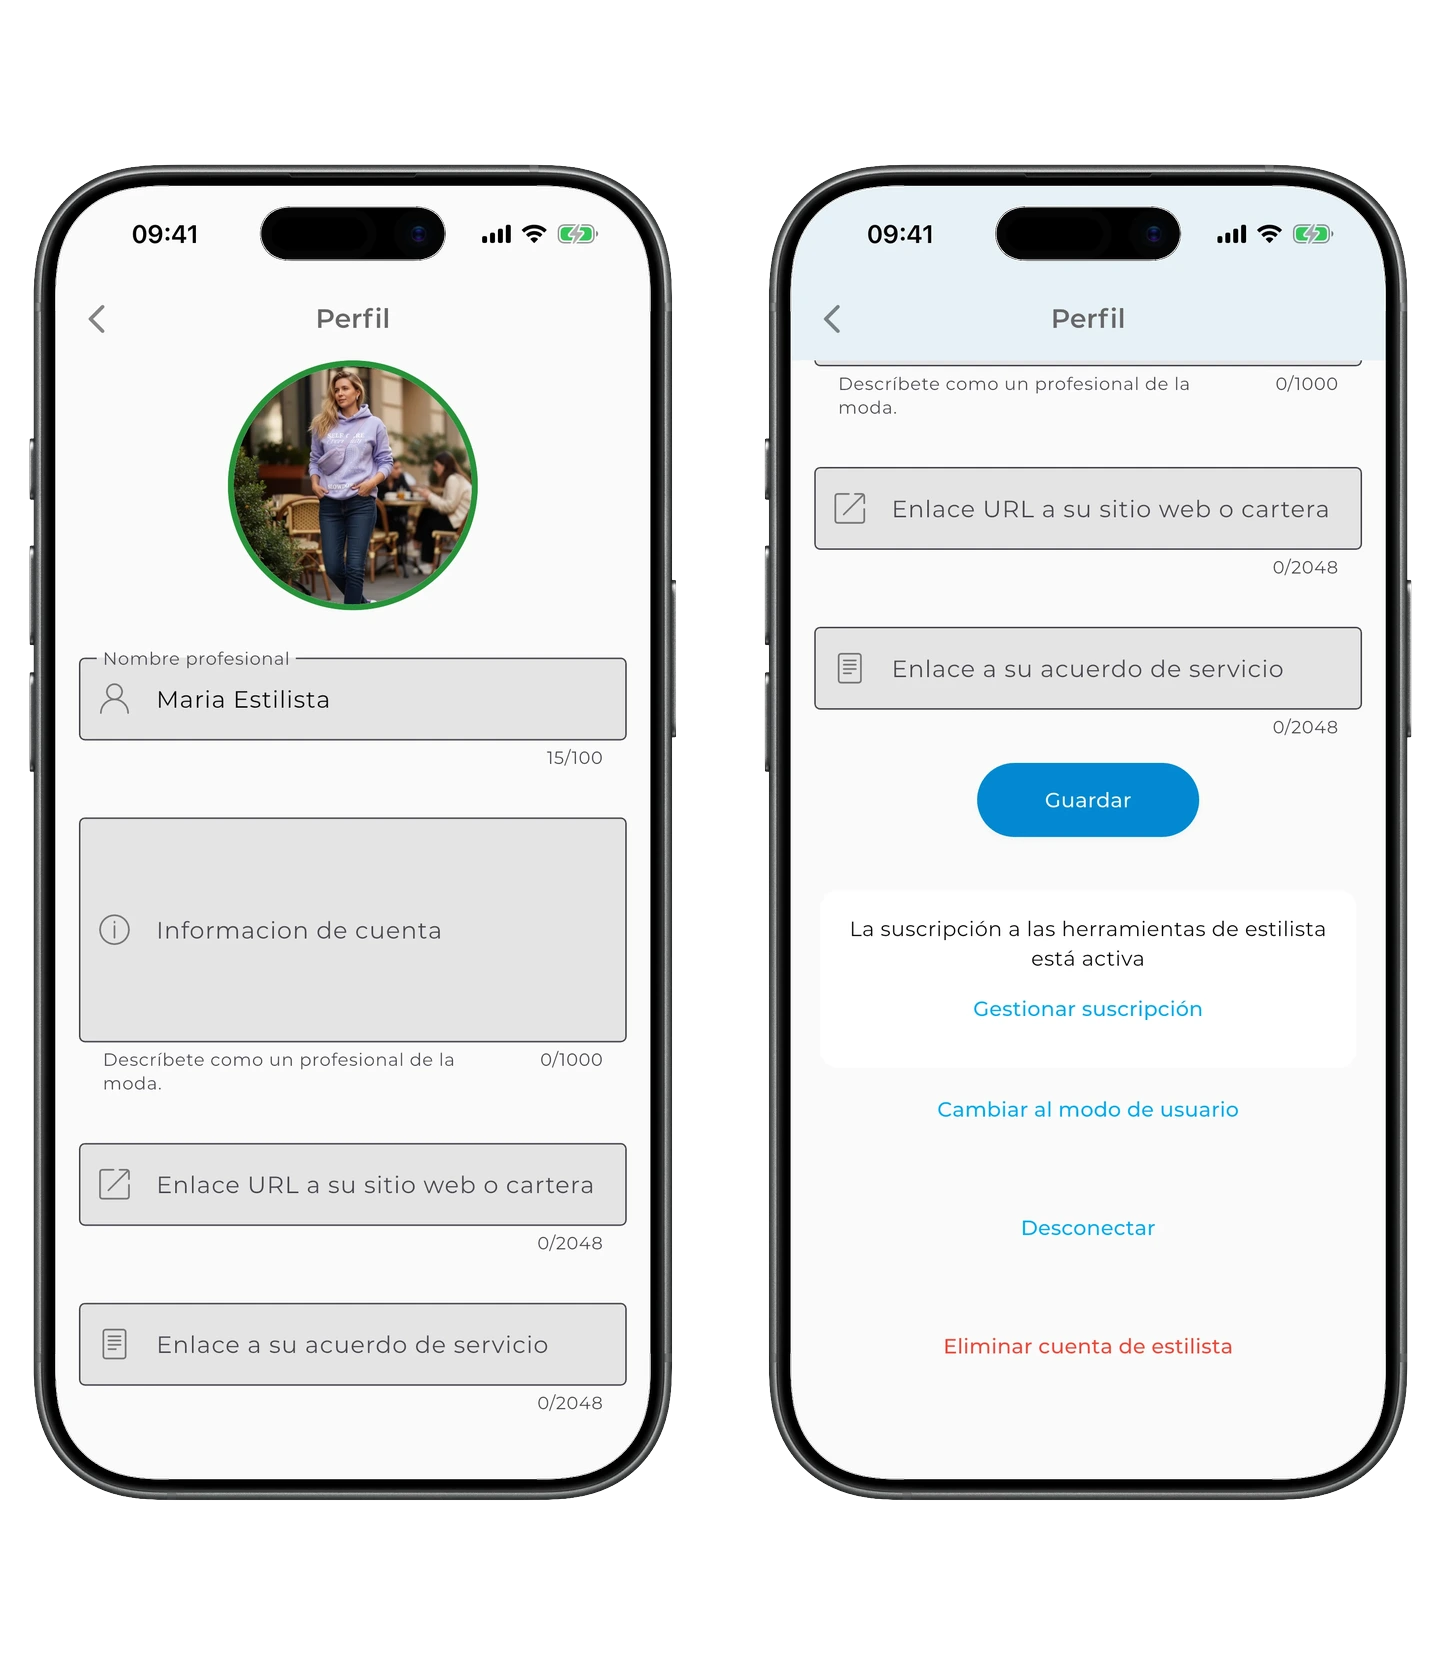
Puedes volver al modo normal en cualquier momento — abre los ajustes de tu cuenta de estilista y toca «Cambiar al modo usuario» al final de la pantalla de perfil.
Suscripción
Trabajar en el modo estilista requiere una suscripción. Puedes activarla directamente en la aplicación al añadir tu primer cliente o desde los ajustes de tu cuenta de estilista.
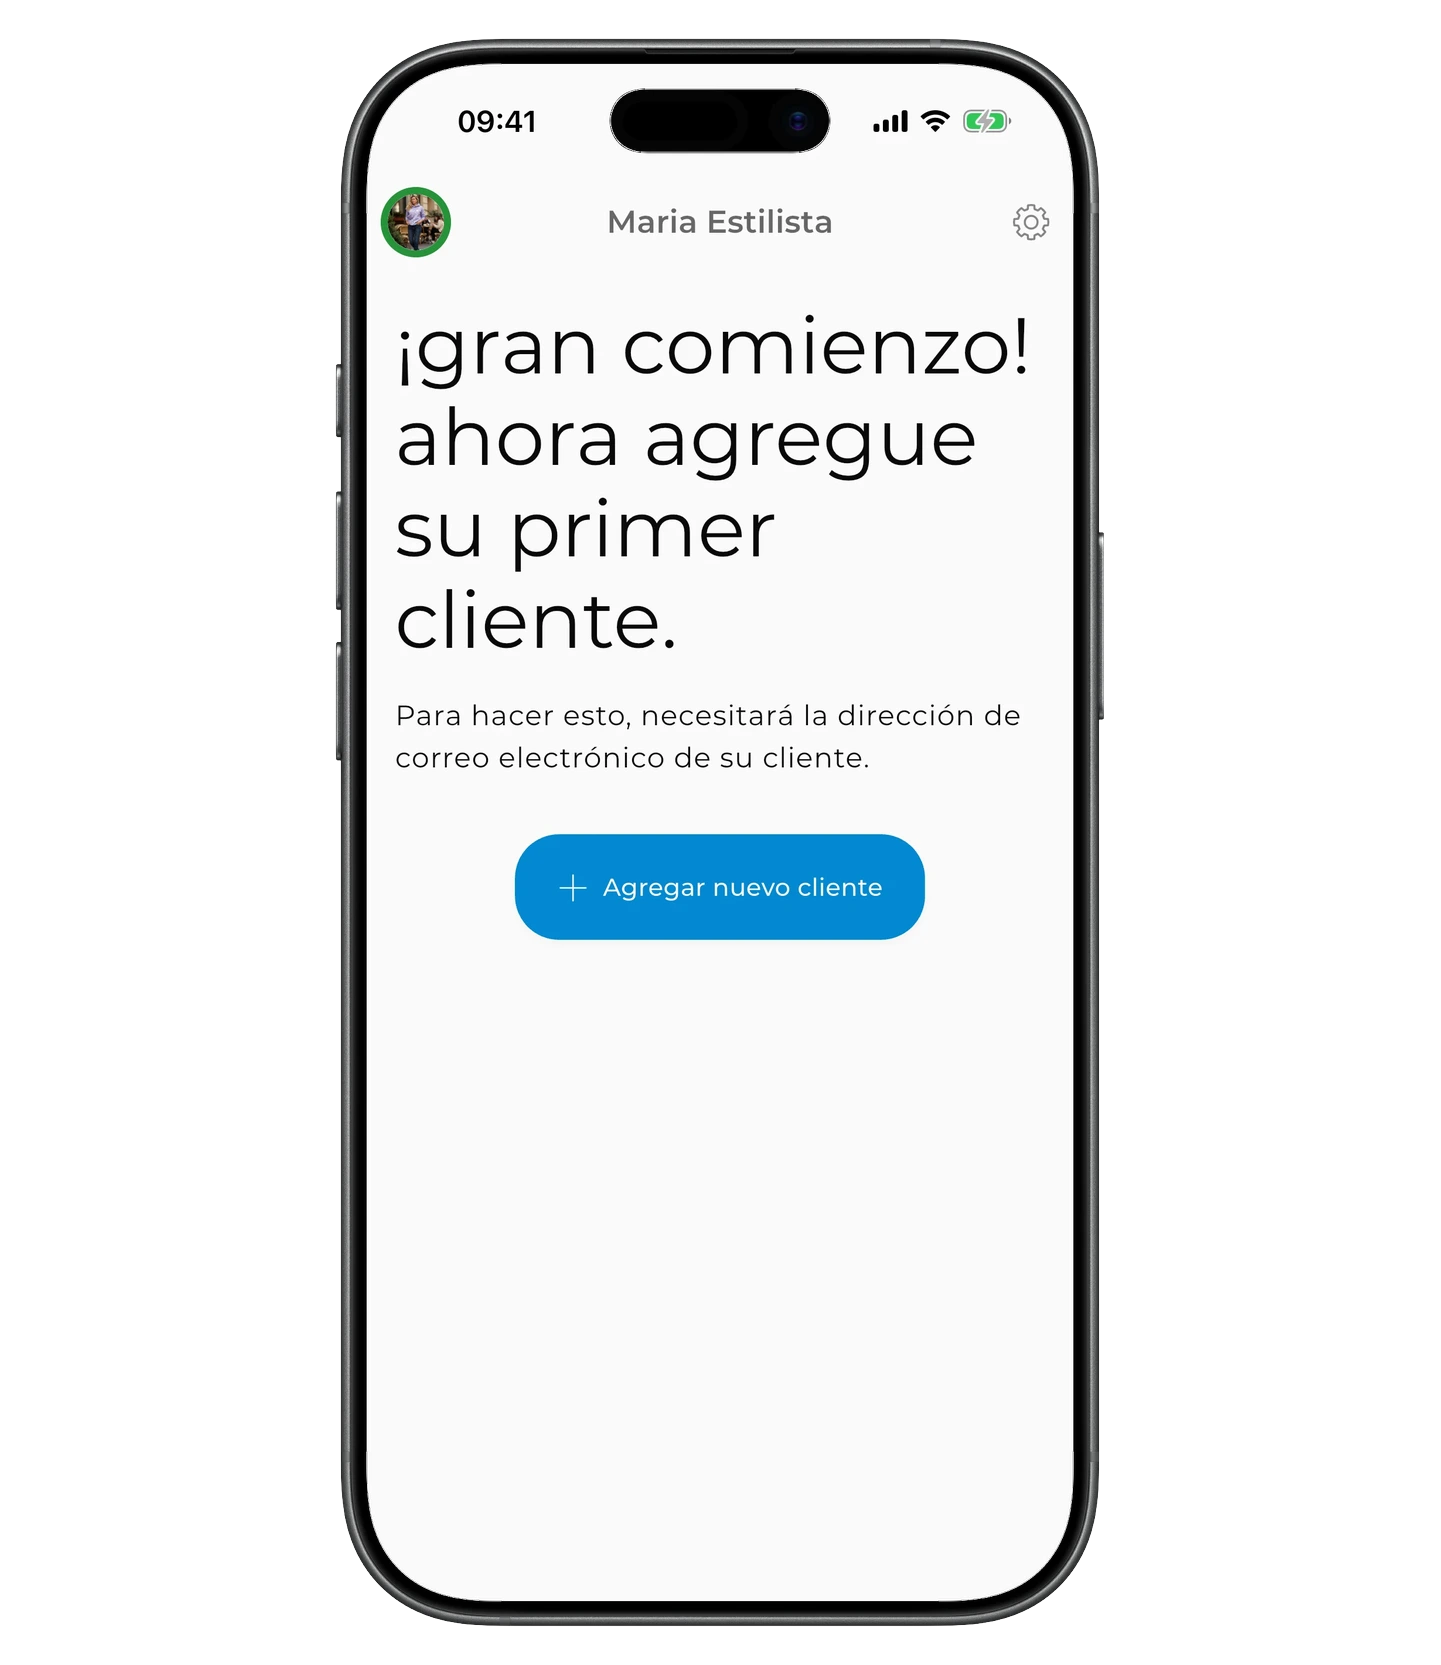
Añadir clientes
El cliente ya tiene una cuenta de GetWardrobe
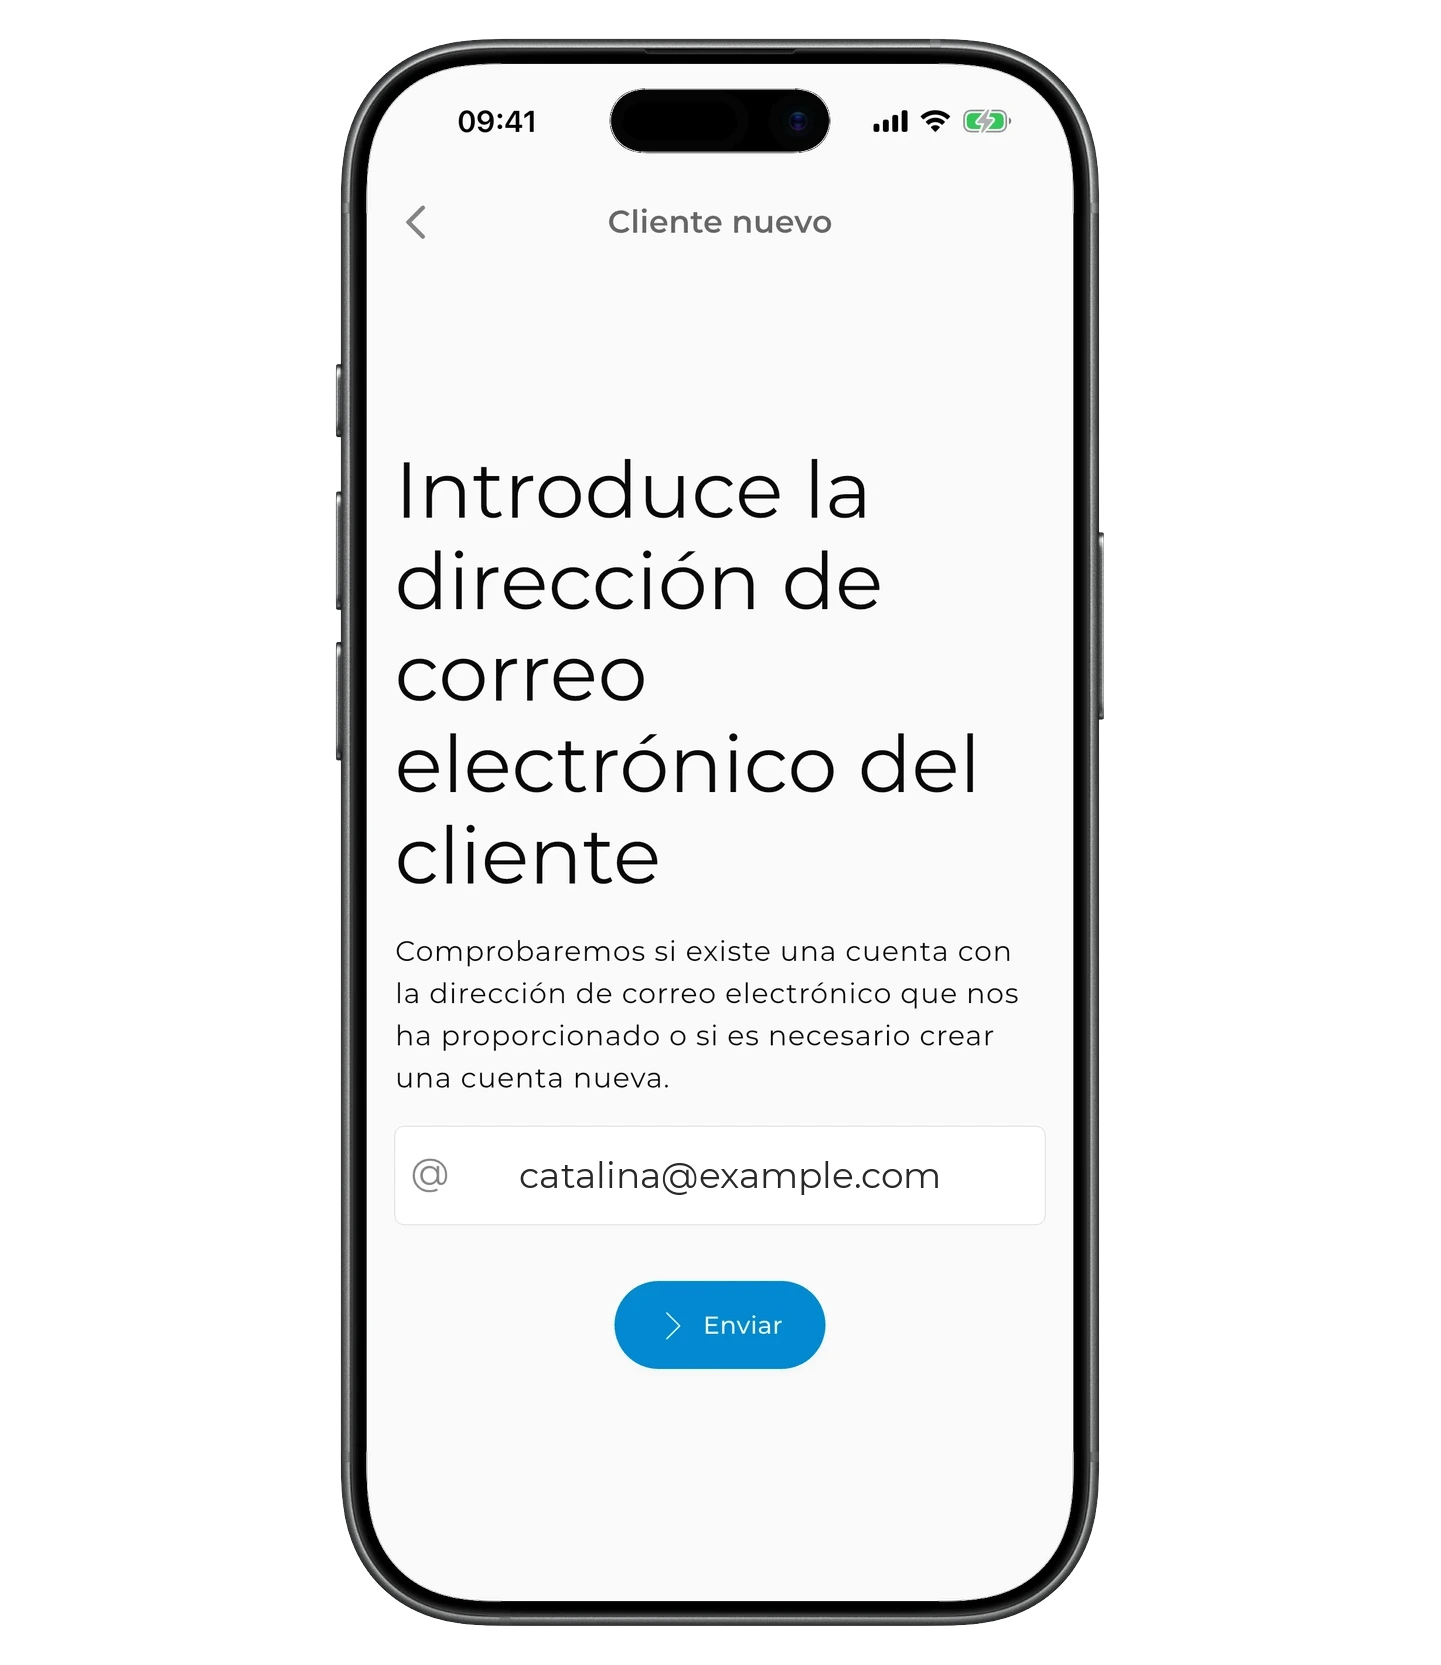
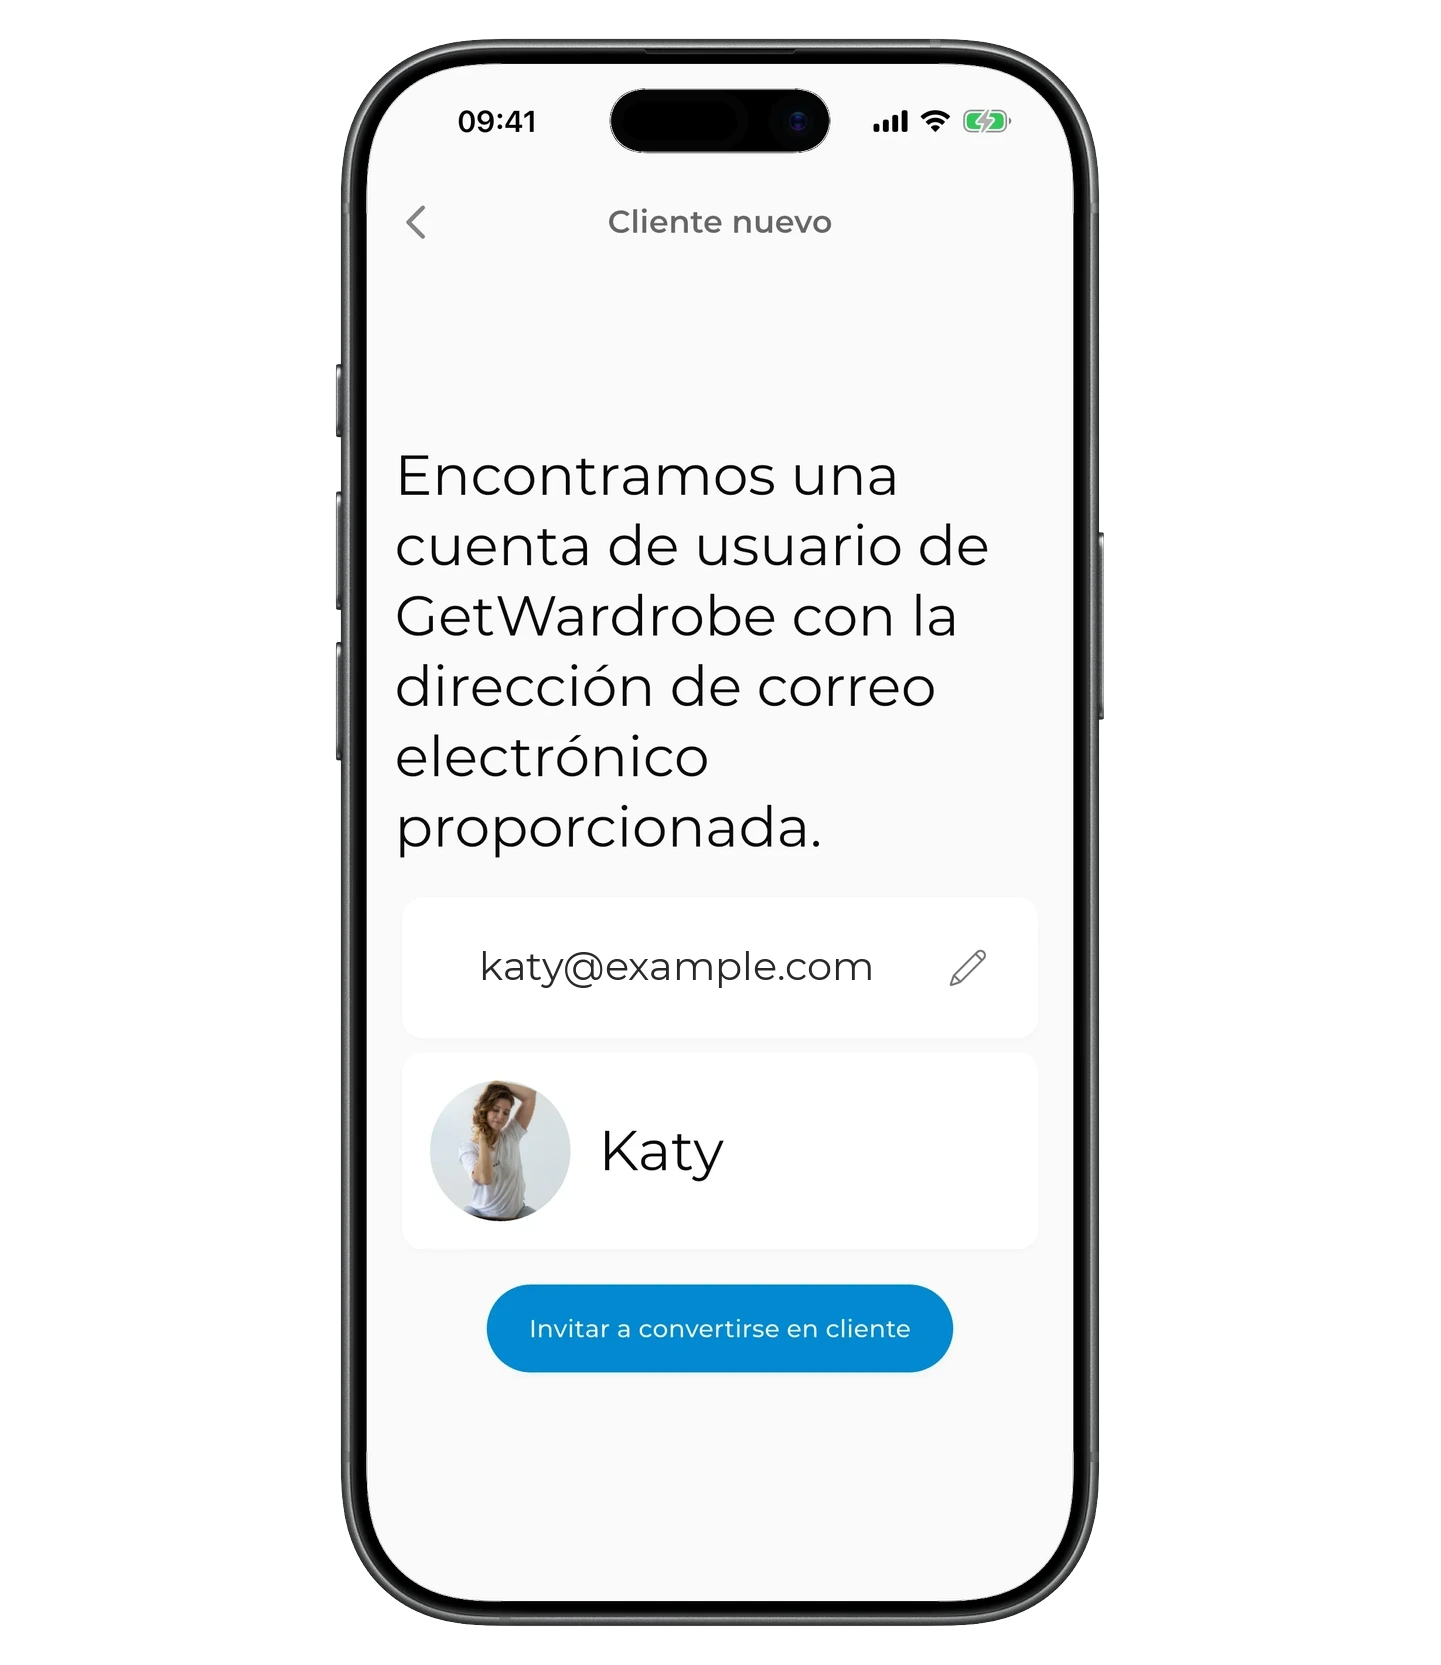
Toca «+ Agregar nuevo cliente», introduce el correo electrónico del cliente y toca «Enviar».
Si ya existe una cuenta con ese correo en GetWardrobe, verás el nombre y el avatar del cliente. Toca «Invitar a convertirse en cliente».
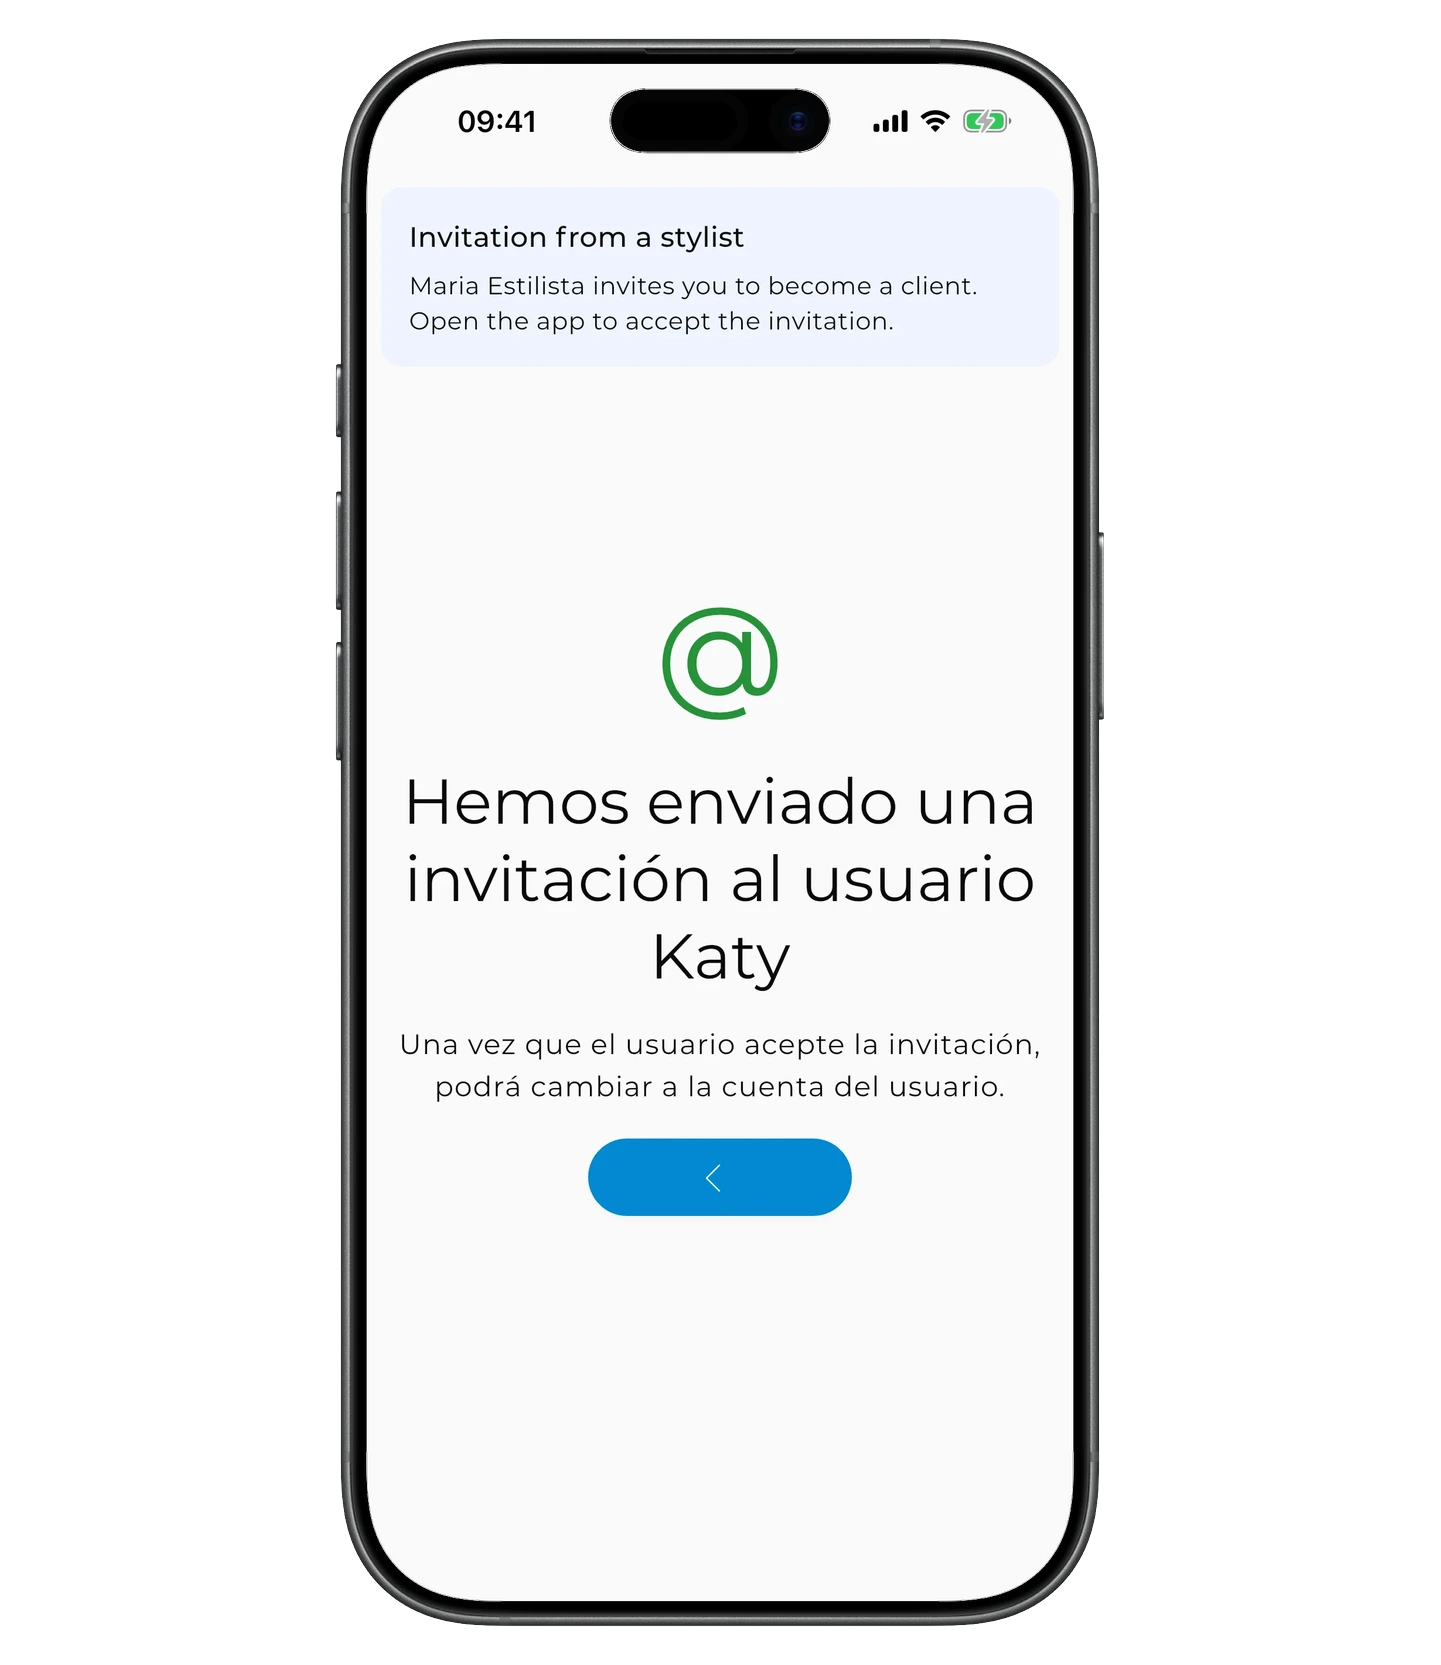
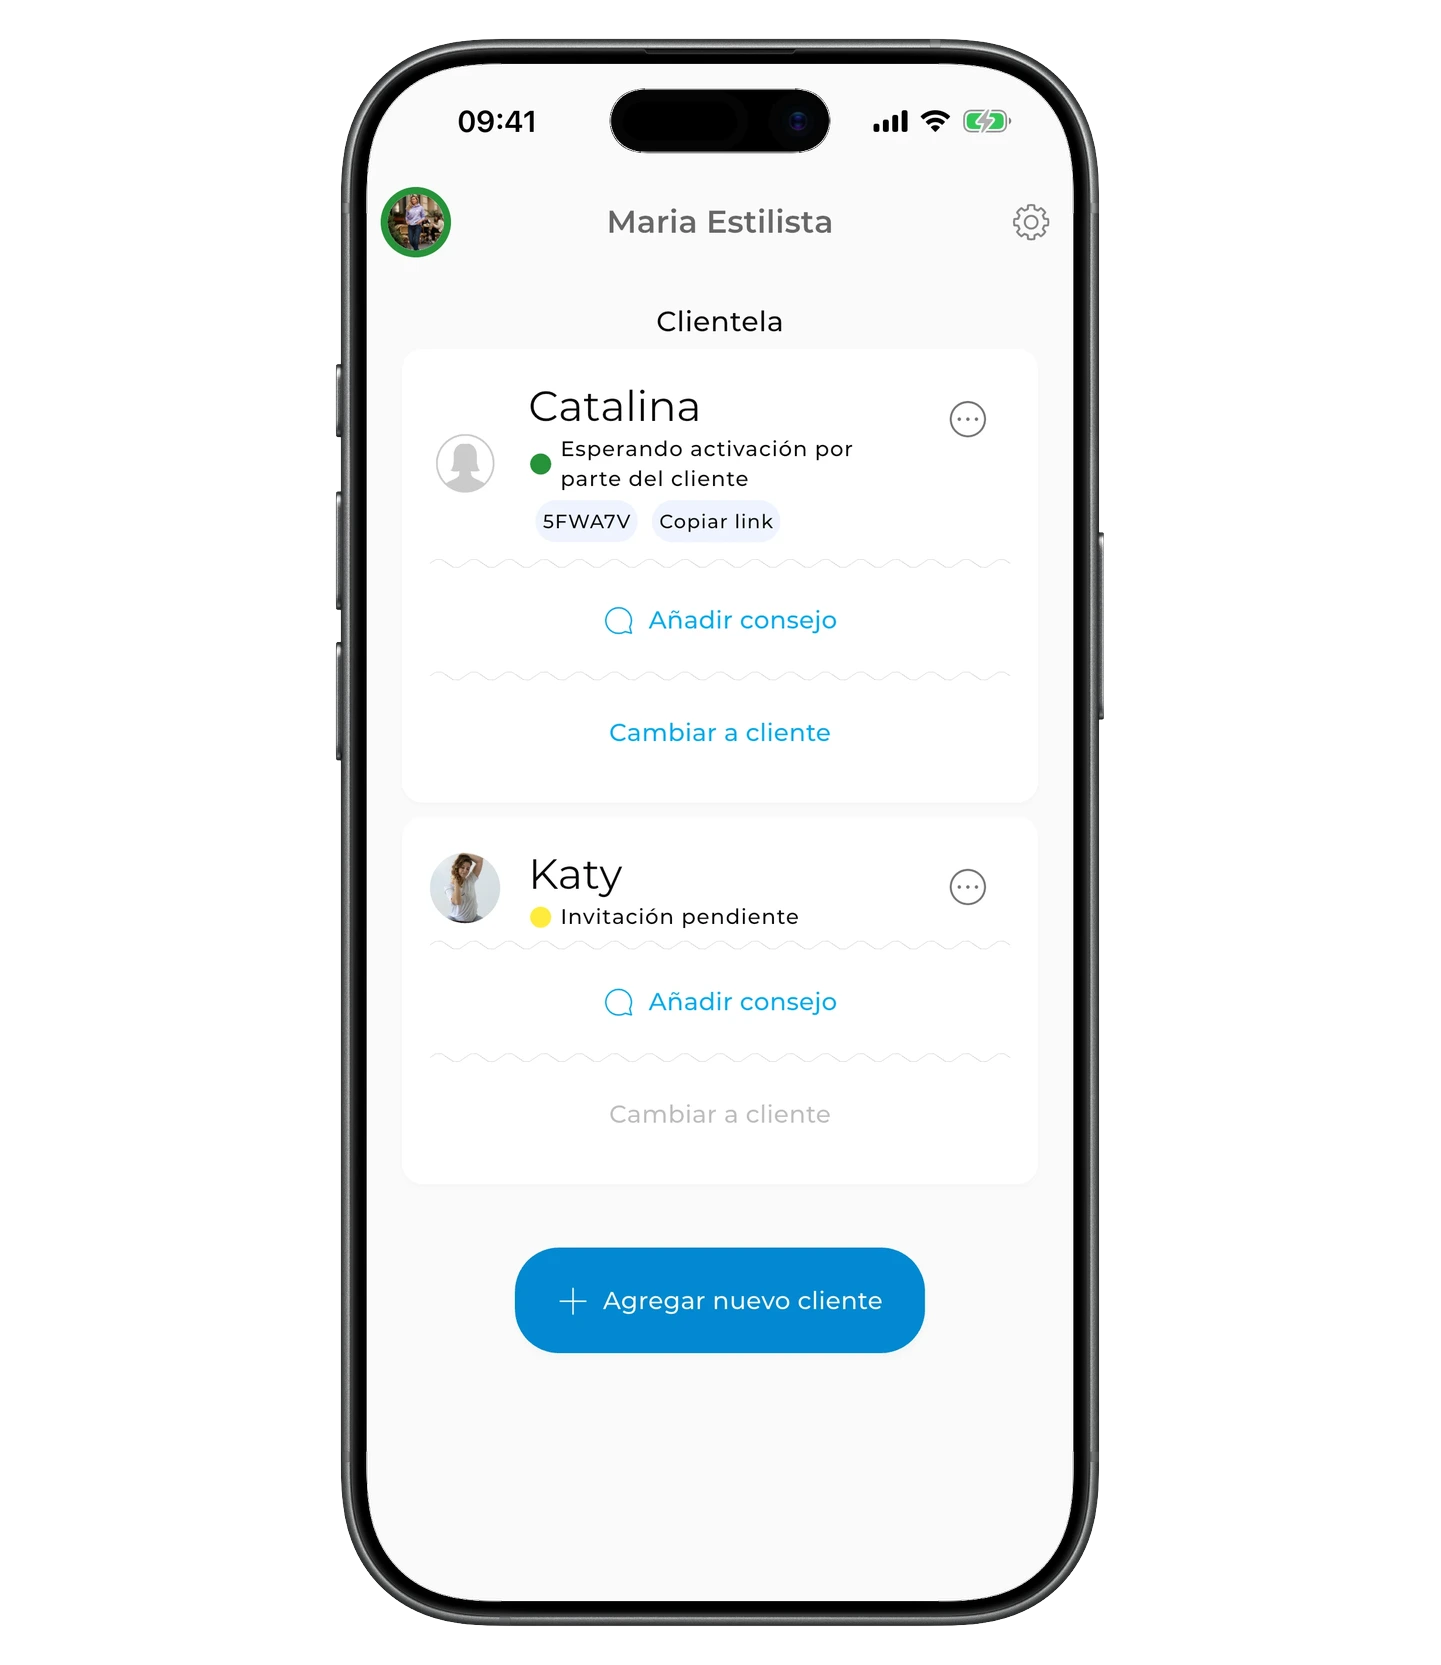
La invitación se envía al instante. En cuanto el cliente la acepte, podrás abrir su armario y empezar a trabajar.
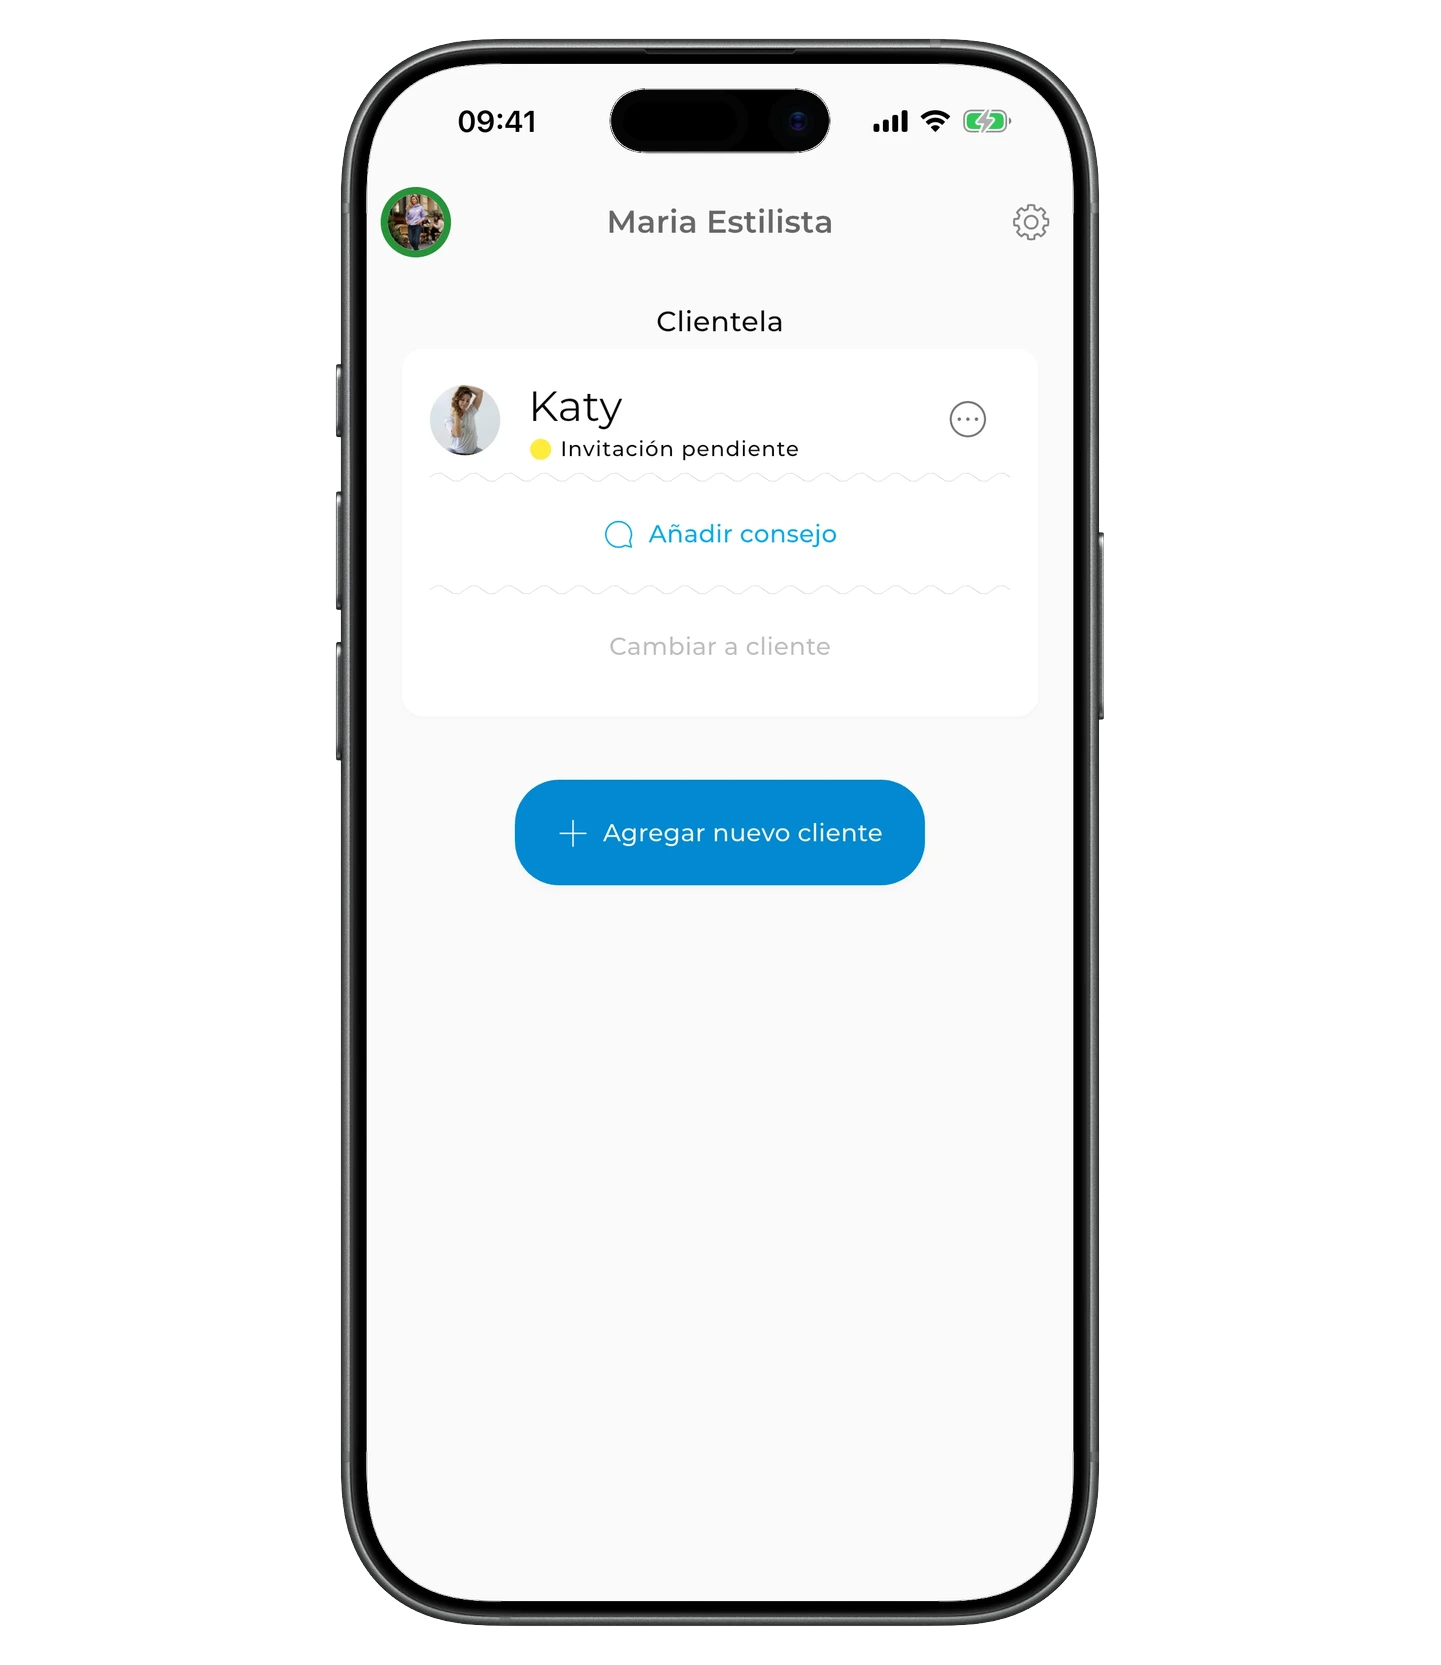
Mientras el cliente no acepte tu invitación, su tarjeta mostrará «Invitación pendiente». Una vez que la acepte, pasará a «Aceptada».
El cliente no tiene cuenta en GetWardrobe
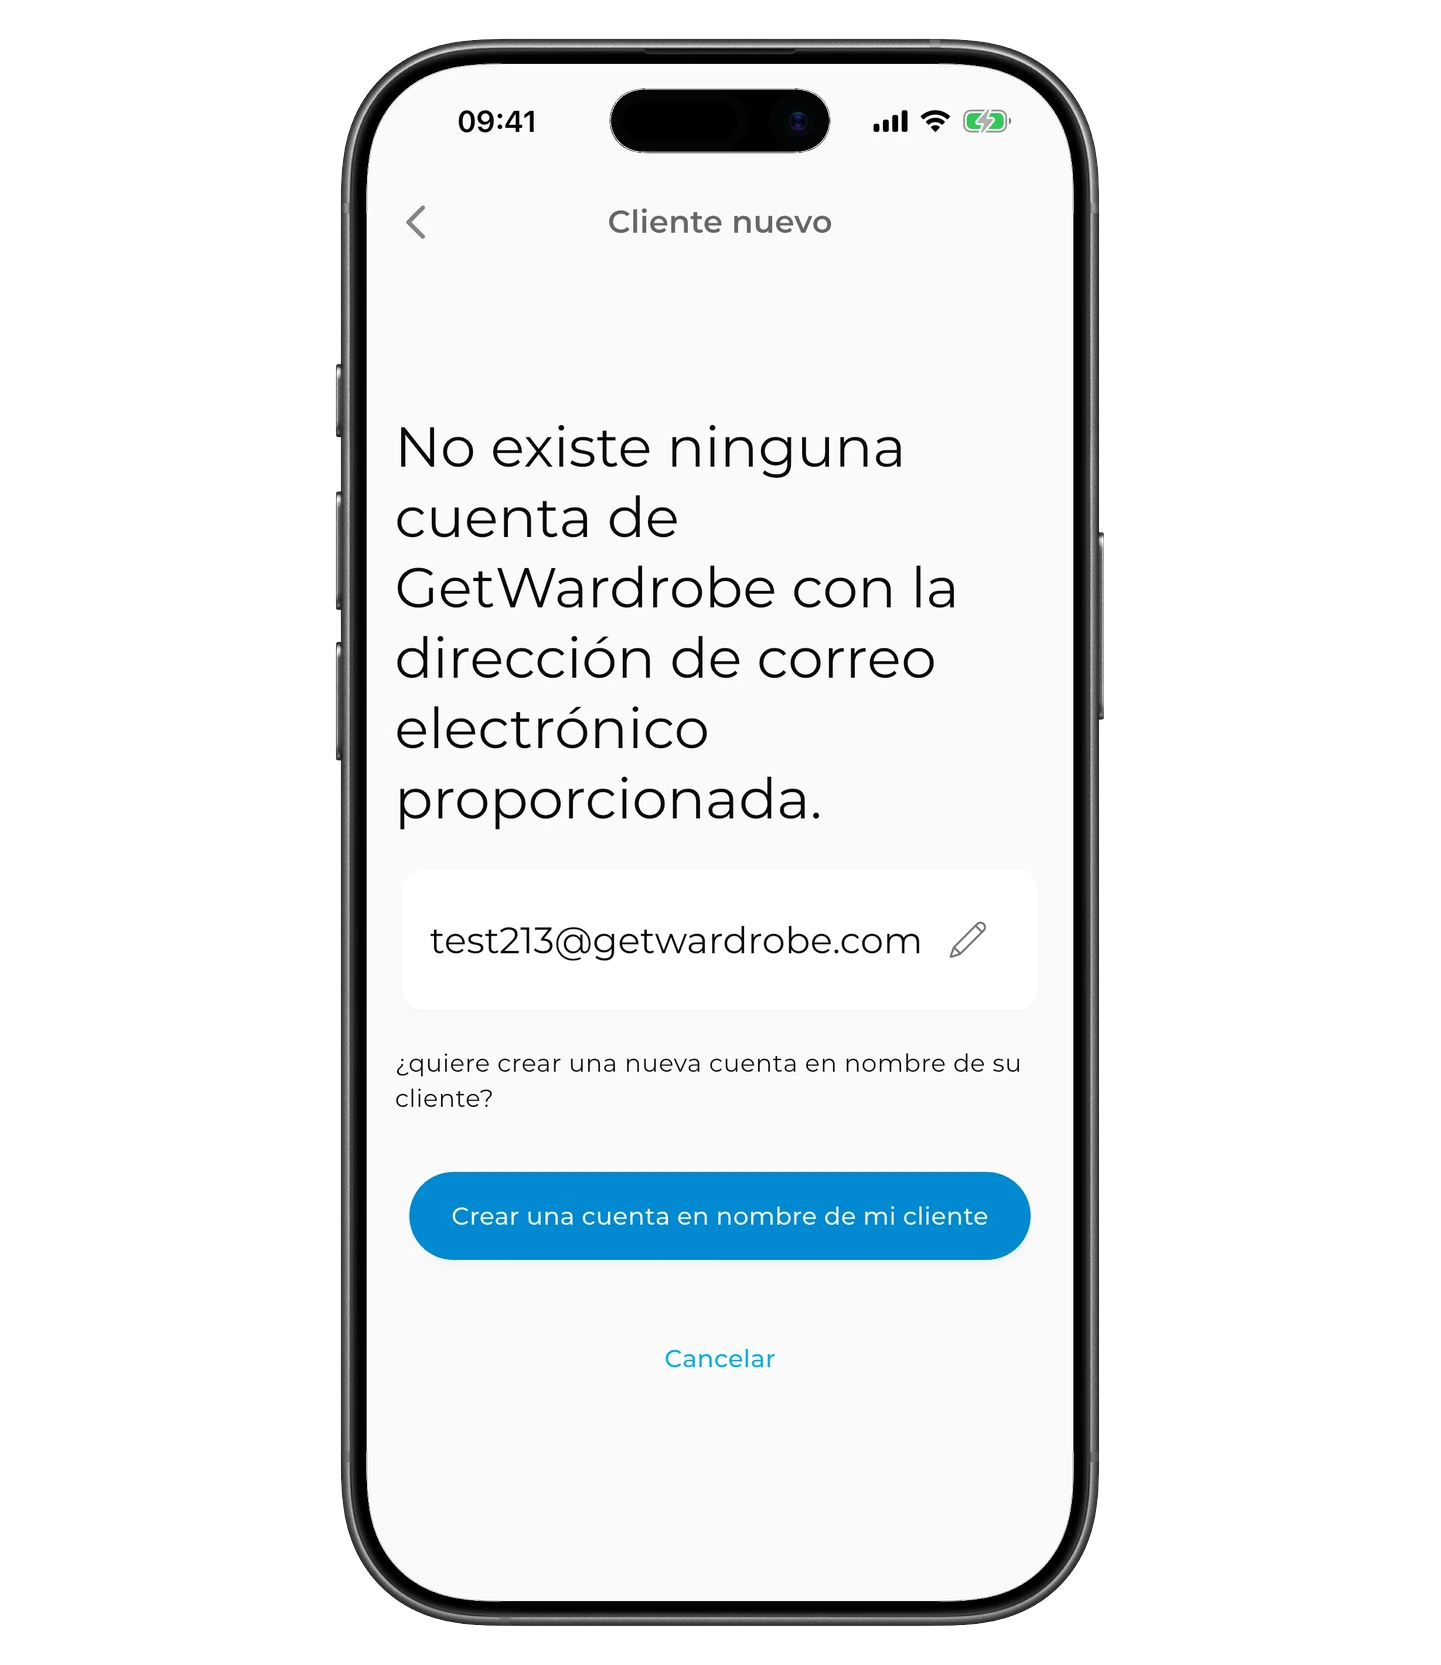
Toca «+ Agregar nuevo cliente», introduce el correo y toca «Enviar».
Toca «Crear una cuenta en nombre de mi cliente».
Crear la cuenta del cliente
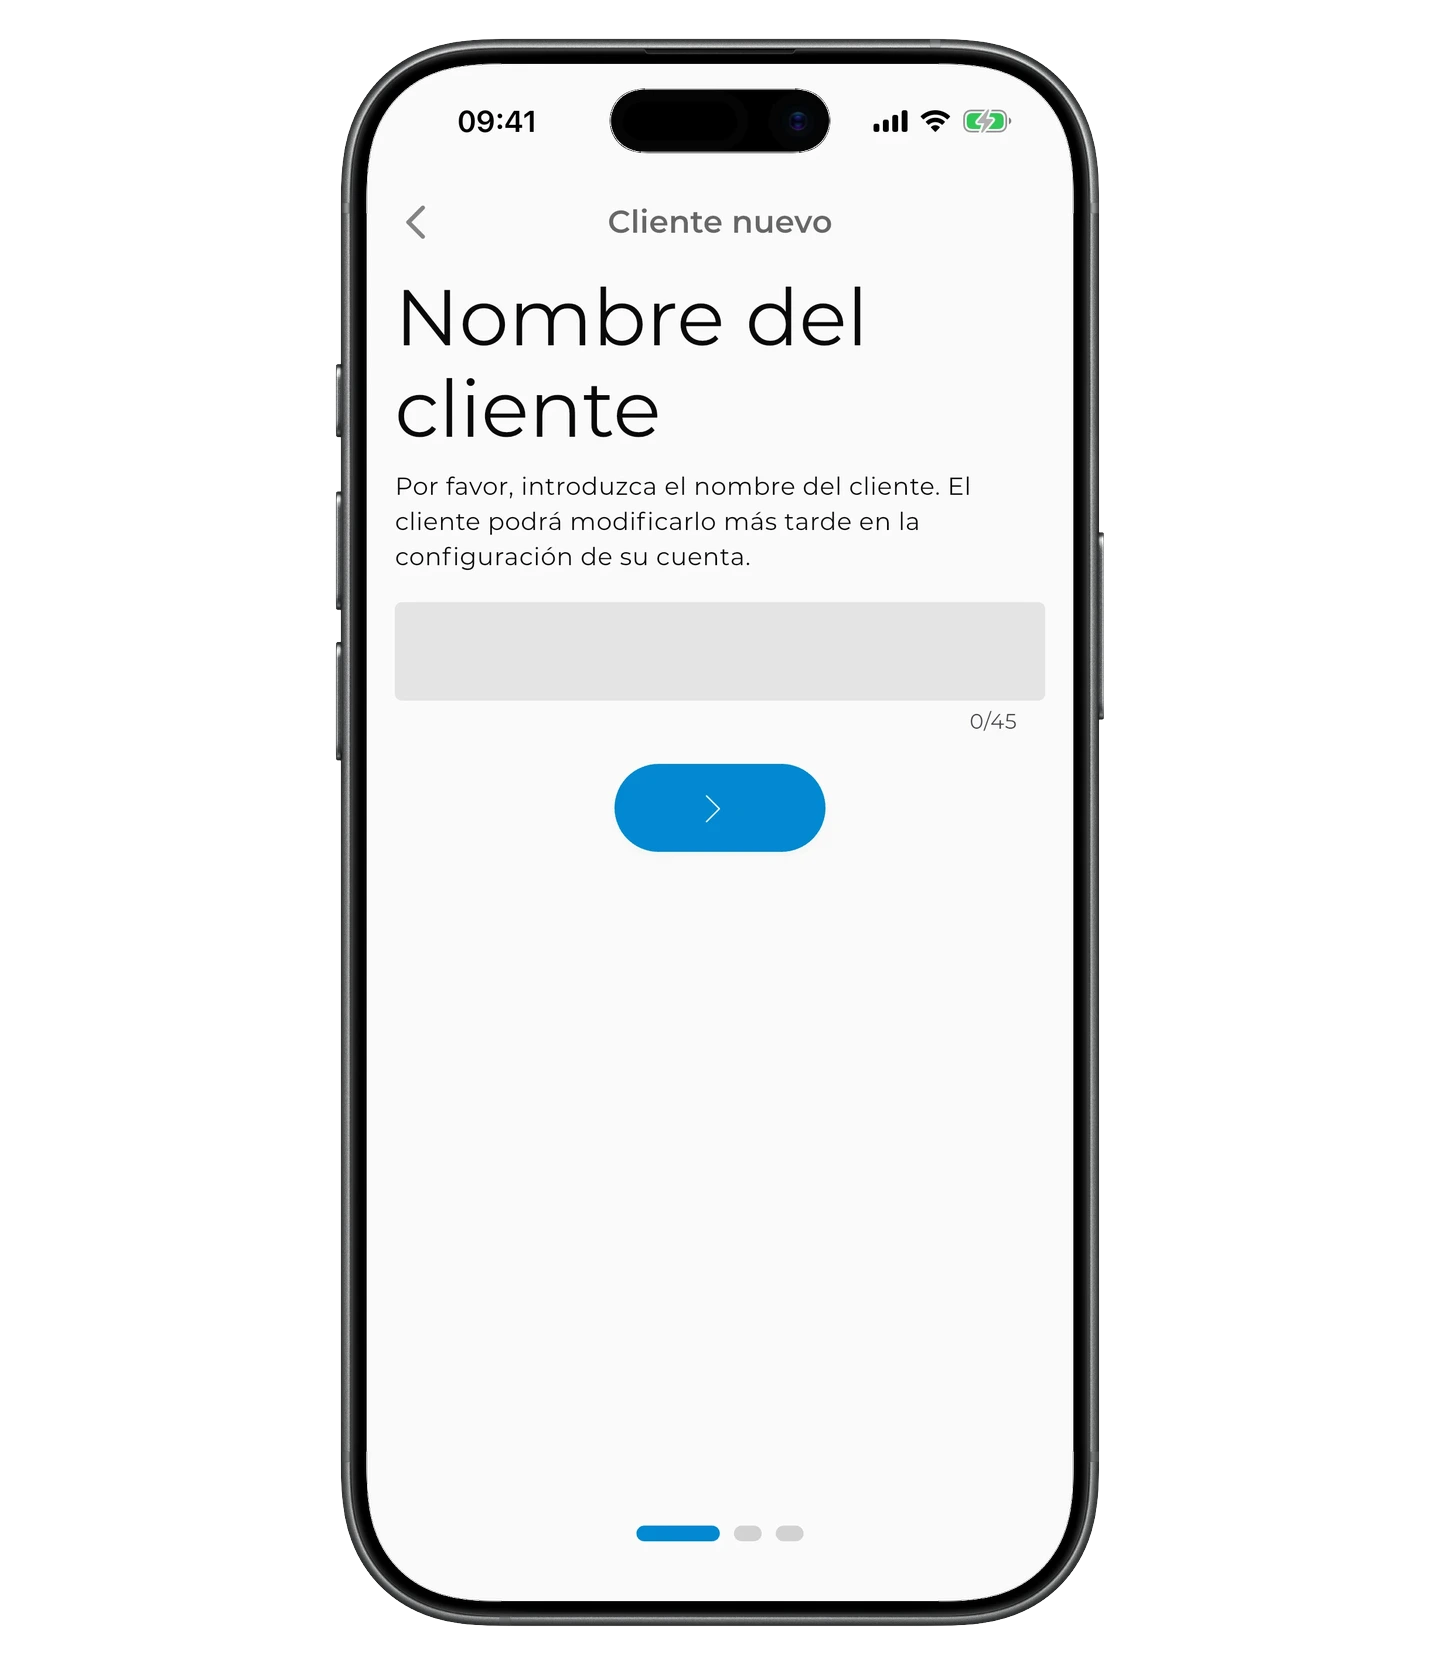
Introduce el nombre del cliente y toca el botón con la flecha hacia la derecha.
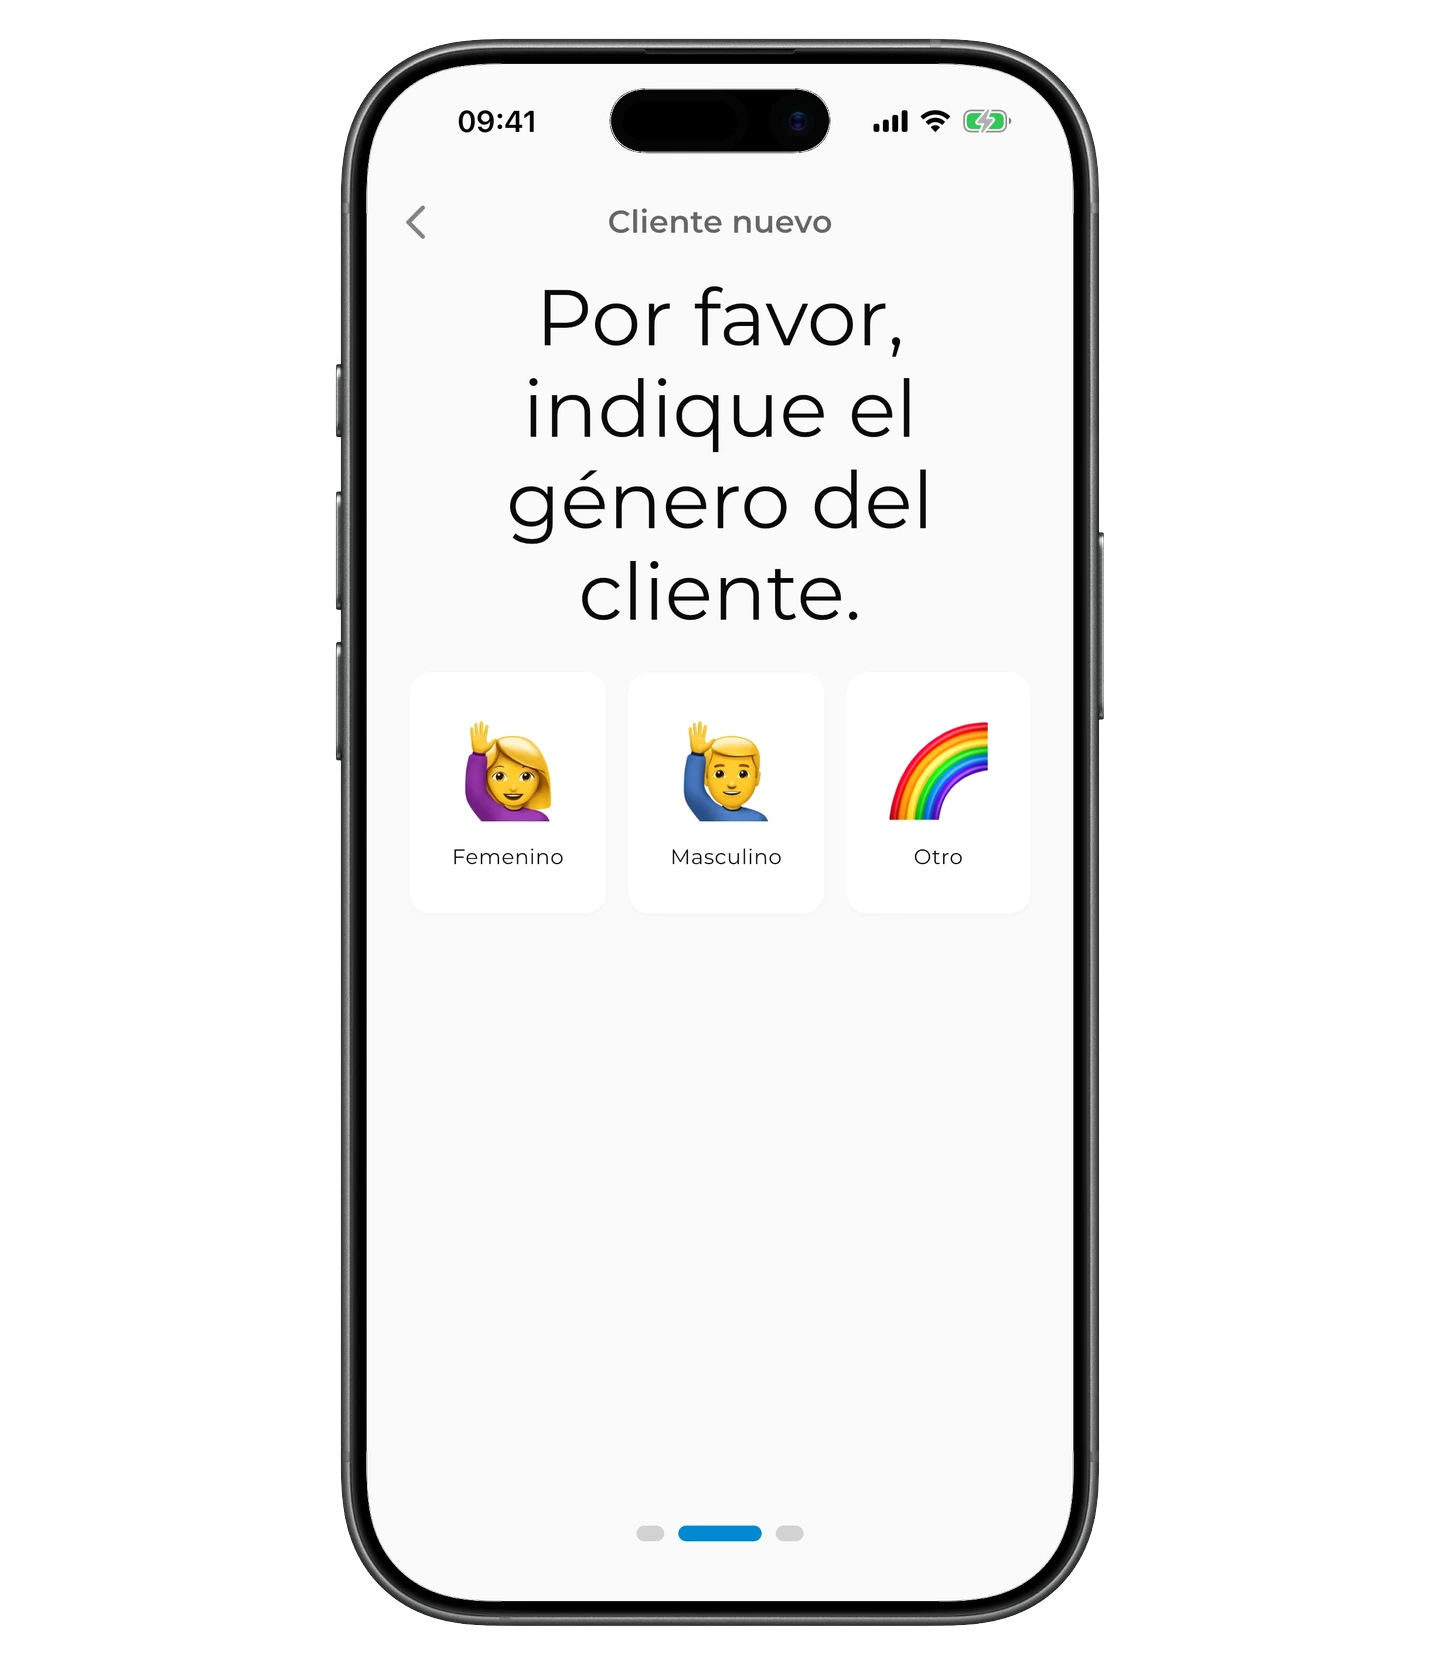
Selecciona el género del cliente — esto determina qué categorías de ropa se mostrarán en la aplicación.
Confirma la cuenta revisando el nombre, el correo y el género del cliente.
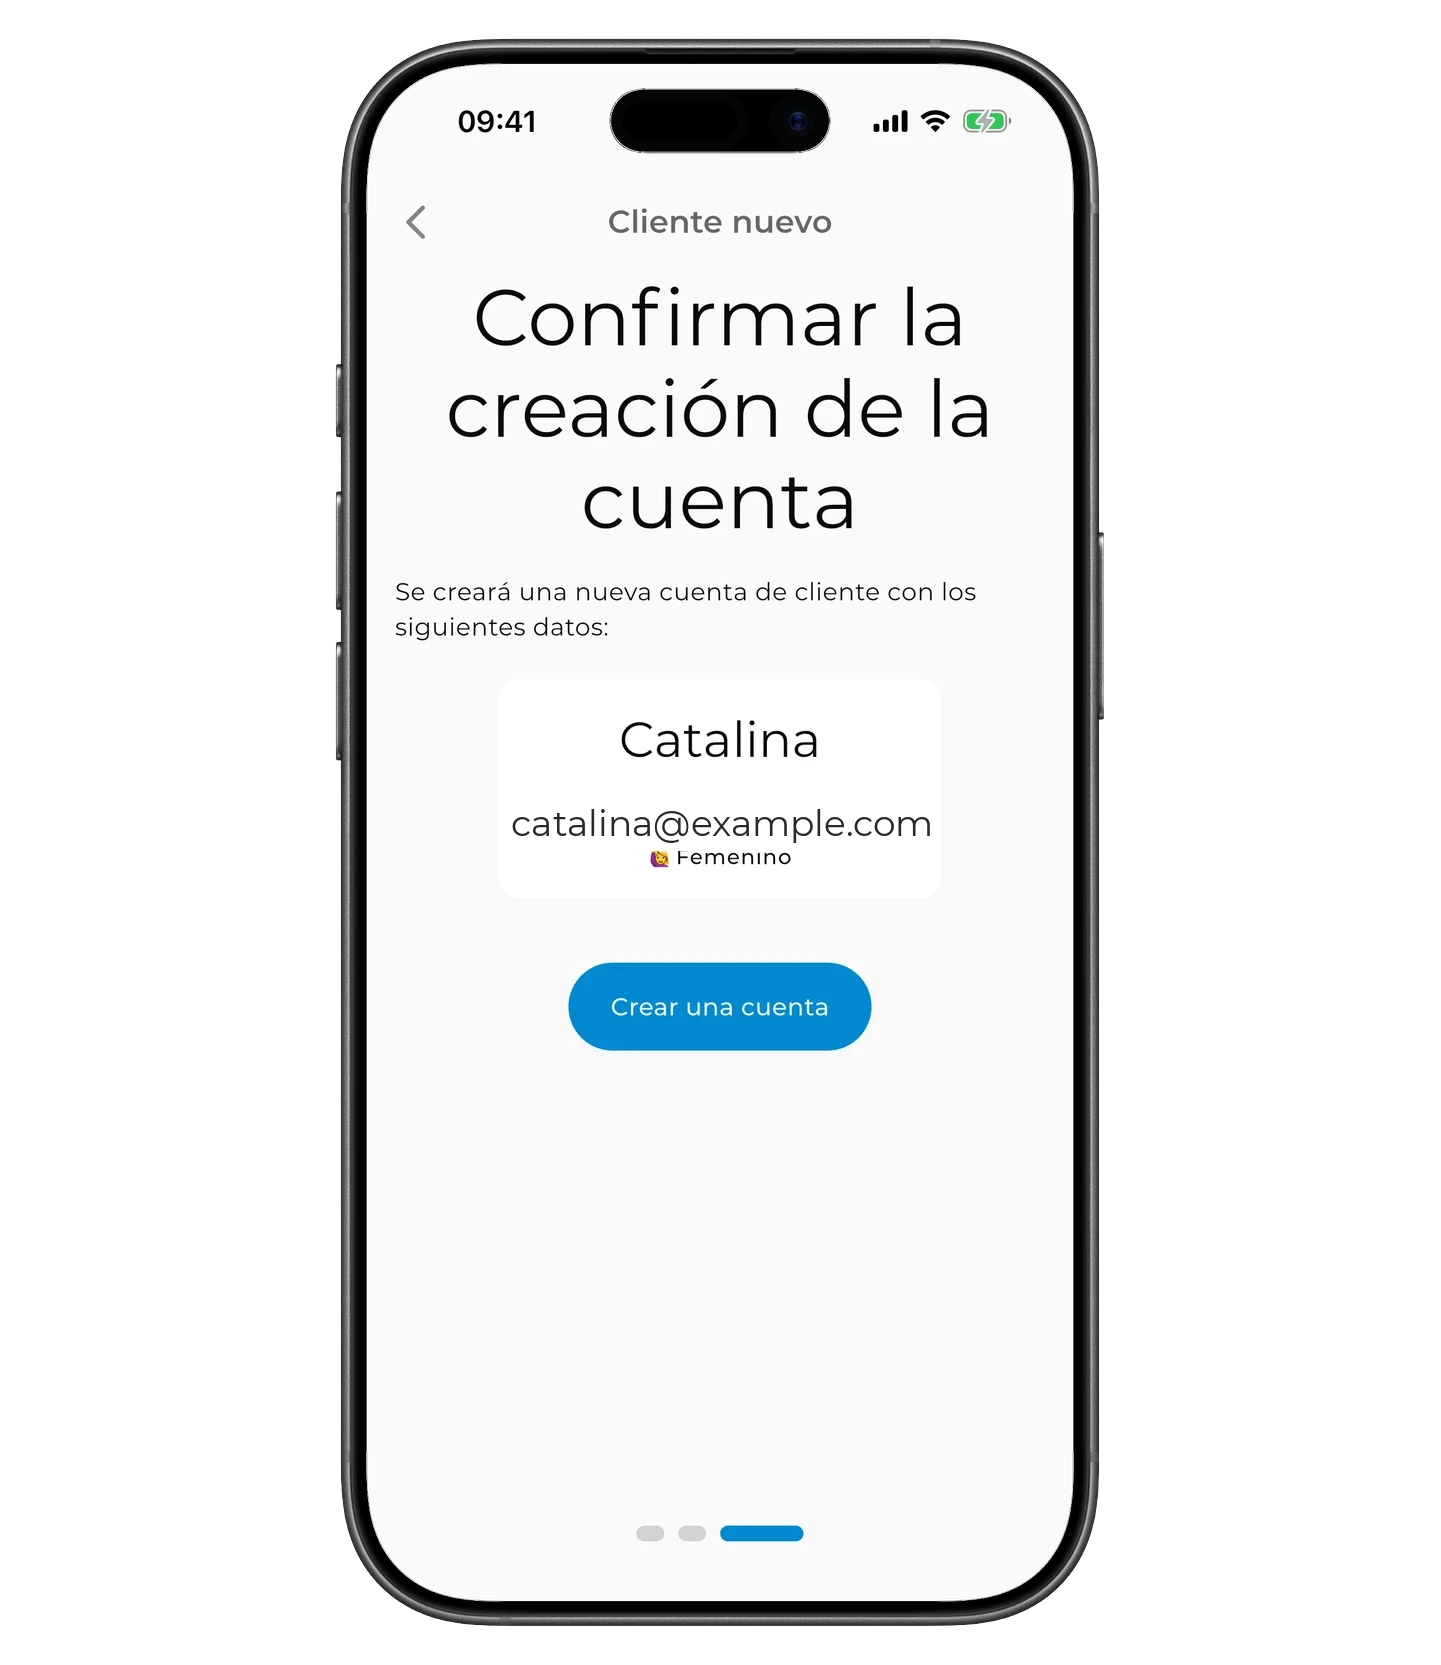
Una vez creada la cuenta, recibirás un enlace y un código de activación. Puedes enviárselos al cliente al instante o guardarlos para más tarde — siempre estarán disponibles en la tarjeta del cliente.
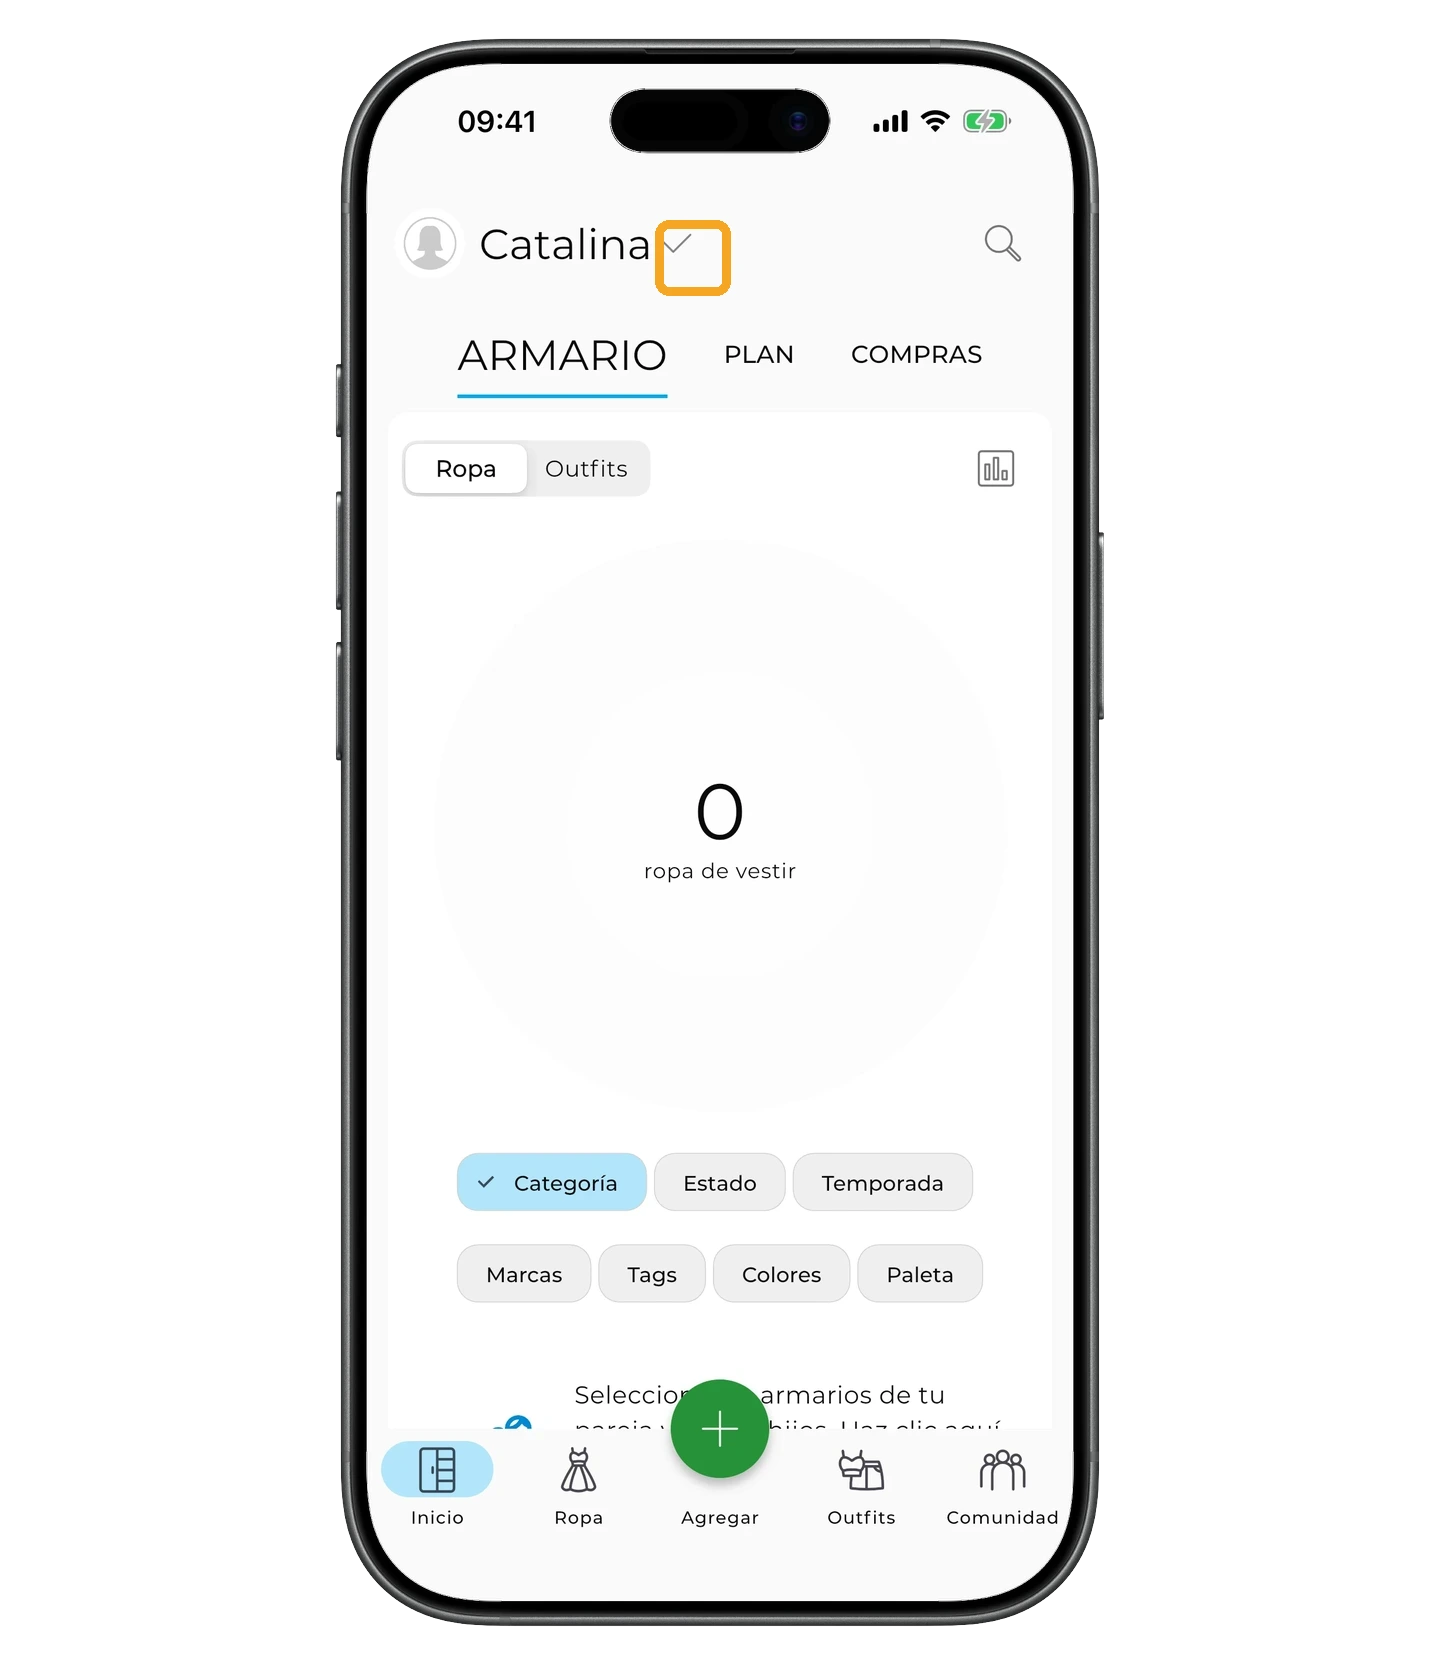
Cambiar al armario del cliente
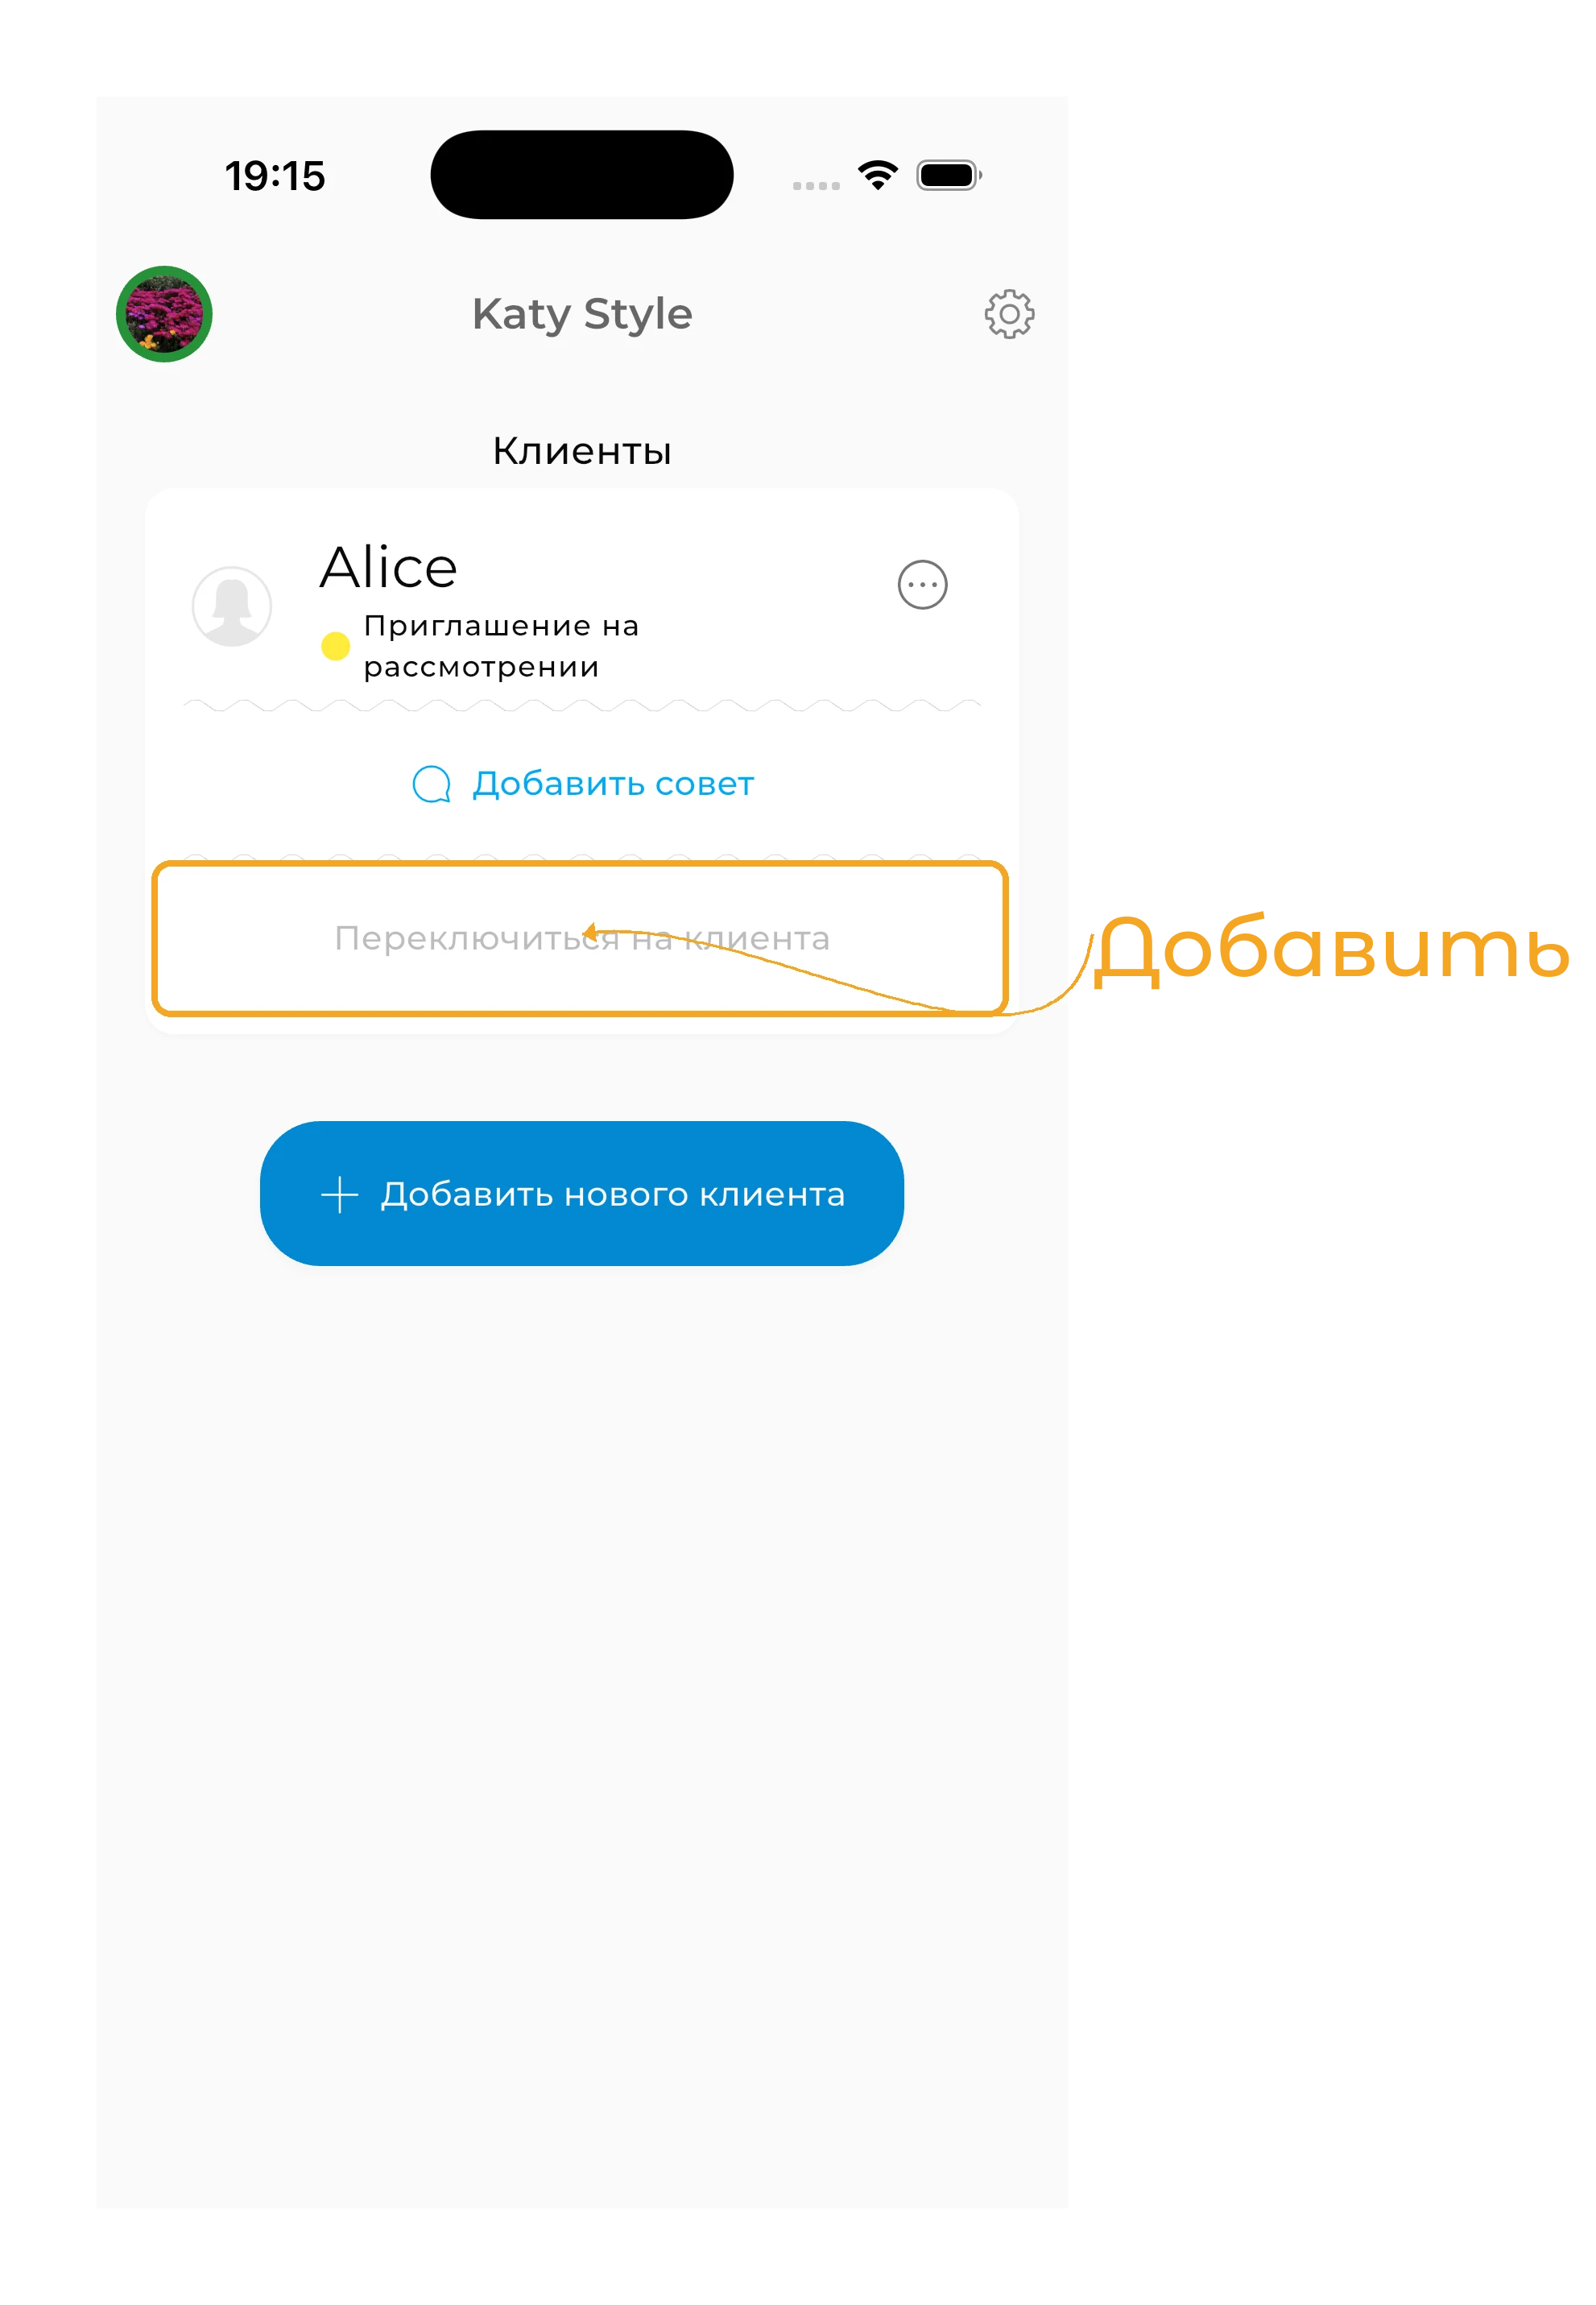
Toca «Cambiar a cliente» en la tarjeta del cliente. Si tú mismo creaste la cuenta, puedes cambiar a esa cuenta al instante. Para los clientes existentes, podrás cambiar a su cuenta cuando acepten la invitación.

Dentro del armario del cliente puedes:
- añadir prendas
- crear outfits
- planificar outfits
- crear listas de compras
- crear armarios cápsula
- dejar recomendaciones en la sección de consejos
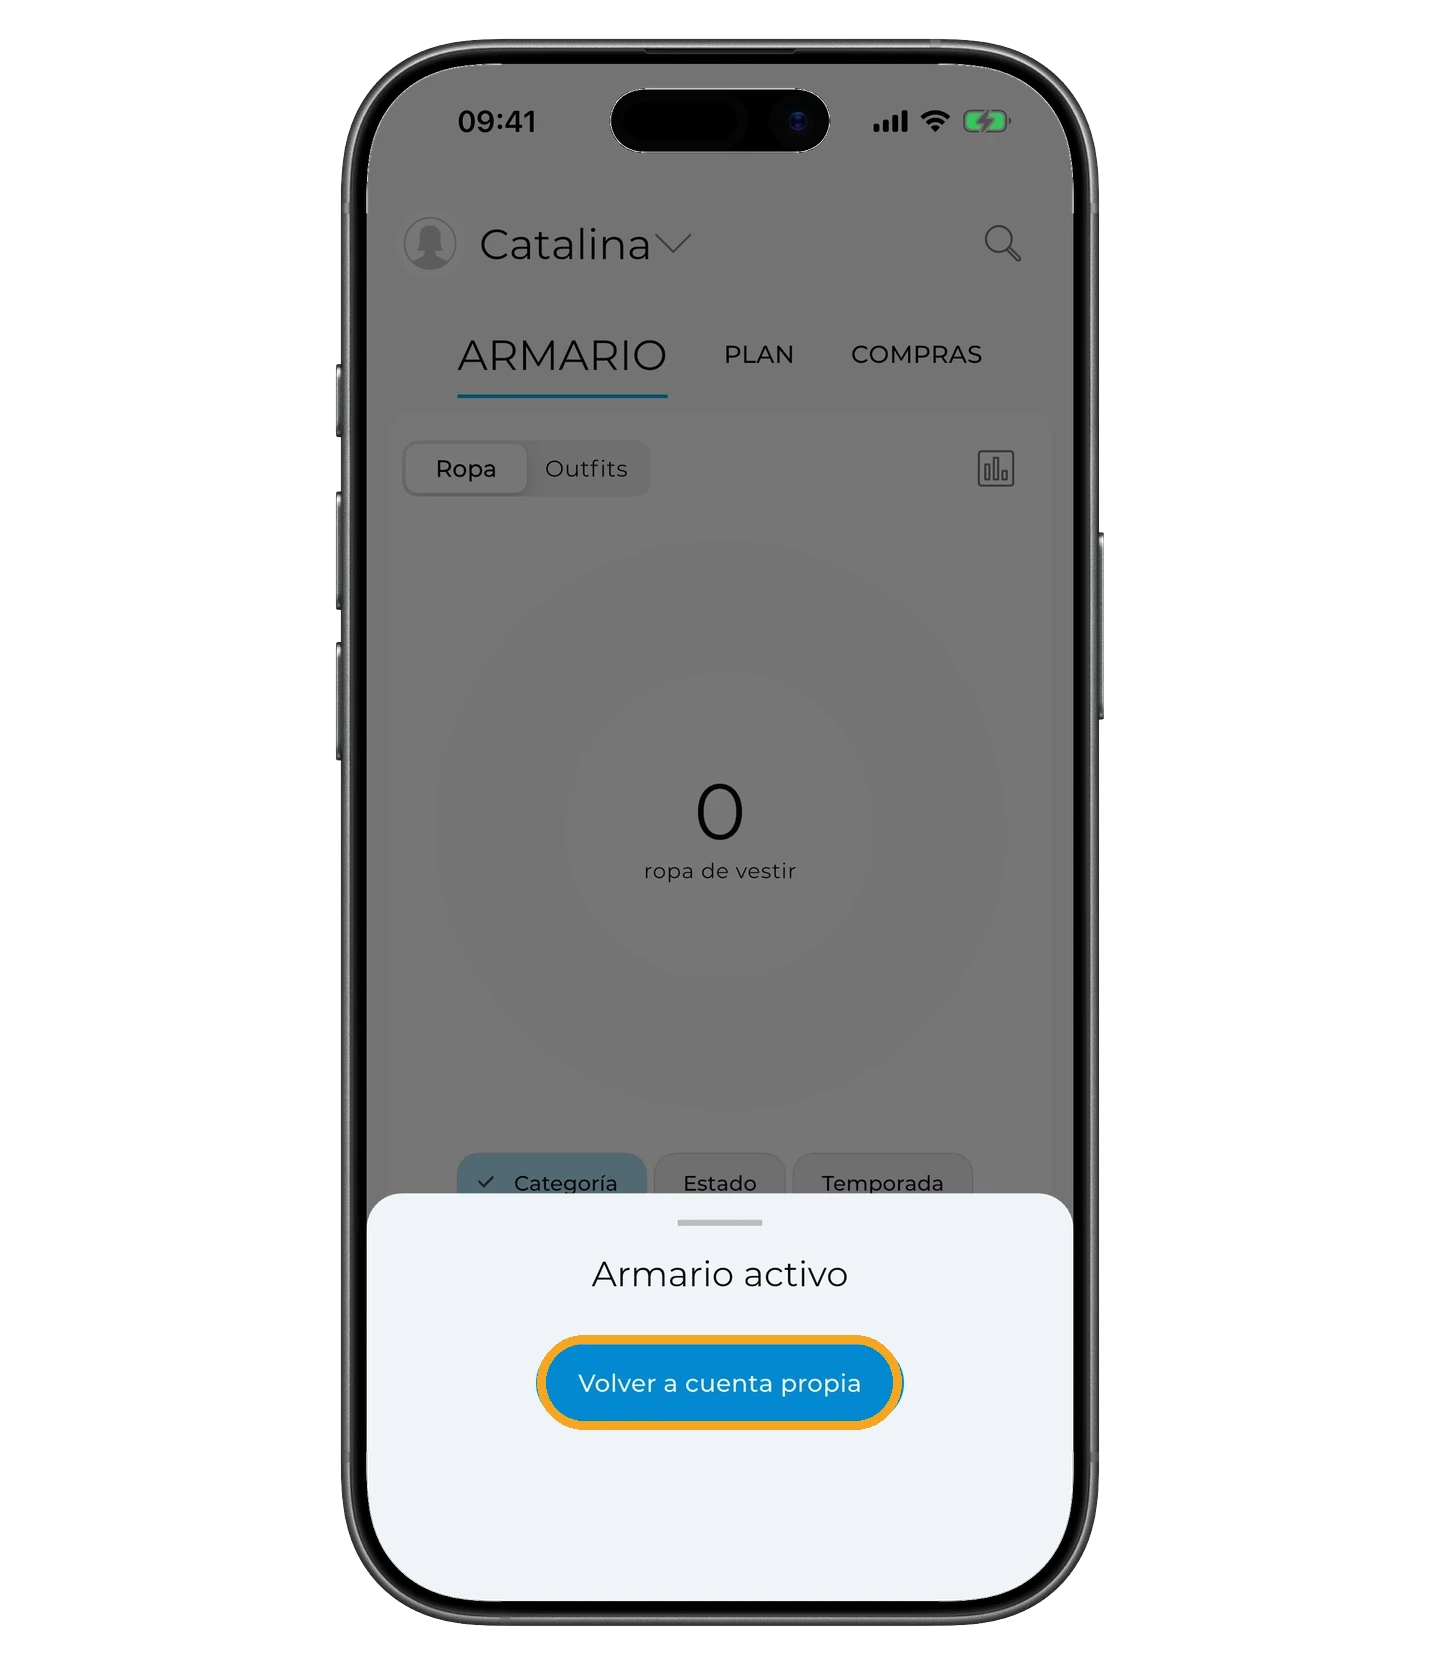
Para volver a tu cuenta de estilista, toca la flecha junto al nombre del cliente.
Toca «Volver a cuenta propia» para regresar al panel del estilista.
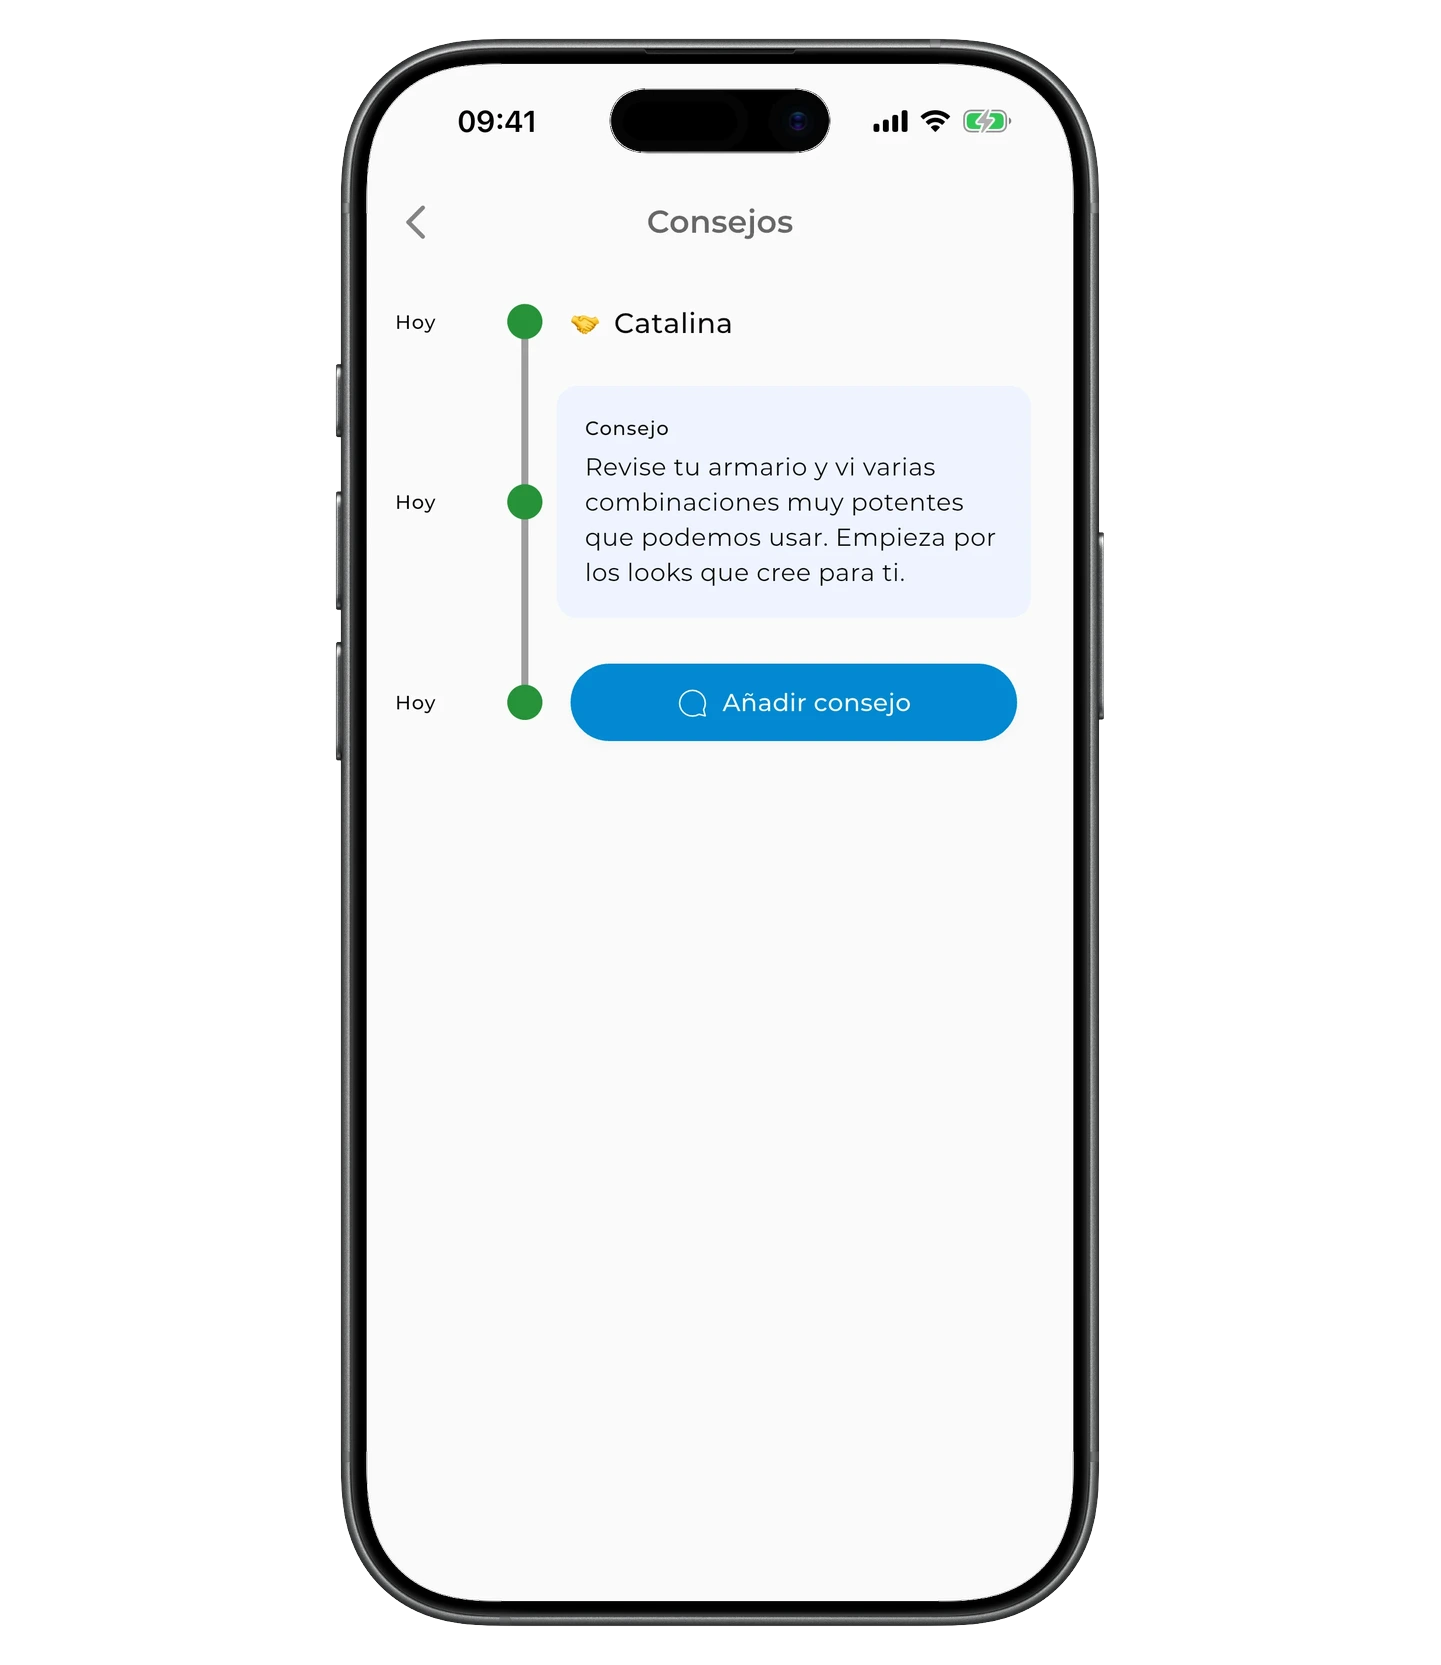
Dejar consejos
Toca «Añadir consejo» en la tarjeta del cliente.
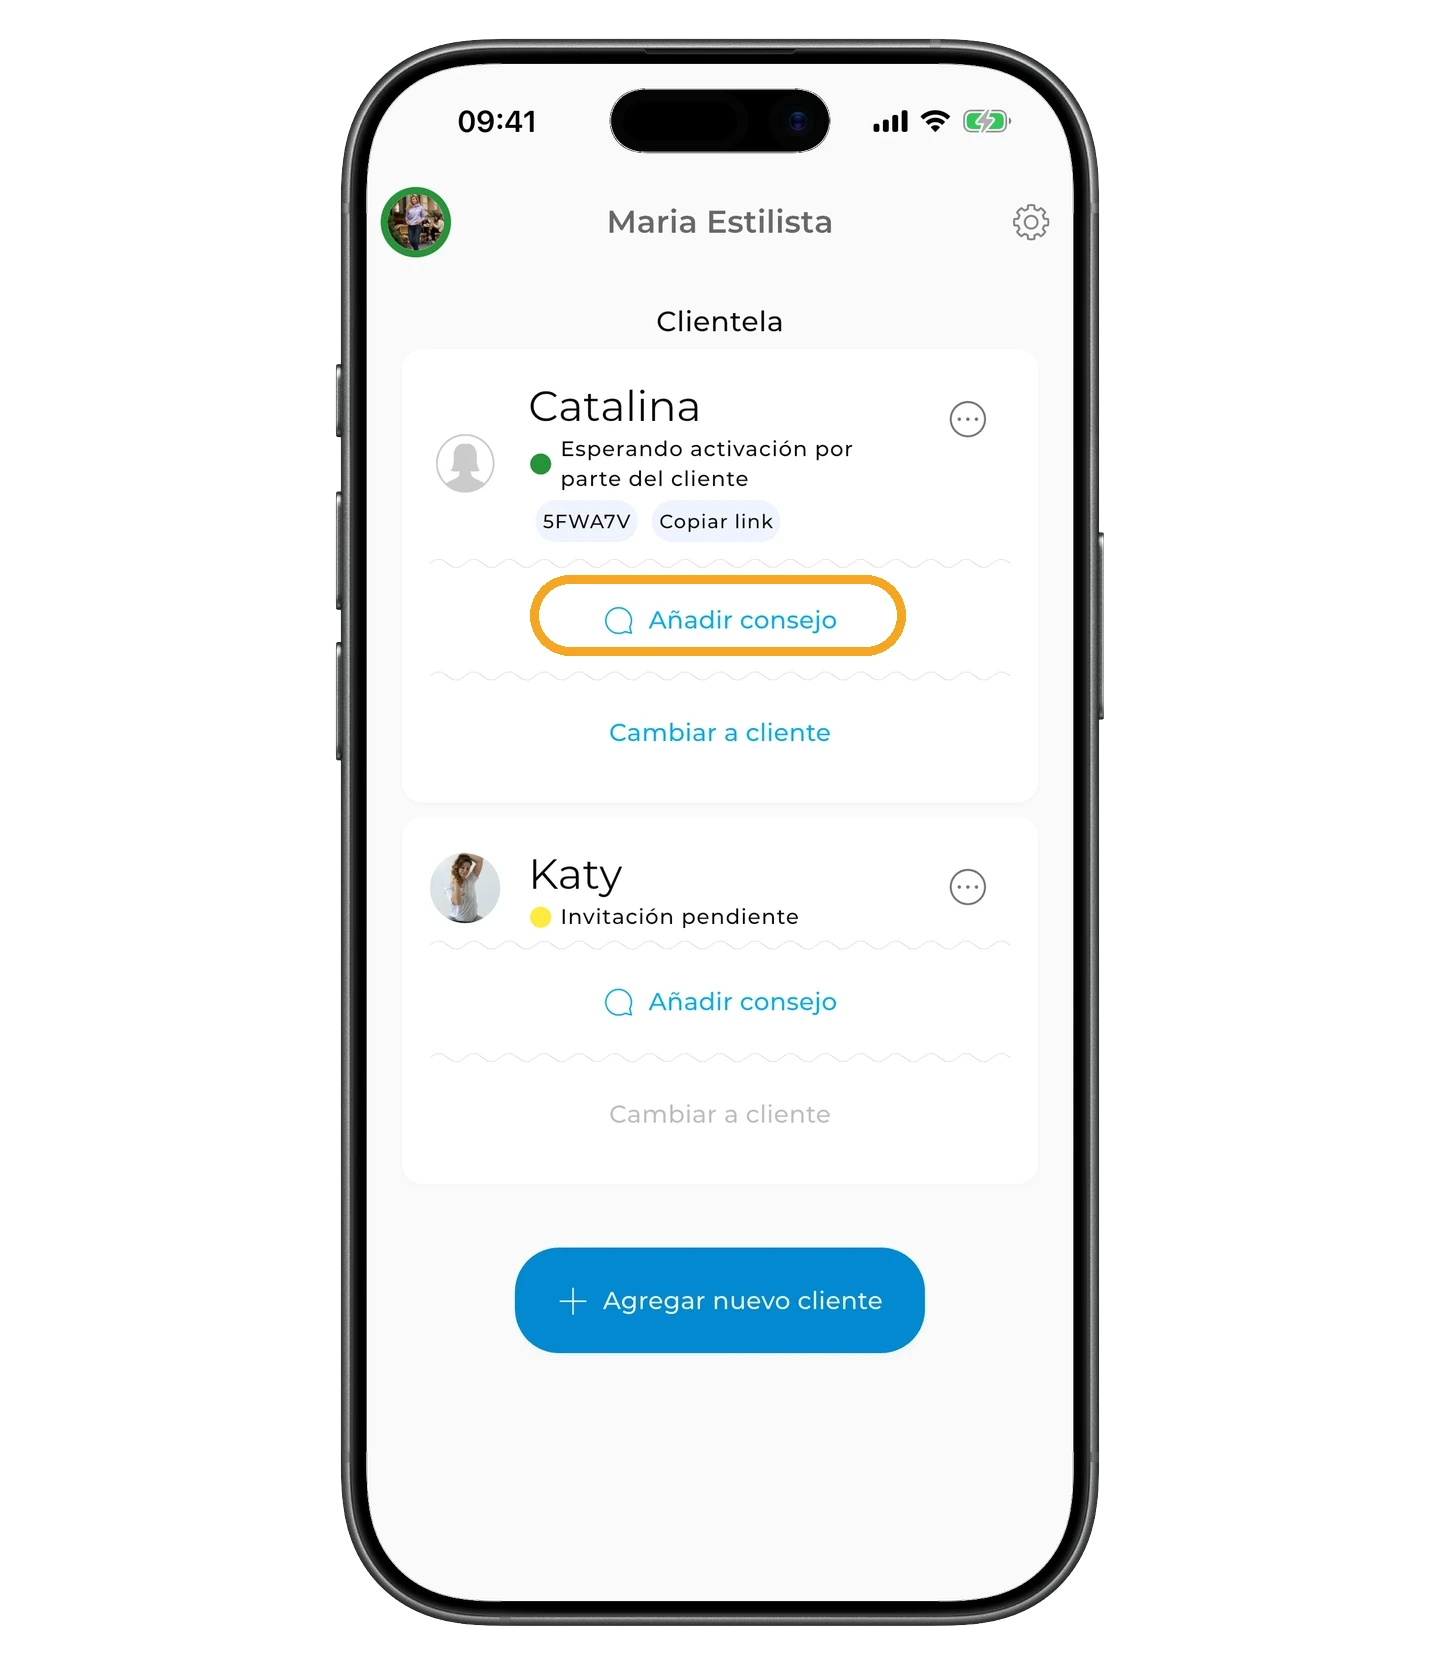
Escribe tu recomendación y, si lo necesitas, añade un enlace; por ejemplo, a una prenda, una tienda o una colección.
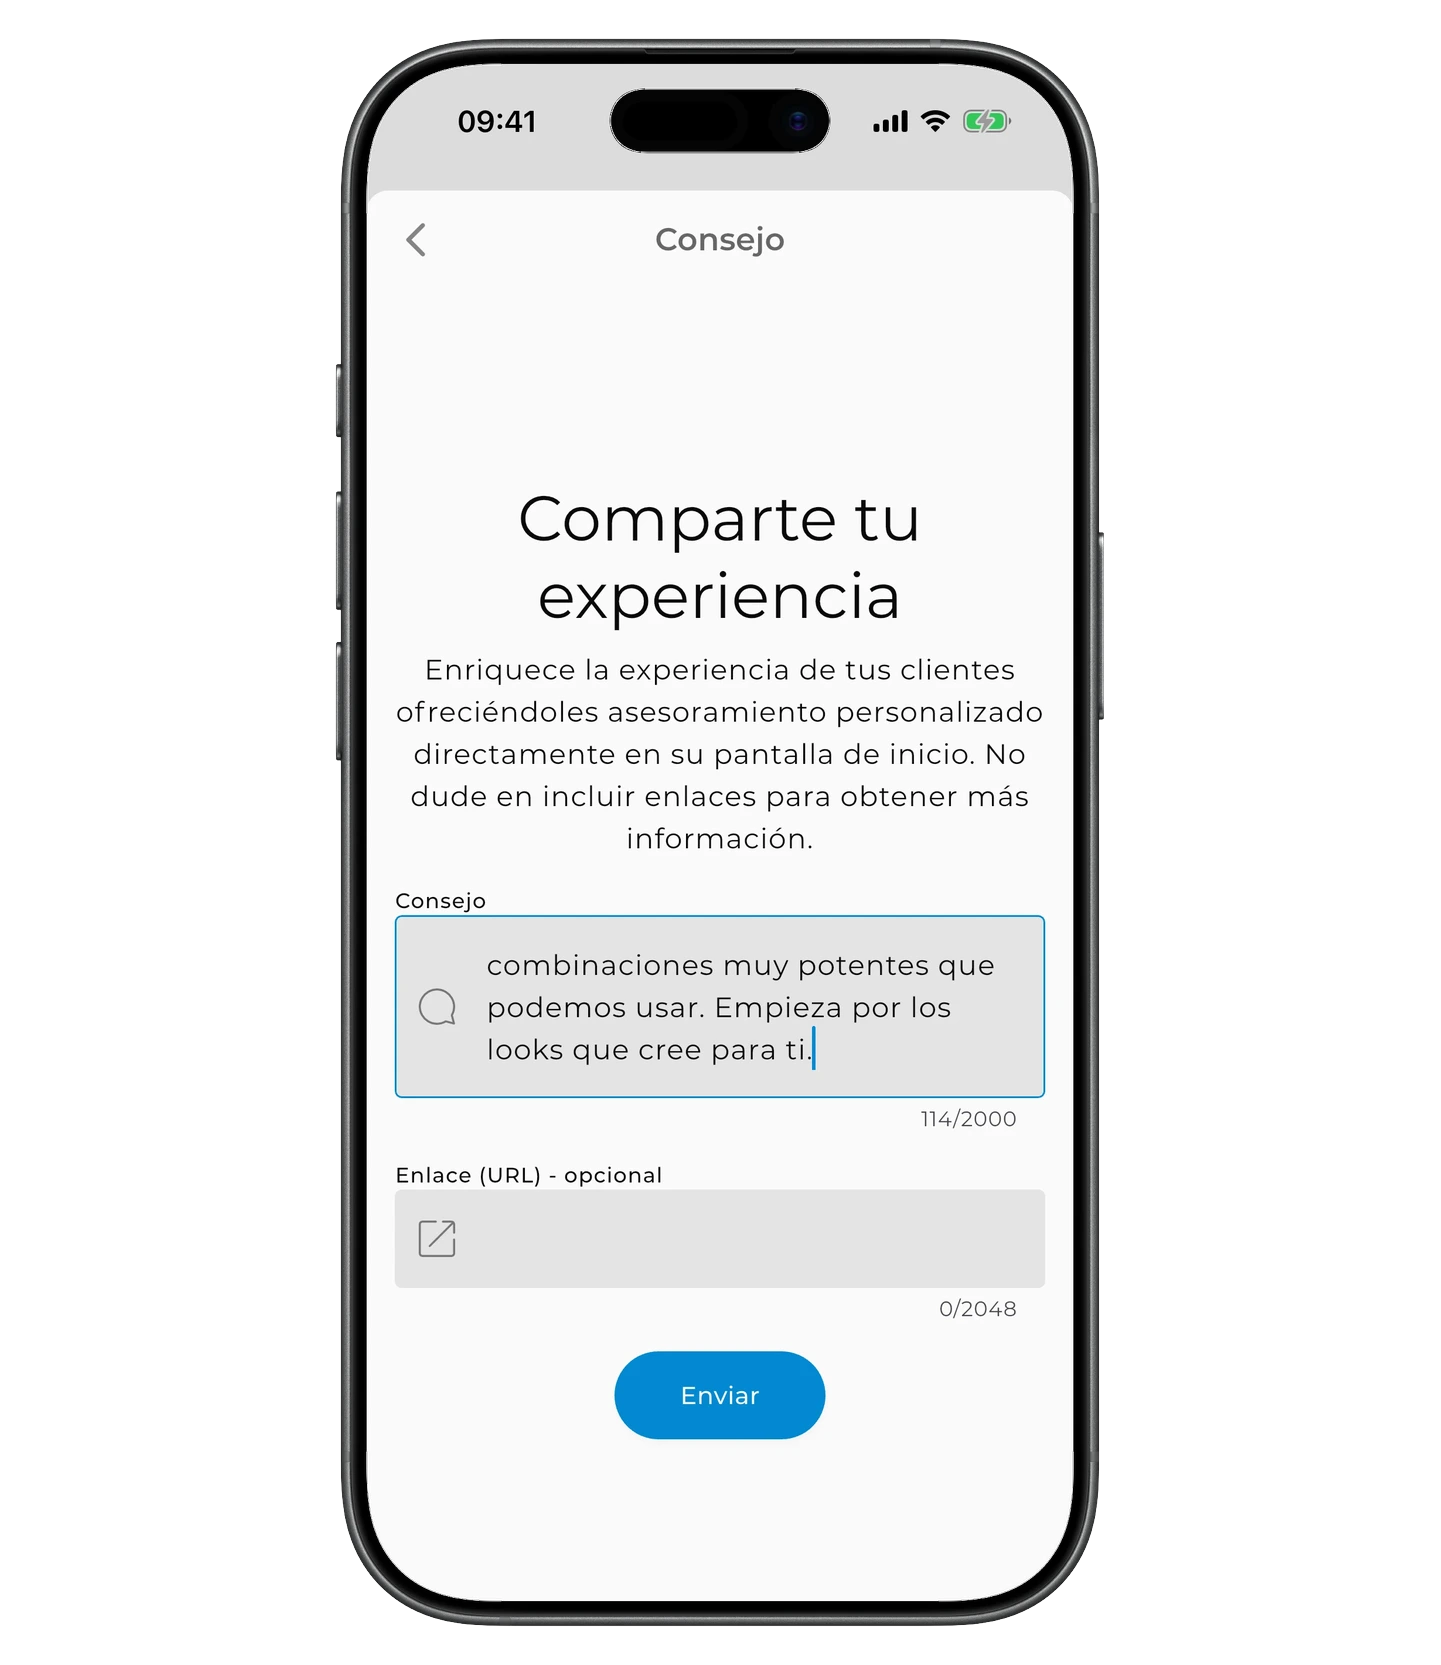
Toca «Enviar». El consejo aparecerá en el feed del cliente — podrá volver a él en cualquier momento.
Tu perfil de estilista está listo. Ya puedes invitar a clientes y empezar a trabajar con sus armarios.
¿Necesitas ayuda?
Escríbenos a support@getwardrobe.com