Mejorar foto de prenda
Usa la IA para quitar el fondo, recortar y mejorar automáticamente la calidad de las fotos de tus prendas y conseguir un armario con un aspecto cuidado.
En esta guía
- Abrir la herramienta de mejora
- Mejorar la foto
- Guardar el resultado
- Personalizar los ajustes
- Elegir la posición de cámara a mano
Abrir la herramienta de mejora
Abre la pantalla de la prenda y toca el icono del ✨ en la barra inferior.
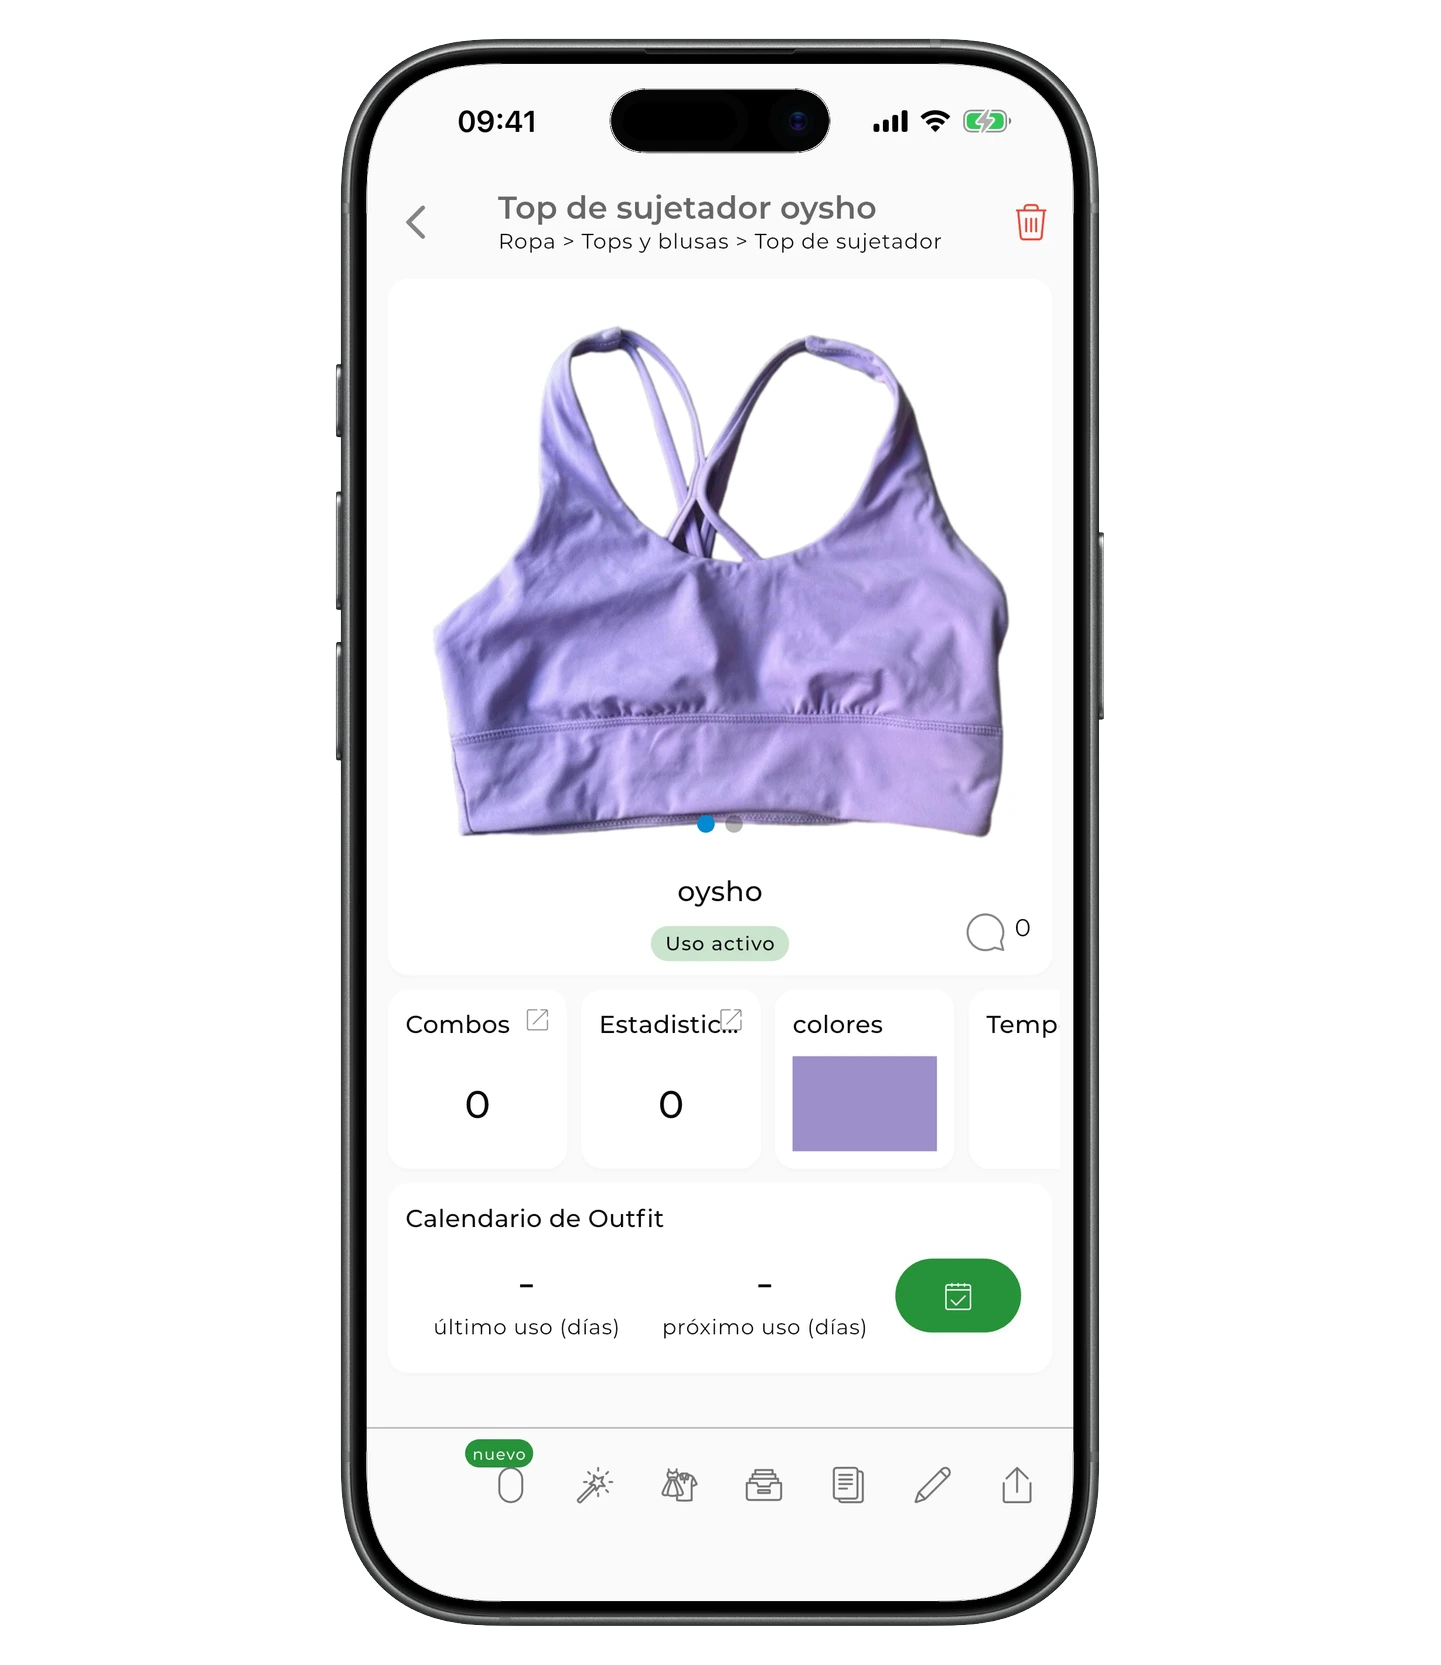
Consejo
💡 También puedes tocar el icono 🪄 debajo de la foto en la pantalla de edición de la prenda.
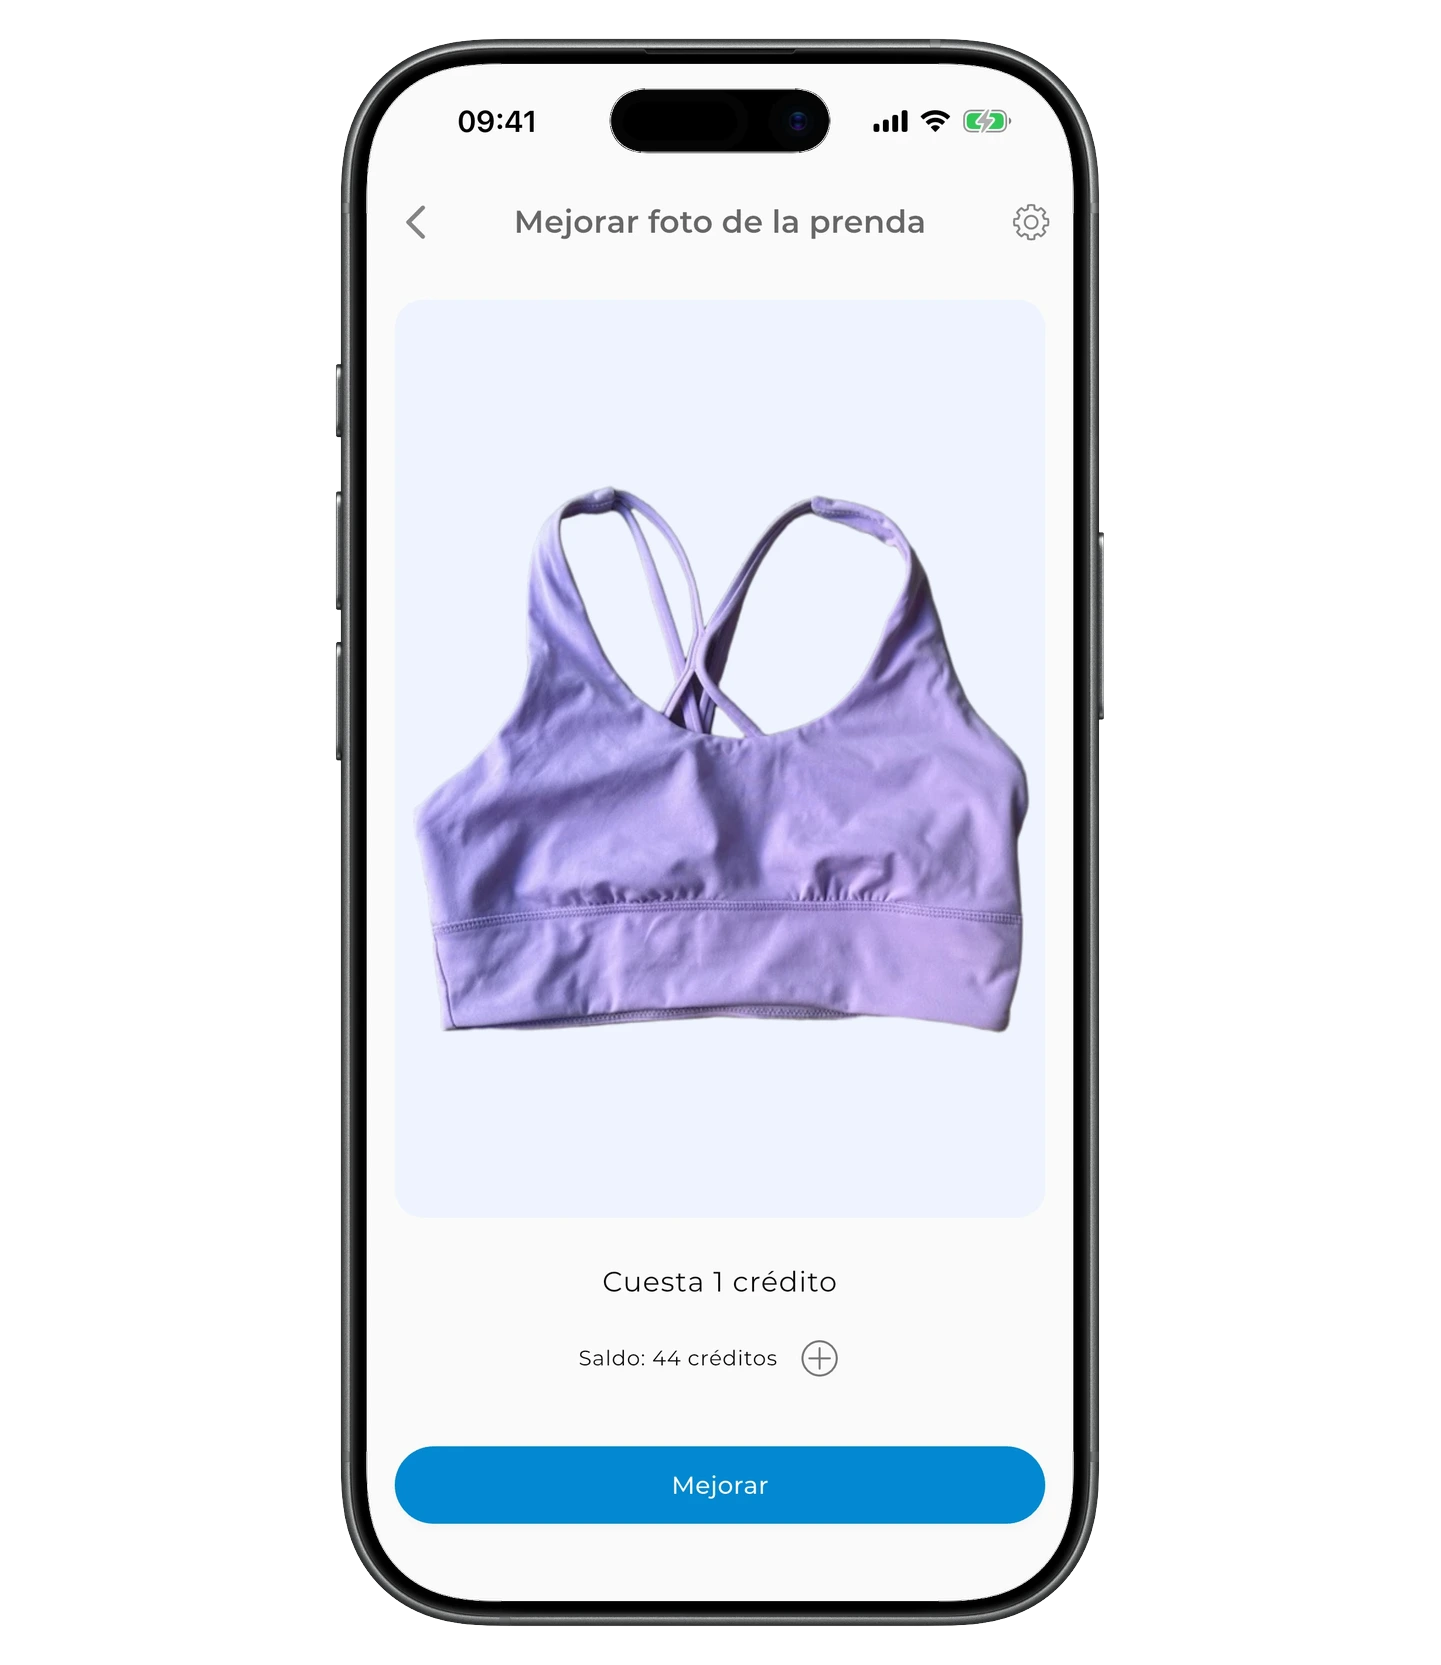
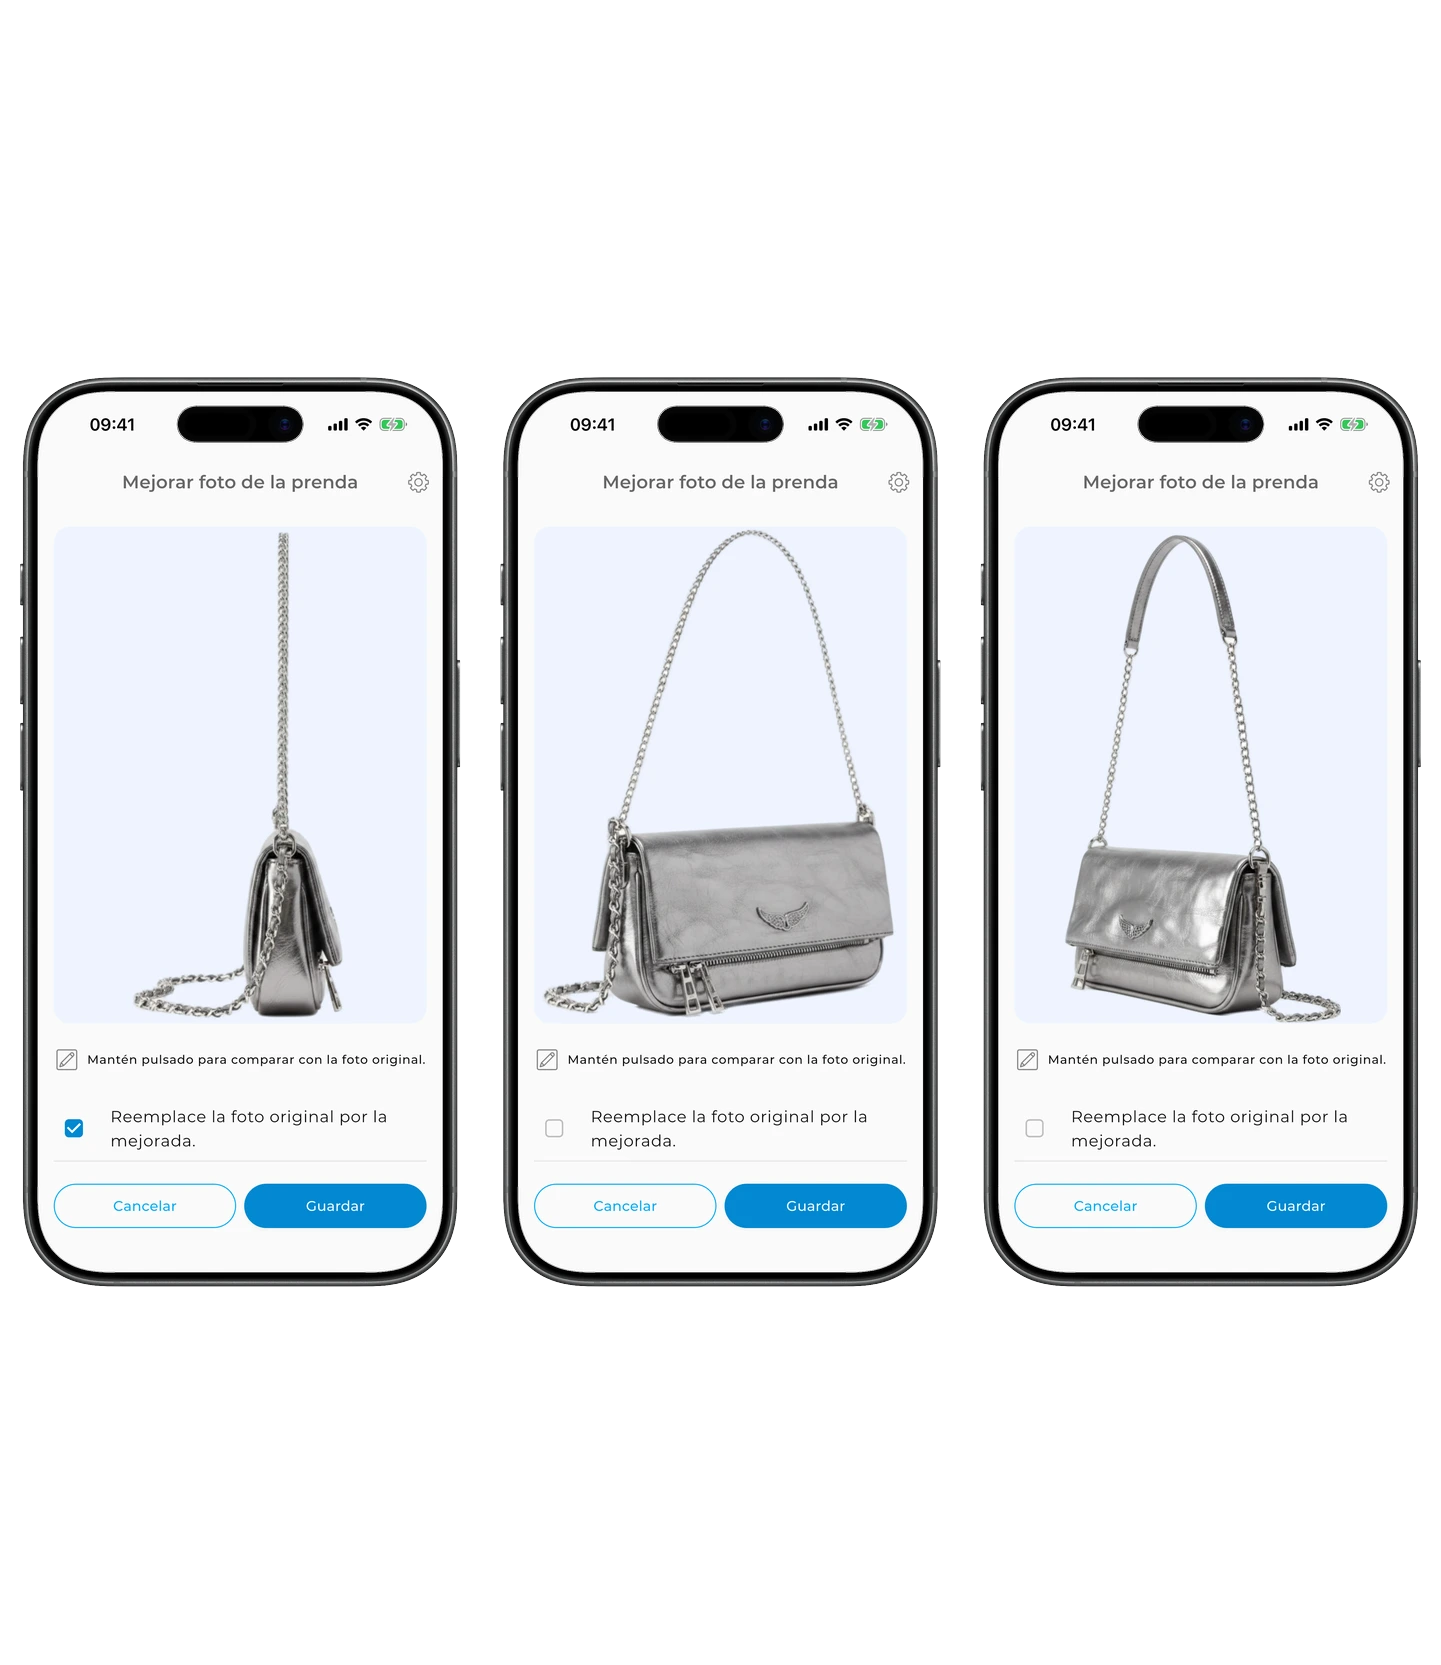
Mejorar la foto
Toca «Mejorar». Espera unos segundos 🕐 — la IA limpiará el fondo, recortará la imagen y mejorará la calidad.

💎 El resultado es una imagen limpia, cuidada y con aspecto profesional.
Guardar el resultado
Toca «Guardar».
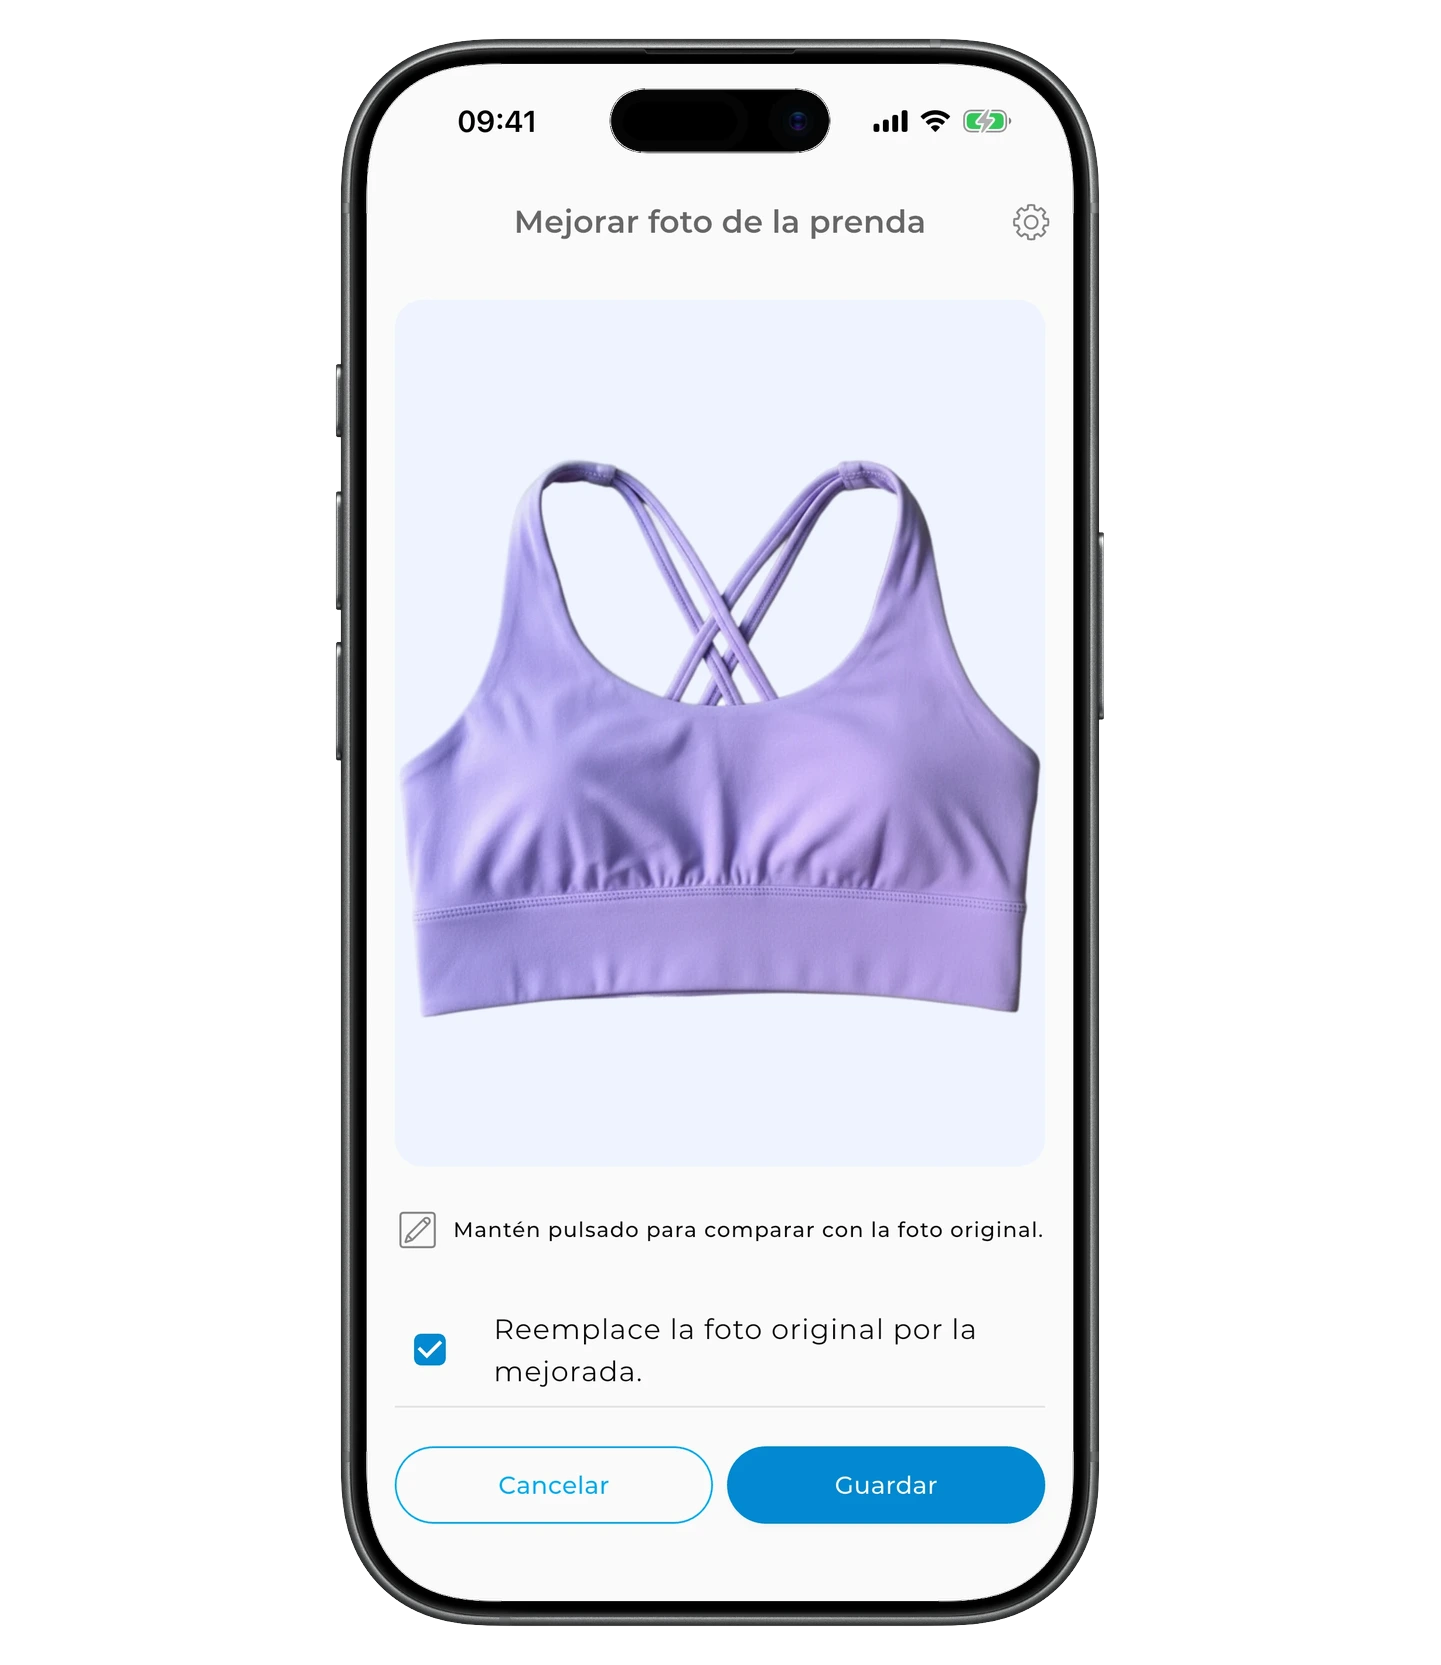
Por defecto, la imagen mejorada sustituye a la original. Si quieres conservar las dos, desmarca «Sustituir la foto original por la mejorada».
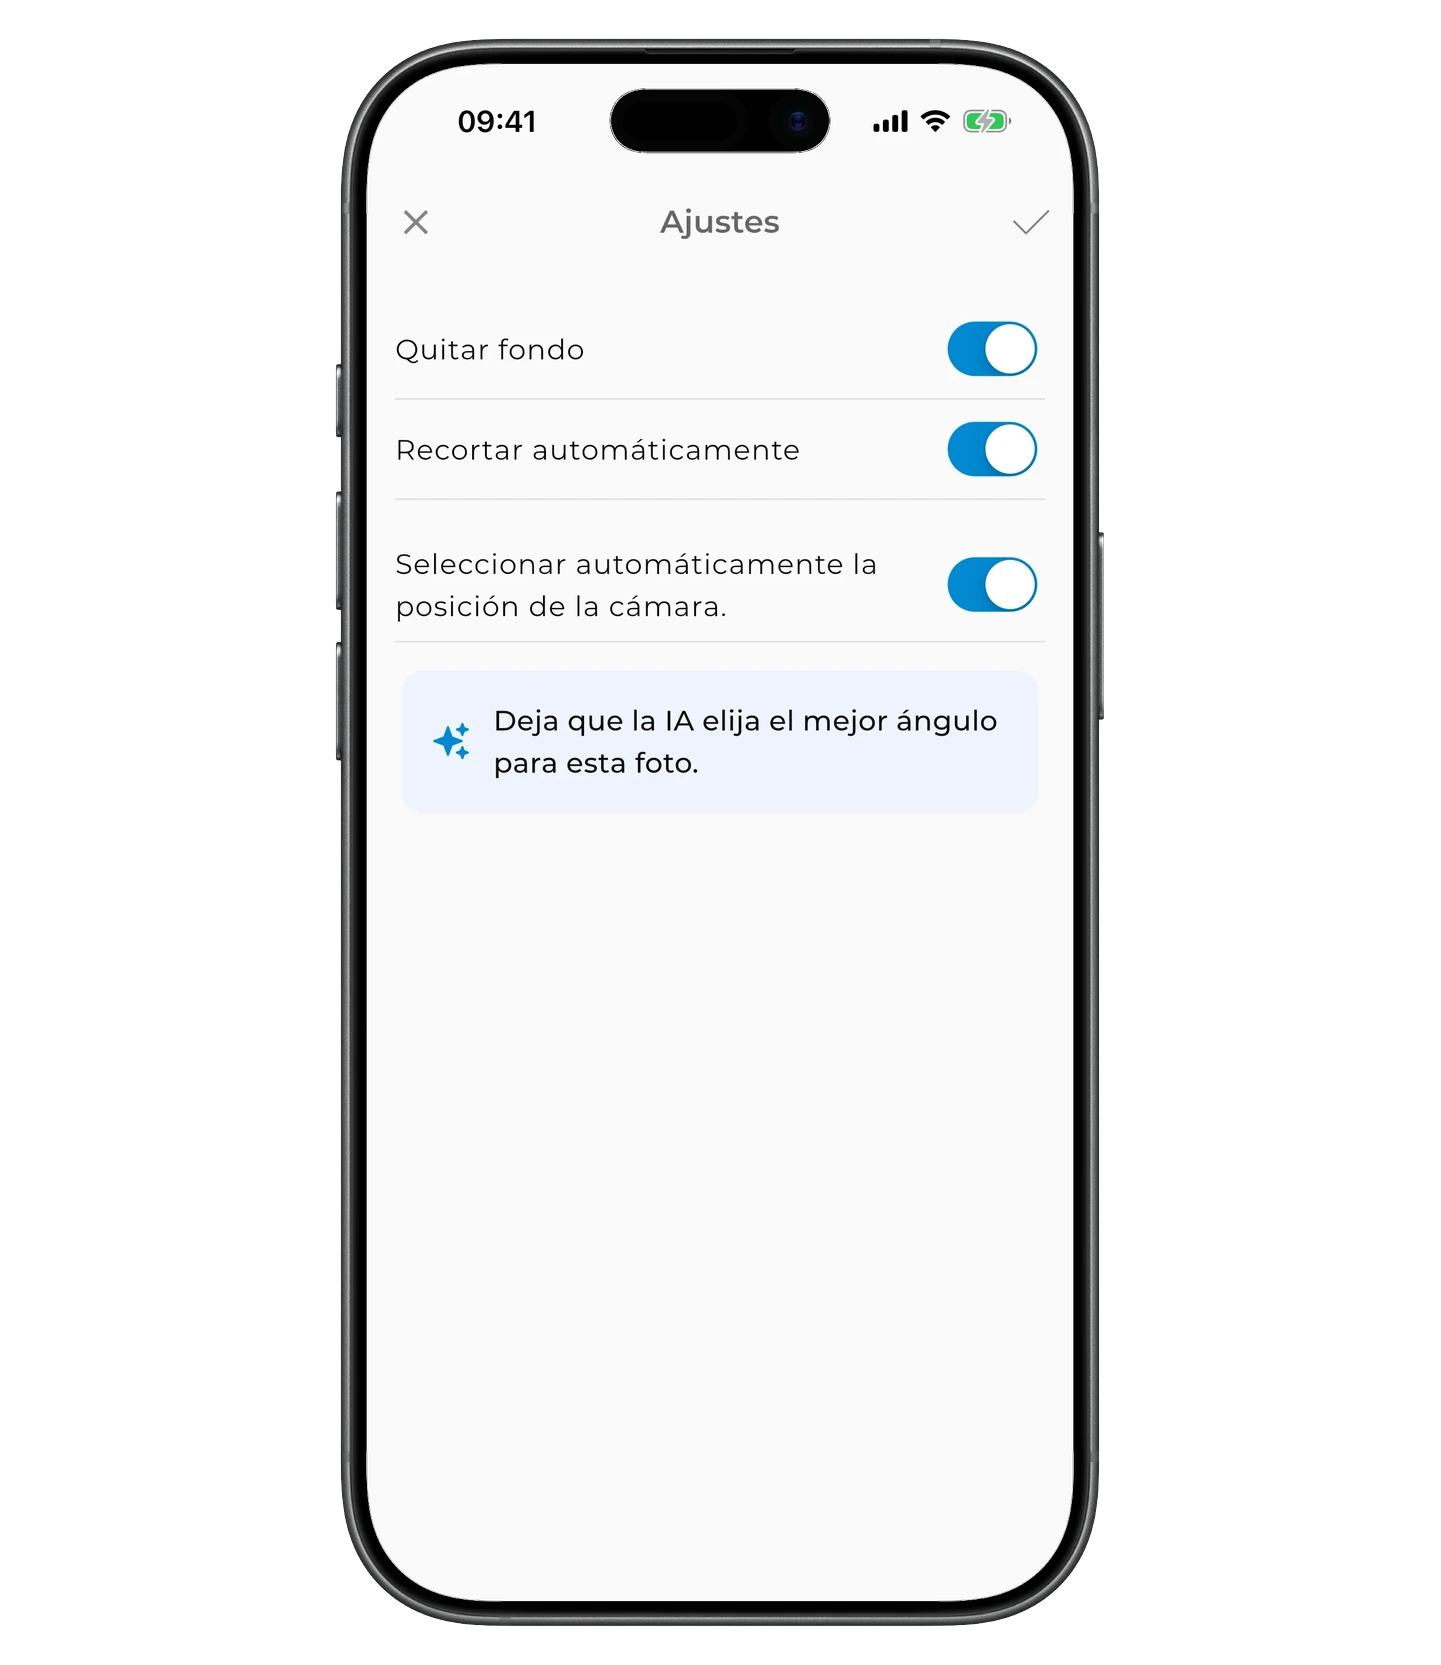
Personalizar los ajustes
¿Quieres más control sobre el resultado? Toca ⚙️ en la esquina superior derecha.
En el menú de ajustes puedes activar o desactivar:
- la eliminación del fondo
- el recorte automático
- la selección automática de la posición de cámara
Elegir la posición de cámara a mano
Si desactivas la selección automática de cámara, puedes elegir la posición tú misma. Esta opción funciona para categorías como zapatos, sombreros, bolsos y accesorios.
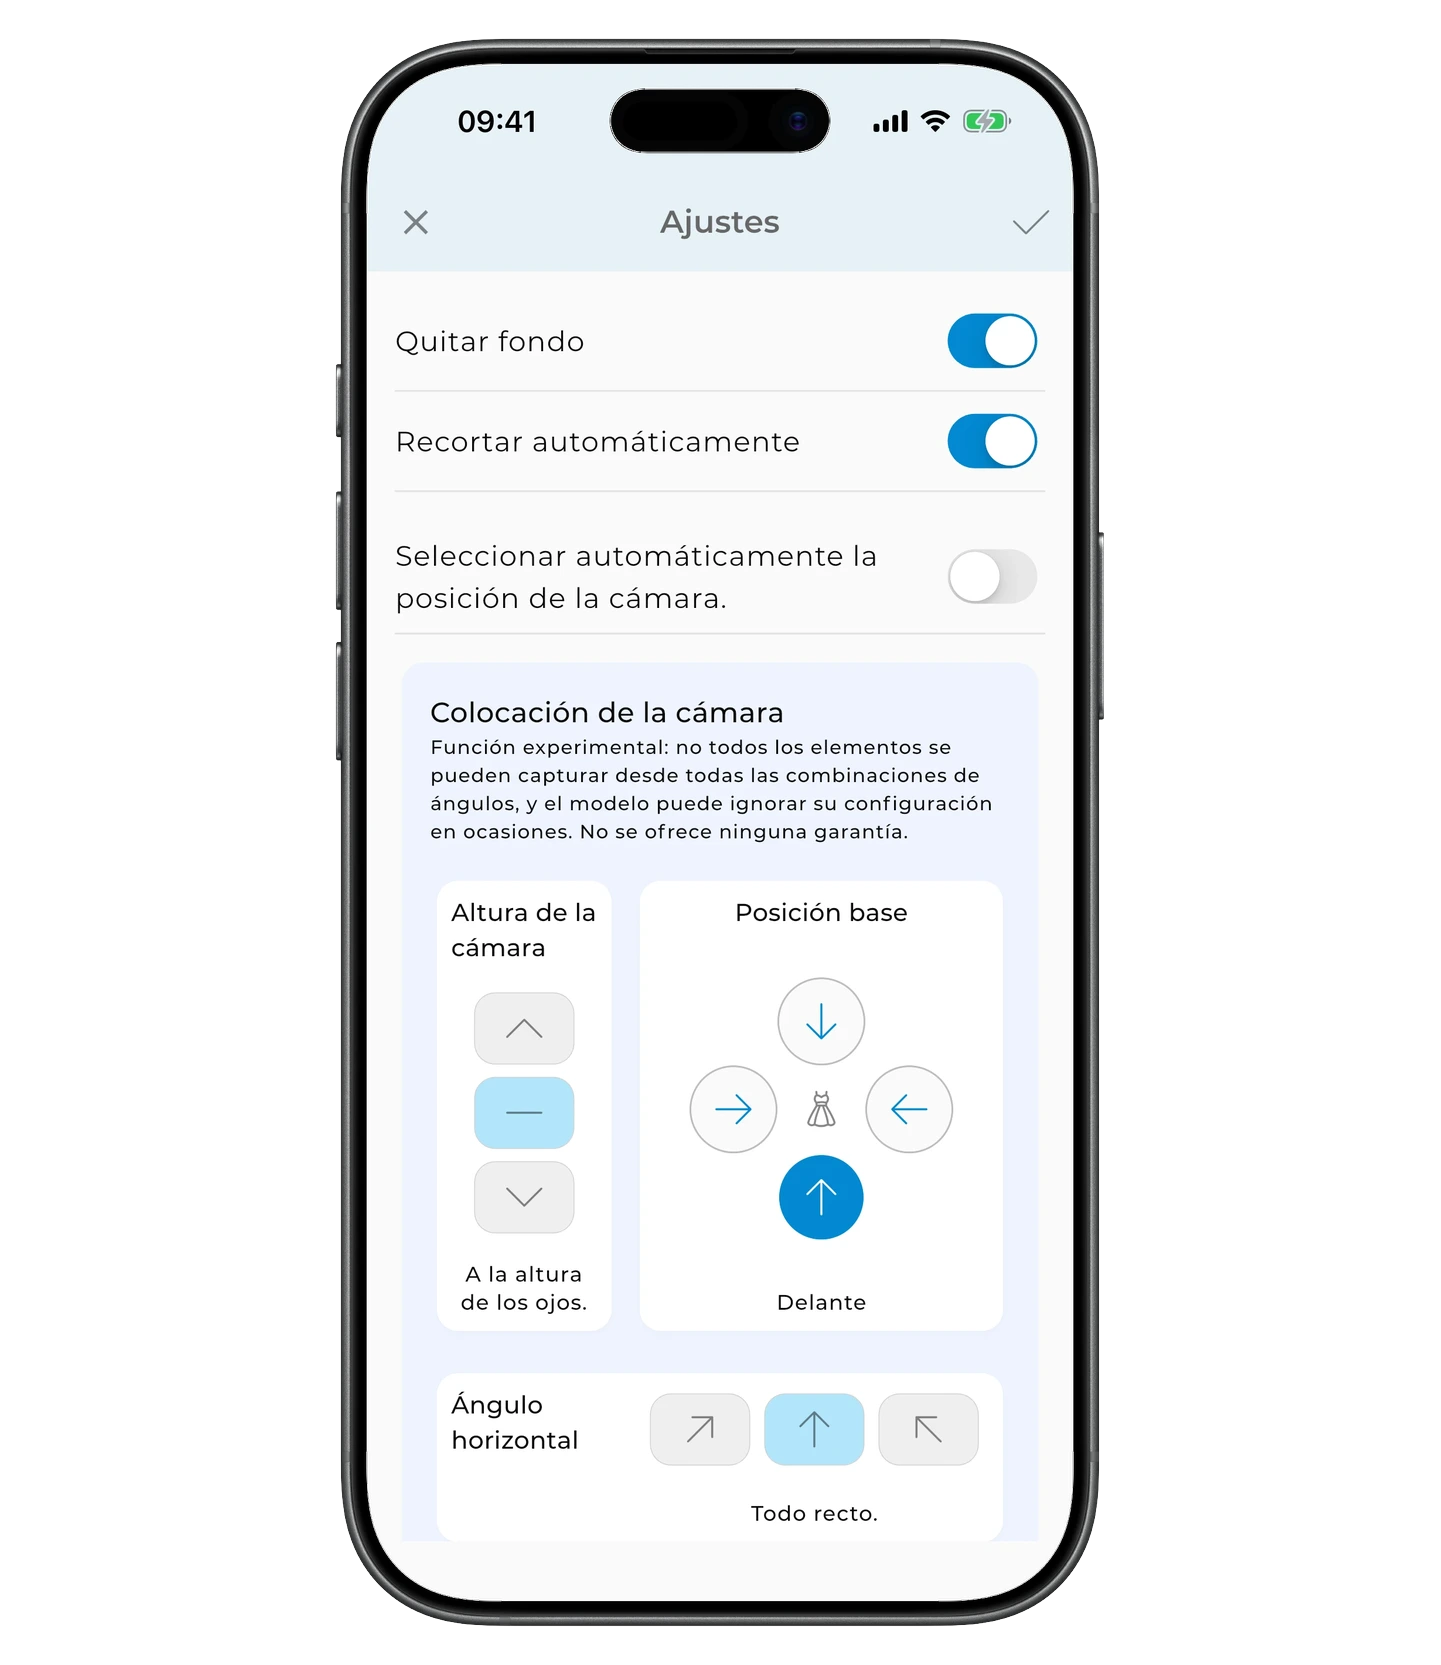
Para obtener una vista concreta, elígela en Ajustes y toca «Mejorar».
Tus prendas se verán limpias, uniformes y profesionales ✨
Preguntas frecuentes
¿Puedo usar la mejora de fotos con cualquier imagen?
Sí. La mejora funciona con fotos de prendas, capturas de outfits o cualquier imagen de ropa: quita el fondo, recorta y mejora la calidad.
¿Y si no me gusta el resultado mejorado?
Puedes guardar la mejora y conservar la foto original desmarcando «Sustituir la foto original». También puedes volver a probar con otros ajustes.
¿Funciona la mejora con todo tipo de prendas?
Funciona mejor con prendas individuales. Para accesorios como zapatos o bolsos puedes elegir la posición de cámara a mano en los ajustes.
¿Necesitas ayuda?
Escríbenos a support@getwardrobe.com